4-4. Adjusting the Picture
The projected image can be adjusted from
For video signals you can adjust:
DBrightness (dark to light)
DTint (red to green) NTSC signals only
DColor (low to high)
DContrast (low to high)
For Computer (RGB) signals you can adjust:
DBrightness (dark to light)
DContrast (low to high)
DHorizontal/Vertical Position
DSharpness (low to high)
DLanguage (menus display in seven languages)
DImage Inversion (horizontal/vertical)
DVideo System (AUTO, NTSC, PAL, SECAM)
DHorizontal Phase (synchronization)
DHorizontal Size (increase/narrow size of image)
DImage Inversion
DLanguage (menus display in seven languages)
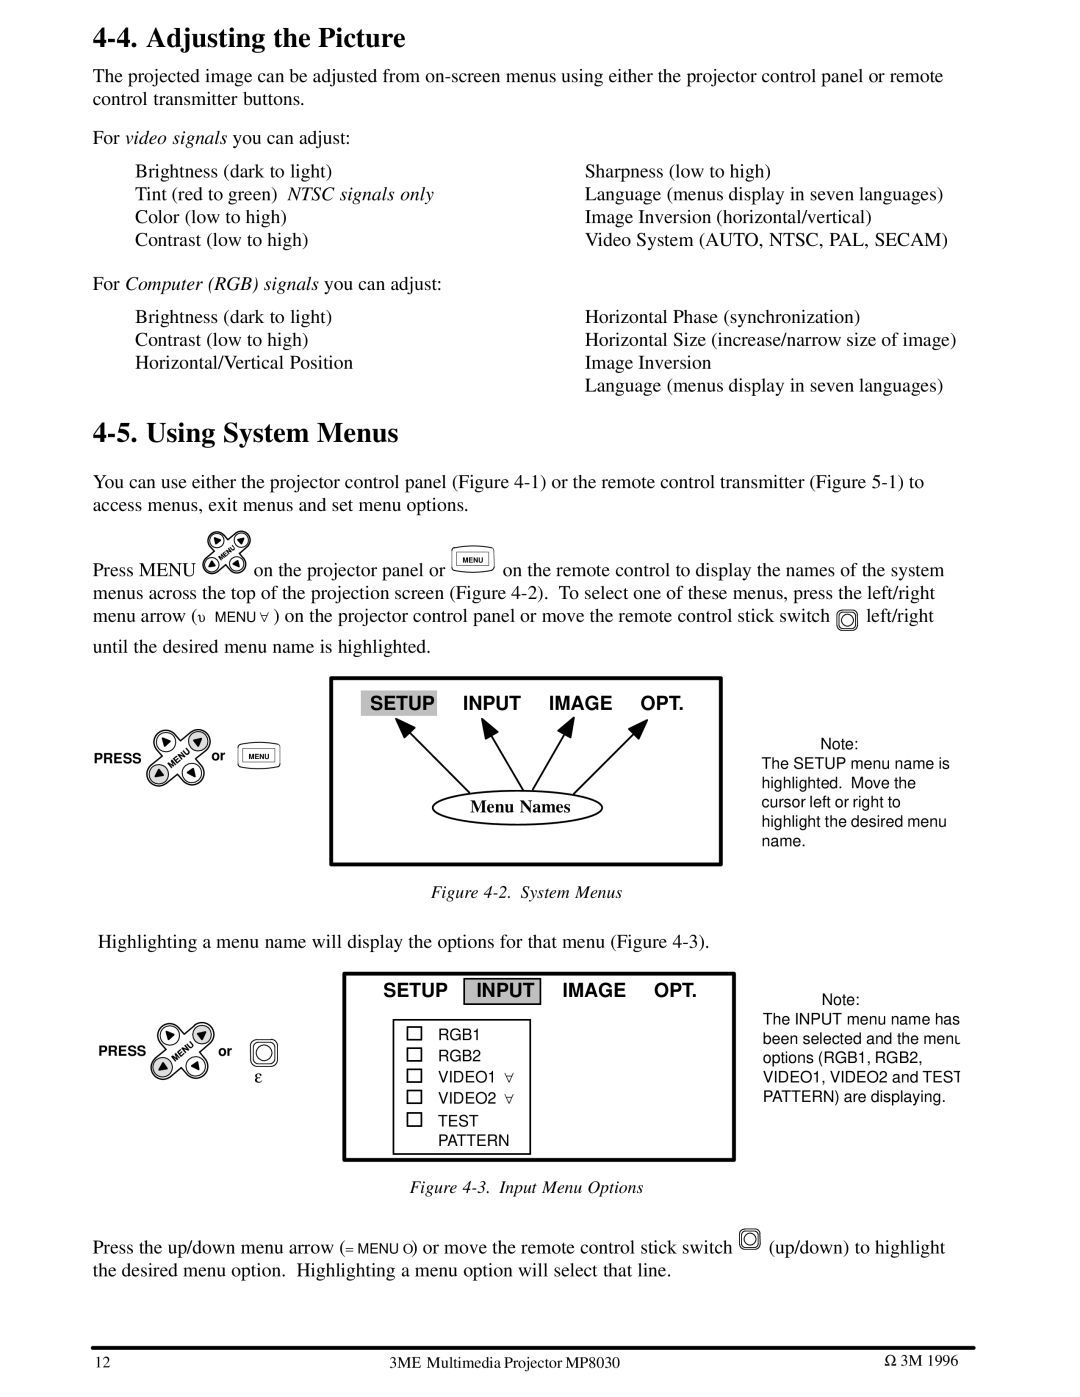
4-5. Using System Menus
You can use either the projector control panel (Figure
Press MENU | on the projector panel or | MENU |
on the remote control to display the names of the system |
menus across the top of the projection screen (Figure
menu arrow (← MENU → ) on the projector control panel or move the remote control stick switch | left/right |
until the desired menu name is highlighted.
PRESS ![]() or
or
MENU
SETUP INPUT IMAGE OPT.
Menu Names
Note:
The SETUP menu name is highlighted. Move the cursor left or right to highlight the desired menu name.
Figure 4-2. System Menus
Highlighting a menu name will display the options for that menu (Figure
PRESS | or |
| ↔ |
SETUP INPUT
RGB1
RGB2
VIDEO1 →
VIDEO2 →
TEST
PATTERN
IMAGE OPT.
Note:
The INPUT menu name has been selected and the menu options (RGB1, RGB2, VIDEO1, VIDEO2 and TEST PATTERN) are displaying.
Figure 4-3. Input Menu Options
Press the up/down menu arrow (↑ MENU ↓) or move the remote control stick switch ![]() (up/down) to highlight the desired menu option. Highlighting a menu option will select that line.
(up/down) to highlight the desired menu option. Highlighting a menu option will select that line.
12 | | Multimedia Projector MP8030 | 3M 1996 |
3M |
|
