2.1 A Quick Tour of the Panel PC
Before you start to set up the panel PC, take a moment to become familiar with the locations and purposes of the controls, drives, connectors and ports, which are illustrated in the figures below.
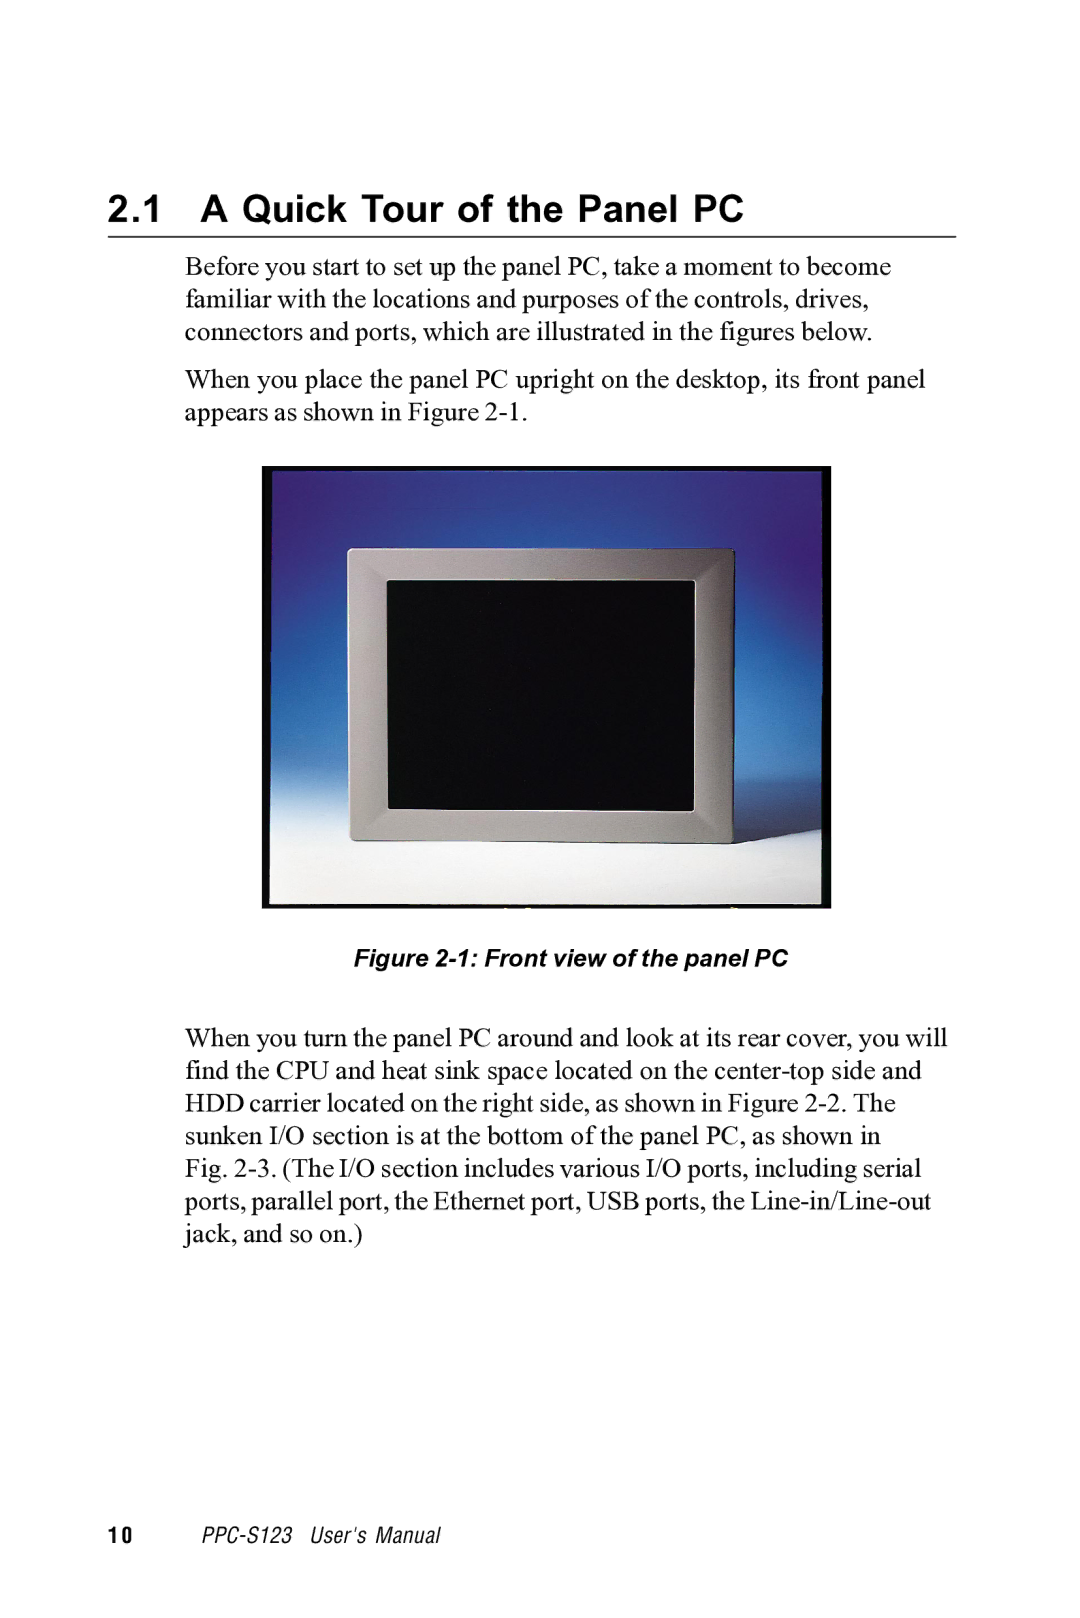
When you place the panel PC upright on the desktop, its front panel appears as shown in Figure
Figure 2-1: Front view of the panel PC
When you turn the panel PC around and look at its rear cover, you will find the CPU and heat sink space located on the
1 0