Manuals
/
Agilent Technologies
/
Computer Equipment
/
Power Supply
Agilent Technologies
PN 8510-16
manual
Agilent PN Controlling Test Port Output Power Flatness
Models:
PN 8510-16
1
1
12
12
Download
12 pages
668 b
1
2
3
4
5
6
7
8
System Configuration
Adjust the display
How to
Page 1
Image 1
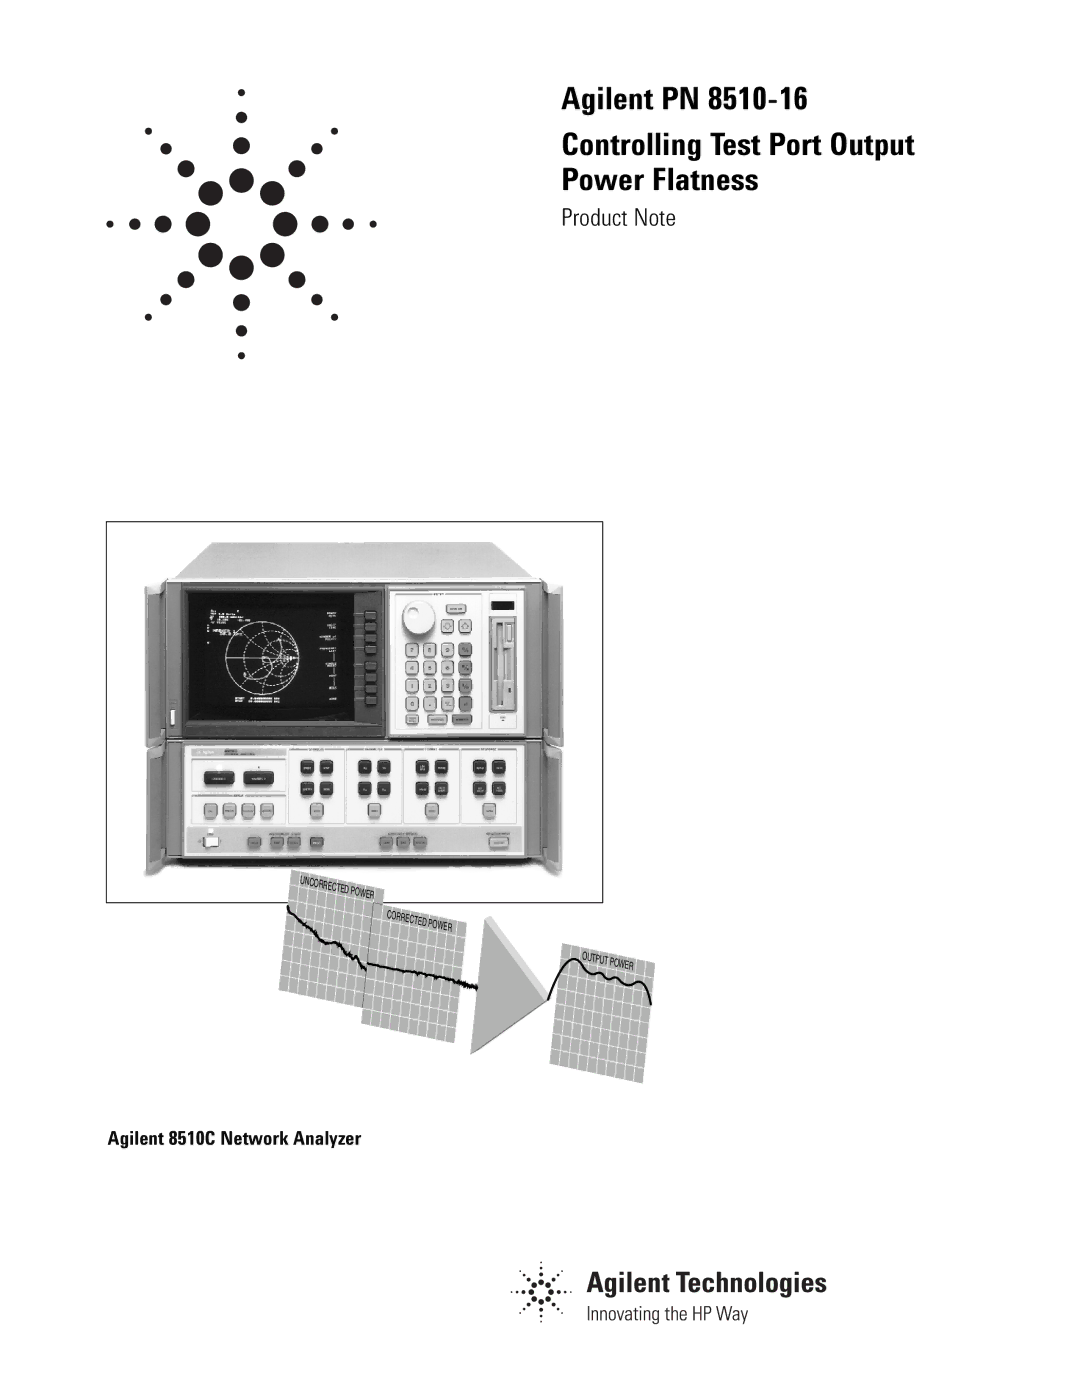
Agilent PN
8510-16
Controlling Test Port Output
Power Flatness
Product Note
UNCORRECTED POWER
CORRECTED POWER
OUTPUT POWER
Agilent 8510C Network Analyzer
Page 1
Page 2
Page 1
Image 1
Page 1
Page 2
Contents
Uncorrected Power Corrected Power Output Power
Agilent PN Controlling Test Port Output Power Flatness
Introduction
85107B Measurement System
System Configuration
Flatness-Correction Operation
Flatness-correction calibration procedure
Set up the 437B emulation on the power meter
Agilent E4418B power meter setup
83620B 83621B 83623B 83623L 83631B 83651B
Frequency
Operational Considerations
Power control with flatness correction
Calibration time
Verifying a flatness-correction calibration
When to recalibrate
Using test port 1 calibrations on test port
Activate the test port power flatness-correction
Absolute output power measurements with flatness correction
Connect the DUT Measure the absolute output power
Practical Application Examples
Connect the amplifier and measure the absolute output power
Set up a b2 measurement and connect a thru
Adjust the display
Increase power to find the 1 dB gain compression point
Your Advantage
Our Promise
Online Assistance
Top
Page
Image
Contents