5 Advanced Network Configuration
Advanced networking options can be configured through the Web Utility. This utility can be accessed in two ways:
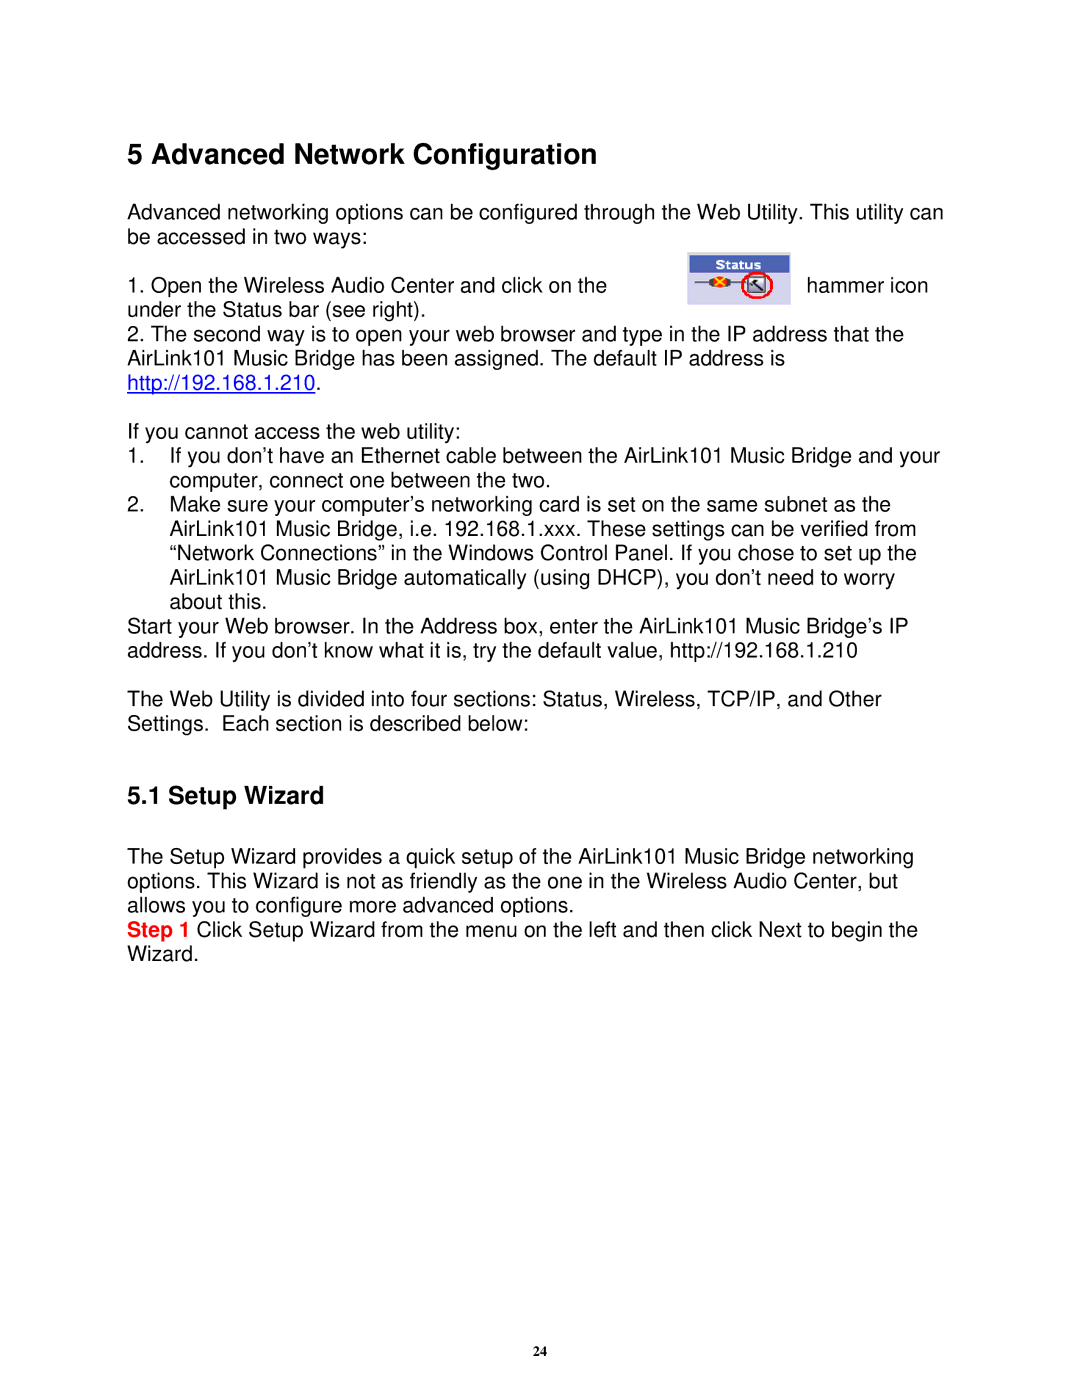
1. Open the Wireless Audio Center and click on the | hammer icon |
under the Status bar (see right). |
|
2.The second way is to open your web browser and type in the IP address that the AirLink101 Music Bridge has been assigned. The default IP address is http://192.168.1.210.
If you cannot access the web utility:
1.If you don’t have an Ethernet cable between the AirLink101 Music Bridge and your computer, connect one between the two.
2.Make sure your computer’s networking card is set on the same subnet as the AirLink101 Music Bridge, i.e. 192.168.1.xxx. These settings can be verified from “Network Connections” in the Windows Control Panel. If you chose to set up the
AirLink101 Music Bridge automatically (using DHCP), you don’t need to worry about this.
Start your Web browser. In the Address box, enter the AirLink101 Music Bridge’s IP address. If you don’t know what it is, try the default value, http://192.168.1.210
The Web Utility is divided into four sections: Status, Wireless, TCP/IP, and Other Settings. Each section is described below:
5.1 Setup Wizard
The Setup Wizard provides a quick setup of the AirLink101 Music Bridge networking options. This Wizard is not as friendly as the one in the Wireless Audio Center, but allows you to configure more advanced options.
Step 1 Click Setup Wizard from the menu on the left and then click Next to begin the Wizard.
24
