LCX-350 specifications
The Aiwa LCX-350 is a versatile and powerful mini stereo system designed for music enthusiasts who appreciate both style and quality sound. This compact audio unit integrates a range of features that cater to various listening preferences, making it an ideal choice for modern homes or small spaces.One of the most notable features of the Aiwa LCX-350 is its robust sound system. Equipped with high-performance speakers, this mini stereo system delivers rich, clear audio across different genres of music. The built-in amplifier ensures that the sound is not only loud but also well-balanced, providing a gratifying listening experience whether you are playing a soft ballad or a heavy rock track.
Another significant aspect of the LCX-350 is its compatibility with multiple audio formats and sources. This unit includes CD playback capabilities, allowing users to enjoy their favorite albums with ease. Additionally, it offers USB ports for users to connect their flash drives, which is a convenient feature for those who prefer digital music libraries. The system also supports FM radio, giving users the option to listen to their favorite radio stations.
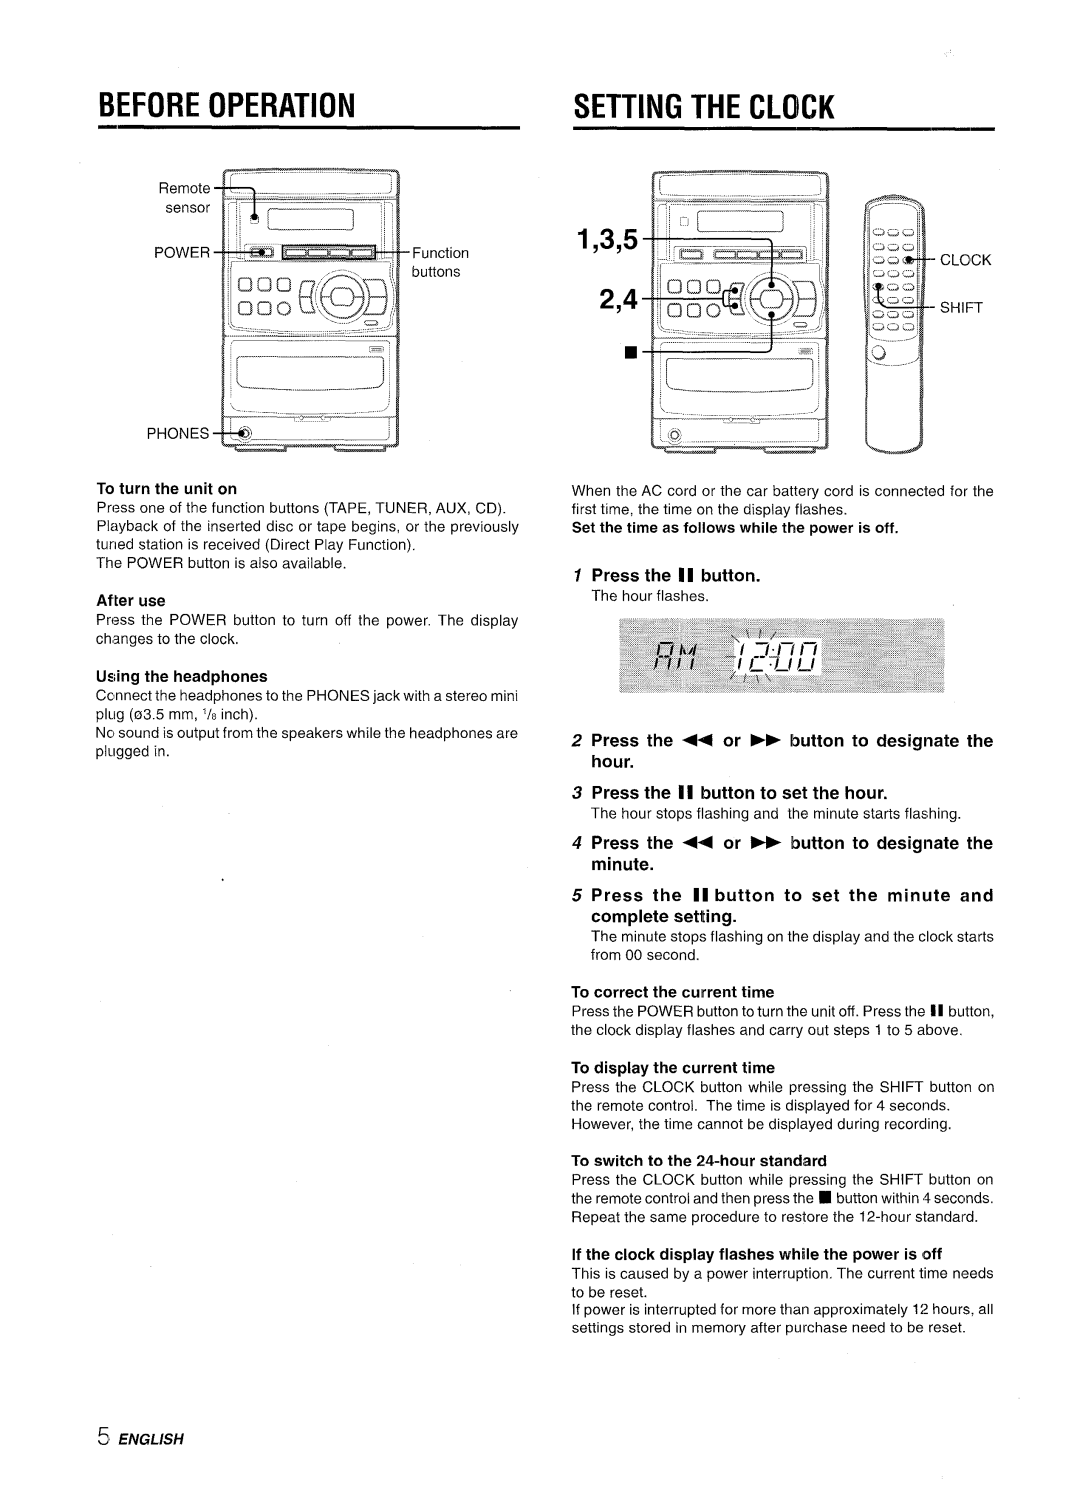
In terms of user-friendly technology, the Aiwa LCX-350 features a straightforward interface. The control panel is intuitively designed, making it accessible for individuals of all ages. The remote control adds to the convenience, allowing for easy navigation through various settings and audio sources, enhancing the overall user experience.
Furthermore, the LCX-350 is designed with aesthetics in mind. Its sleek, modern design ensures that it can fit seamlessly into any home decor while serving as an attractive centerpiece. The stylish LED display provides essential information and enhances visibility, especially in dimly lit environments.
Portability is another key characteristic of the Aiwa LCX-350. Despite its powerful output, the compact design makes it easy to move from one room to another or even take with you to parties or gatherings. This versatility means that high-quality sound can accompany users wherever they go.
In conclusion, the Aiwa LCX-350 is a well-rounded mini stereo system that combines impressive sound quality, multi-format compatibility, user-friendly controls, and an attractive design. It stands out as a reliable choice for anyone looking to enhance their music experience, making it a notable addition to any audio setup.

