MAINTENANCE
BLADE CARRIER INSTALLATION
Clean the splines on both the blade carrier and output shaft. Position carrier on the gearbox output shaft and install special washer nut.
Tighten nut holding blade carrier to minimum 600 ft. pounds, strike the carrier near the hub several times with a heavy hammer to seat the hub. Use a suitable spacer over the nut to prevent damage to the nut and threads. Retighten the nut to 600 ft. pounds. Install cotter pin and spread.
Operating the mower with a loose blade pan or holder can damage the taper connection on the gearbox output shaft. To ensure proper seating between the blade holder and output shaft, check and tighten the retaining nut after the first day of operation. Recheck the blade carrier attachment each morning before operating. Grasp the carrier firmly with both hands and try to push and pull the carrier with one hand while pulling and pushing with the other hand to try to rock or oscillate the blade carrier. If the carrier is loose, retighten the retaining nut before operating the mower.
Always recheck gearbox output shaft slotted blade carrier retaining nut torque after a few hours operation.
Avoid personal injury. Do not work under cutter without support blocks to keep frame from falling.
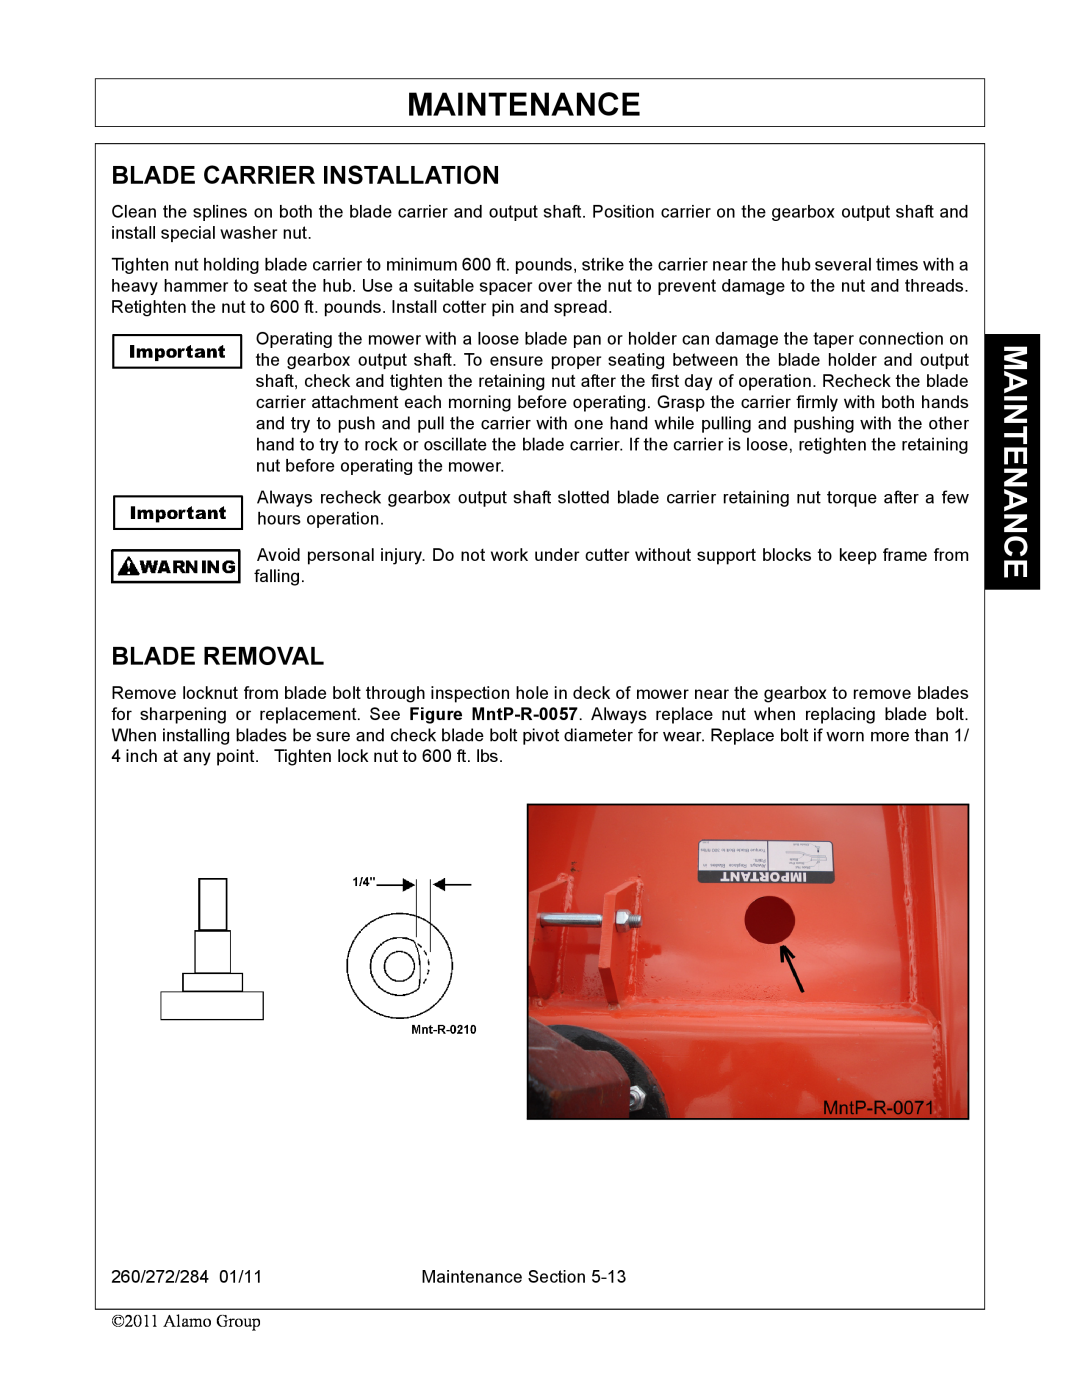
BLADE REMOVAL
Remove locknut from blade bolt through inspection hole in deck of mower near the gearbox to remove blades for sharpening or replacement. See Figure
260/272/284 01/11 | Maintenance Section |
©2011 Alamo Group
MAINTENANCE