Adjusting the picture
 SHARPNESS
“SHARPNESS” is used to adjust the crispness of the image.
![]() : Sharpens the edge of the image. : Softens the edge of the image.
: Sharpens the edge of the image. : Softens the edge of the image.
 NOISE REDUCTION
In this mode, the video noise is reduced. OFF : No correction
1: Low
2: Middle
3: High
![]() AI
AI
Gray scale control is exercised to suit the images, and optimal images with a clear contrast are projected.
ON : AI compensation is enabled.
OFF : AI compensation is disabled.
 SYSTEM SELECTOR
Set this according to the connected signal system.
received signal system is automatically identified.
AUTO ![]()
![]() NTSC
NTSC ![]()
![]()
![]() NTSC4.43
NTSC4.43 ![]()
![]()
![]() PAL
PAL
PAL60 ![]()
![]() SECAM
SECAM ![]()
![]()
![]()
![]()
![]()
![]()
Note • When signal deterioration or other factors prevent images from being displayed correctly with the “AUTO” setting, change the setting to match the connected signal system.
(RGB1/RGB2 terminal input signals) AUTO : This is the standard setting. The
received signal system is automatically identified.
When VGA60/480p signals are input
AUTO ![]()
![]() VGA60
VGA60
YCBCR ![]()
![]() 480pRGB
480pRGB
When other than VGA60/480p are input
AUTO ![]()
![]() RGB
RGB
![]()
![]() YPBPR (YCBCR)
YPBPR (YCBCR) ![]()
![]()
For the signals which are supported, refer to page 58.
Adjusting the position
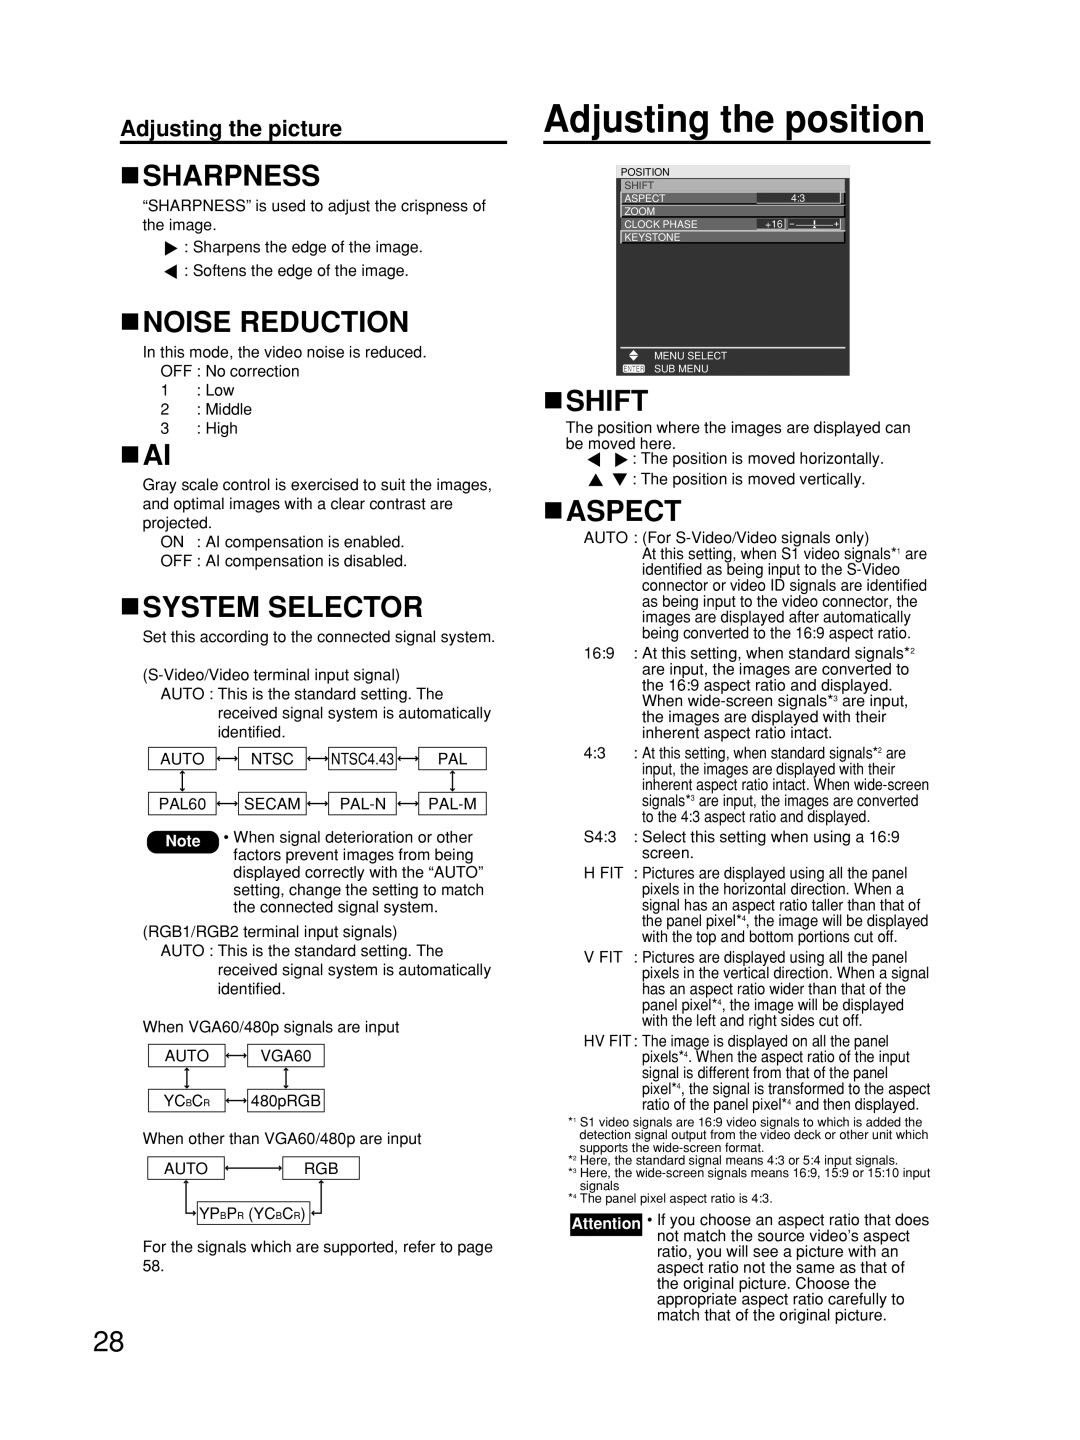
POSITION
SHIFT
ASPECT | 4:3 |
ZOOM |
|
CLOCK PHASE | +16 |
KEYSTONE |
|
MENU SELECT
SUB MENU
 SHIFT
SHIFT
The position where the images are displayed can be moved here.
![]() : The position is moved horizontally.
: The position is moved horizontally. ![]() : The position is moved vertically.
: The position is moved vertically.
 ASPECT
AUTO : (For
At this setting, when S1 video signals*1 are identified as being input to the
16:9 : At this setting, when standard signals*2 are input, the images are converted to the 16:9 aspect ratio and displayed.
When
4:3 : At this setting, when standard signals*2 are input, the images are displayed with their inherent aspect ratio intact. When
S4:3 : Select this setting when using a 16:9 screen.
H FIT : Pictures are displayed using all the panel pixels in the horizontal direction. When a signal has an aspect ratio taller than that of the panel pixel*4, the image will be displayed with the top and bottom portions cut off.
V FIT : Pictures are displayed using all the panel pixels in the vertical direction. When a signal has an aspect ratio wider than that of the panel pixel*4, the image will be displayed with the left and right sides cut off.
HV FIT: The image is displayed on all the panel pixels*4. When the aspect ratio of the input signal is different from that of the panel pixel*4, the signal is transformed to the aspect ratio of the panel pixel*4 and then displayed.
*1 S1 video signals are 16:9 video signals to which is added the detection signal output from the video deck or other unit which supports the
*2 Here, the standard signal means 4:3 or 5:4 input signals.
*3 Here, the
*4 The panel pixel aspect ratio is 4:3.
Attention • If you choose an aspect ratio that does not match the source video’s aspect
ratio, you will see a picture with an aspect ratio not the same as that of the original picture. Choose the appropriate aspect ratio carefully to match that of the original picture.
28