12 | Replacing the Hard Drive(s) |
WARNING: Before working inside your computer, read the safety information that shipped with your computer and follow the steps in "Before You Begin" on page 9. For additional safety best practices information, see the Regulatory Compliance Homepage at dell.com/regulatory_compliance.
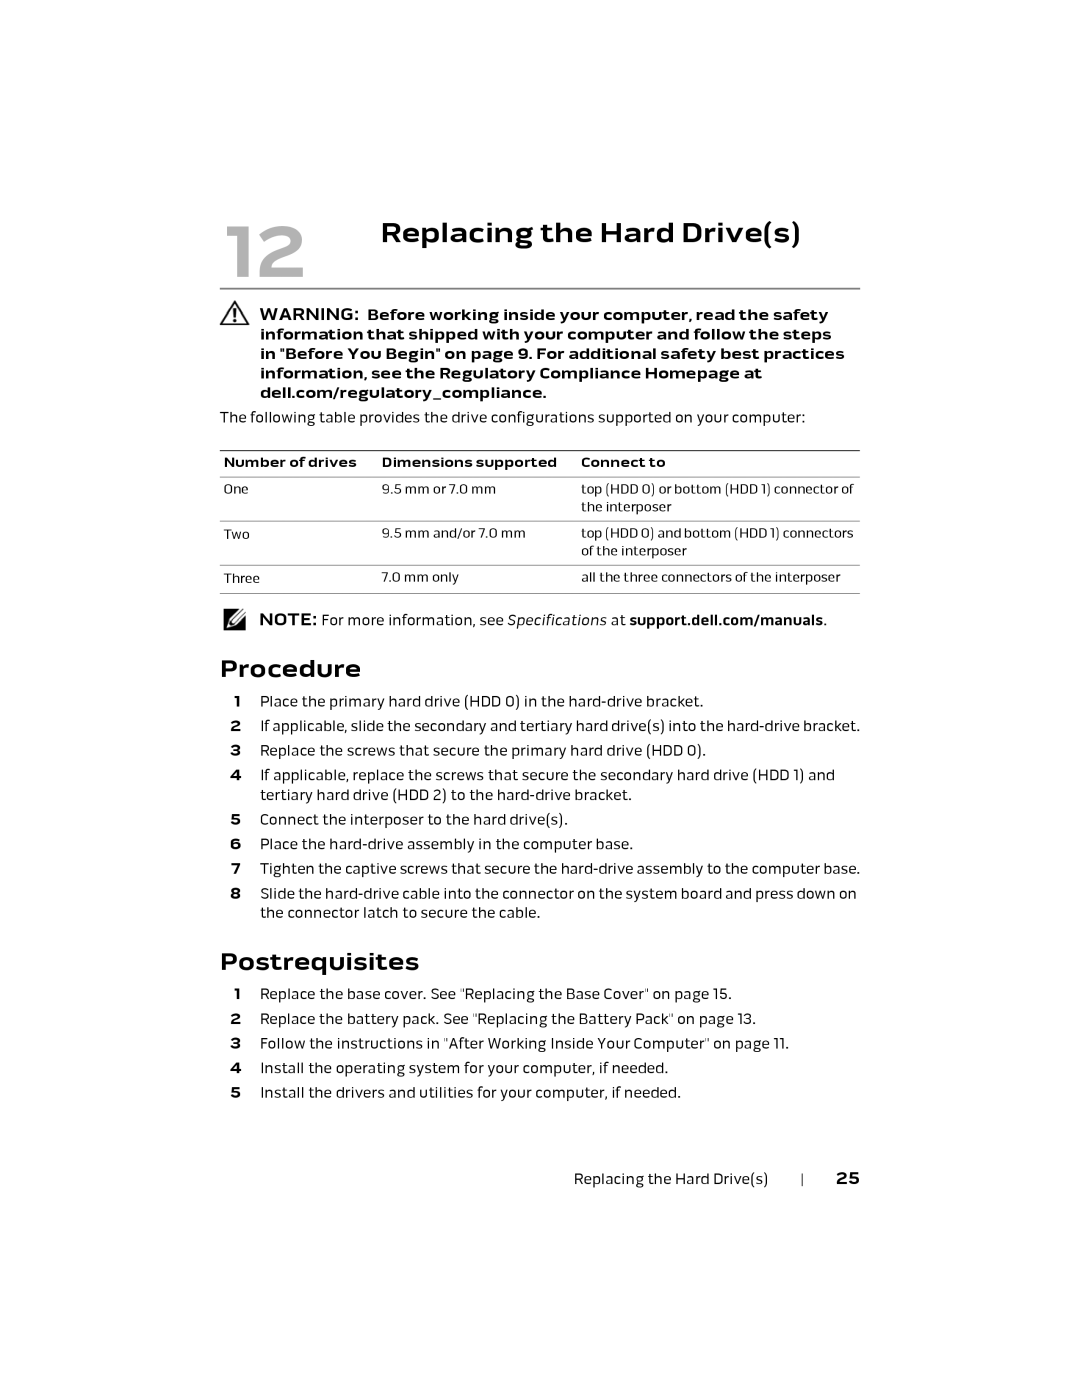
The following table provides the drive configurations supported on your computer:
Number of drives | Dimensions supported | Connect to |
|
|
|
One | 9.5 mm or 7.0 mm | top (HDD 0) or bottom (HDD 1) connector of |
|
| the interposer |
|
|
|
Two | 9.5 mm and/or 7.0 mm | top (HDD 0) and bottom (HDD 1) connectors |
|
| of the interposer |
|
|
|
Three | 7.0 mm only | all the three connectors of the interposer |
|
|
|
NOTE: For more information, see Specifications at support.dell.com/manuals.
Procedure
1Place the primary hard drive (HDD 0) in the
2If applicable, slide the secondary and tertiary hard drive(s) into the
3Replace the screws that secure the primary hard drive (HDD 0).
4If applicable, replace the screws that secure the secondary hard drive (HDD 1) and tertiary hard drive (HDD 2) to the
5Connect the interposer to the hard drive(s).
6Place the
7Tighten the captive screws that secure the
8Slide the
Postrequisites
1Replace the base cover. See "Replacing the Base Cover" on page 15.
2Replace the battery pack. See "Replacing the Battery Pack" on page 13.
3Follow the instructions in "After Working Inside Your Computer" on page 11.
4Install the operating system for your computer, if needed.
5Install the drivers and utilities for your computer, if needed.
Replacing the Hard Drive(s) | 25 |