Alienware Area-51 m5550 Technical Reference
5.If you need to remove an old DIMM from the socket, press out on the latches located on both edges of the socket at the same time. The DIMM should pop up to an angle of 30 degrees (see diagram below). Pull the DIMM module out of the memory socket. Store away the DIMM for future use.
6.Install the new DIMM module into the memory socket. The DIMM will only fit in one orientation. Insert the DIMM at an angle of approximately 30 degrees into the empty memory socket. Then press it firmly so that
the contact edge is driven into the receiving socket.
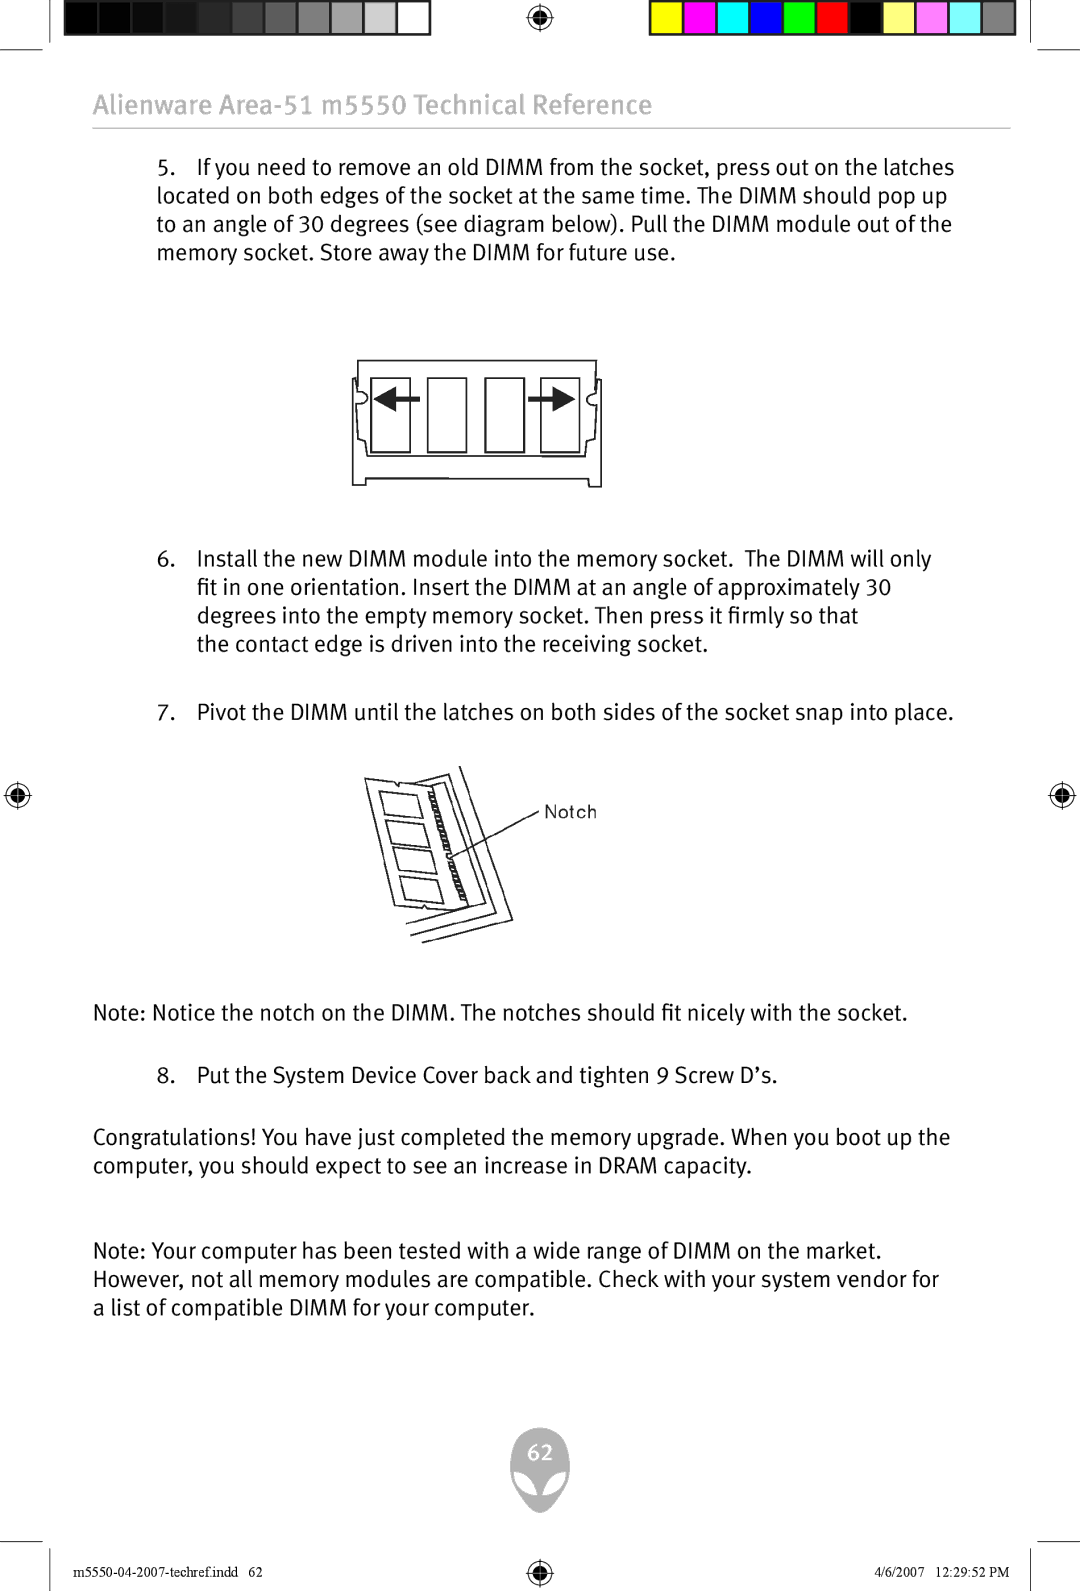
7.Pivot the DIMM until the latches on both sides of the socket snap into place.
Note: Notice the notch on the DIMM. The notches should fit nicely with the socket.
8. Put the System Device Cover back and tighten 9 Screw D’s.
Congratulations! You have just completed the memory upgrade. When you boot up the computer, you should expect to see an increase in DRAM capacity.
Note: Your computer has been tested with a wide range of DIMM on the market. However, not all memory modules are compatible. Check with your system vendor for a list of compatible DIMM for your computer.
62
4/6/2007 12:29:52 PM