Alpine IVA-D900 owner manual Display Setup Operation, 35-EN

Models: IVA-D900

1 79
Download 79 pages 36.36 Kb
Page 37
Image 37
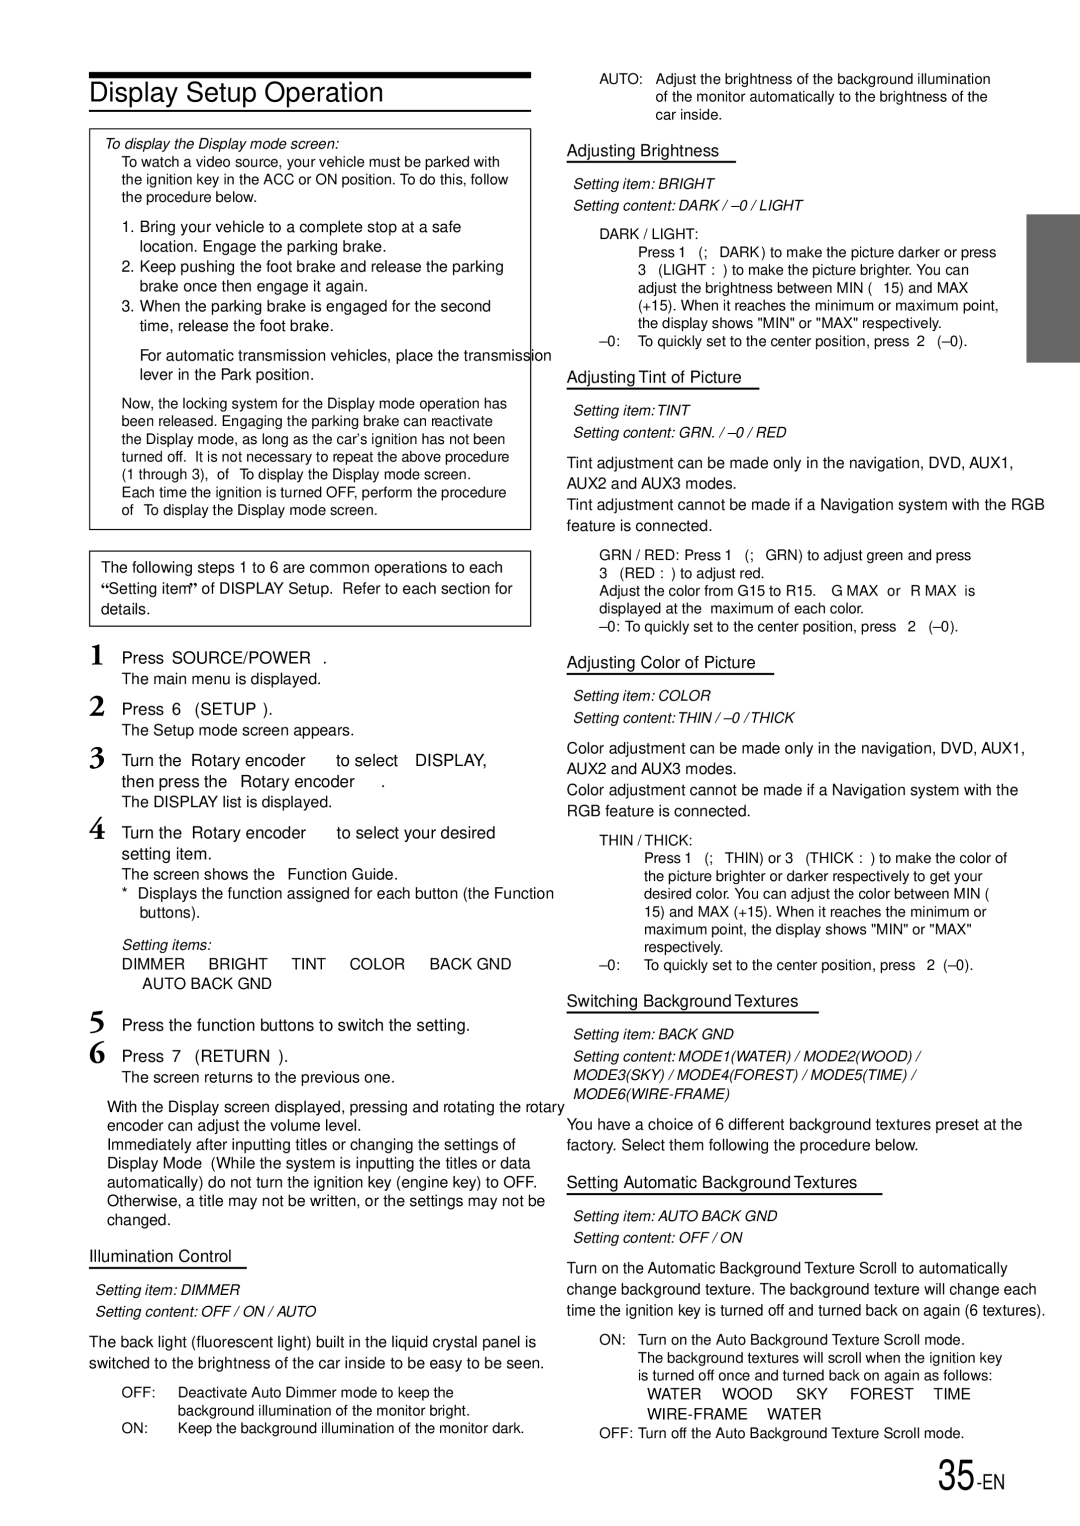
Display Setup Operation

Display Setup Operation

To display the Display mode screen:

To watch a video source, your vehicle must be parked with the ignition key in the ACC or ON position. To do this, follow the procedure below.

1.Bring your vehicle to a complete stop at a safe location. Engage the parking brake.

2.Keep pushing the foot brake and release the parking brake once then engage it again.

3.When the parking brake is engaged for the second time, release the foot brake.

For automatic transmission vehicles, place the transmission lever in the Park position.

Now, the locking system for the Display mode operation has been released. Engaging the parking brake can reactivate the Display mode, as long as the car's ignition has not been turned off. It is not necessary to repeat the above procedure (1 through 3), of “To display the Display mode screen.” Each time the ignition is turned OFF, perform the procedure of “To display the Display mode screen.”

The following steps 1 to 6 are common operations to each

“Setting item” of DISPLAY Setup. Refer to each section for details.

1 Press SOURCE/POWER.

The main menu is displayed.

2 Press 6 (SETUP).

The Setup mode screen appears.

3 Turn the Rotary encoder to select “DISPLAY,” then press the Rotary encoder.

The DISPLAY list is displayed.

4 Turn the Rotary encoder to select your desired setting item.

The screen shows the Function Guide.

*Displays the function assigned for each button (the Function buttons).

Setting items:

DIMMER BRIGHT TINT COLOR BACK GND

AUTO BACK GND

5 Press the function buttons to switch the setting.

6 Press 7 (RETURN).

The screen returns to the previous one.

With the Display screen displayed, pressing and rotating the rotary encoder can adjust the volume level.

Immediately after inputting titles or changing the settings of Display Mode (While the system is inputting the titles or data automatically) do not turn the ignition key (engine key) to OFF. Otherwise, a title may not be written, or the settings may not be changed.

Illumination Control

Setting item: DIMMER

Setting content: OFF / ON / AUTO

The back light (fluorescent light) built in the liquid crystal panel is switched to the brightness of the car inside to be easy to be seen.

OFF: Deactivate Auto Dimmer mode to keep the background illumination of the monitor bright.

ON: Keep the background illumination of the monitor dark.

AUTO: Adjust the brightness of the background illumination of the monitor automatically to the brightness of the car inside.

Adjusting Brightness

Setting item: BRIGHT

Setting content: DARK / ±0 / LIGHT

DARK / LIGHT:

Press 1 (; DARK) to make the picture darker or press 3 (LIGHT :) to make the picture brighter. You can adjust the brightness between MIN (–15) and MAX (+15). When it reaches the minimum or maximum point, the display shows "MIN" or "MAX" respectively.

±0: To quickly set to the center position, press 2 (±0).

Adjusting Tint of Picture

Setting item: TINT

Setting content: GRN. / ±0 / RED

Tint adjustment can be made only in the navigation, DVD, AUX1, AUX2 and AUX3 modes.

Tint adjustment cannot be made if a Navigation system with the RGB feature is connected.

GRN / RED: Press 1 (; GRN) to adjust green and press

3 (RED :) to adjust red.

Adjust the color from G15 to R15. “G MAX” or “R MAX” is displayed at the maximum of each color.

±0: To quickly set to the center position, press 2 (±0).

Adjusting Color of Picture

Setting item: COLOR

Setting content: THIN / ±0 / THICK

Color adjustment can be made only in the navigation, DVD, AUX1, AUX2 and AUX3 modes.

Color adjustment cannot be made if a Navigation system with the RGB feature is connected.

THIN / THICK:

Press 1 (; THIN) or 3 (THICK :) to make the color of the picture brighter or darker respectively to get your desired color. You can adjust the color between MIN (–

15)and MAX (+15). When it reaches the minimum or maximum point, the display shows "MIN" or "MAX" respectively.

±0: To quickly set to the center position, press 2(±0).

Switching Background Textures

Setting item: BACK GND

Setting content: MODE1(WATER) / MODE2(WOOD) / MODE3(SKY) / MODE4(FOREST) / MODE5(TIME) / MODE6(WIRE-FRAME)

You have a choice of 6 different background textures preset at the factory. Select them following the procedure below.

Setting Automatic Background Textures

Setting item: AUTO BACK GND

Setting content: OFF / ON

Turn on the Automatic Background Texture Scroll to automatically change background texture. The background texture will change each time the ignition key is turned off and turned back on again (6 textures).

ON: Turn on the Auto Background Texture Scroll mode.

The background textures will scroll when the ignition key is turned off once and turned back on again as follows:

WATER WOOD SKY FOREST TIME WIRE-FRAME WATER

OFF: Turn off the Auto Background Texture Scroll mode.

35-EN

Page 37
Image 37
Alpine IVA-D900 owner manual Display Setup Operation, 35-EN