Take Apart | ||
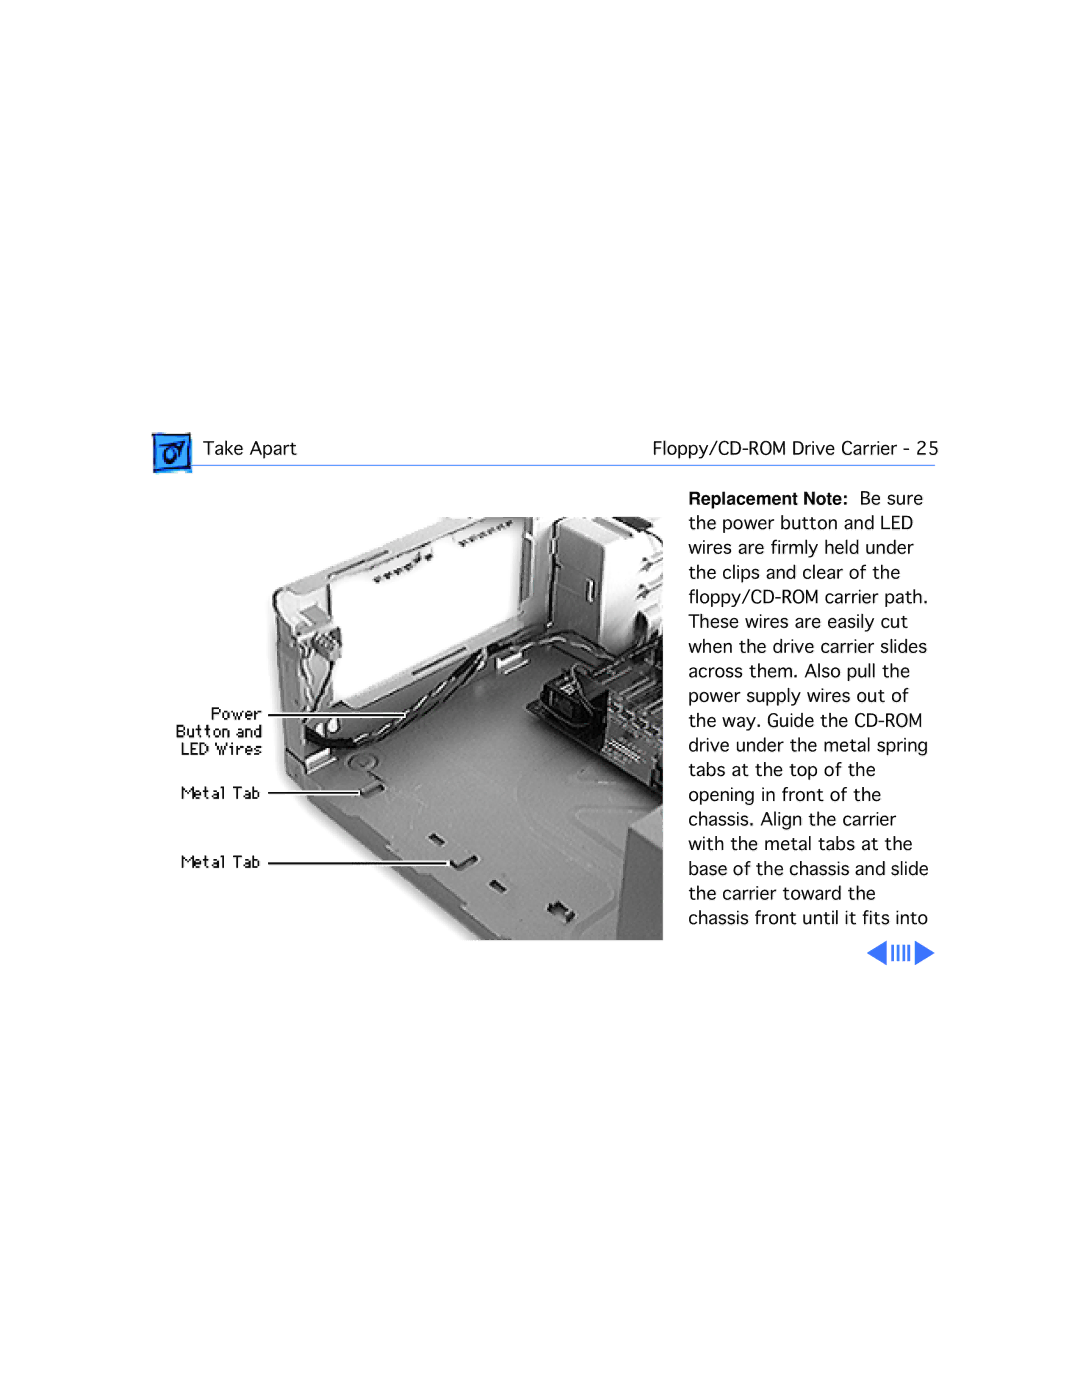
| Replacement Note: Be sure |
|
| the power button and LED | |
| wires are firmly held under | |
| the clips and clear of the | |
| ||
| These wires are easily cut | |
| when the drive carrier slides | |
| across them. Also pull the | |
| power supply wires out of | |
| the way. Guide the | |
| drive under the metal spring | |
| tabs at the top of the | |
| opening in front of the | |
| chassis. Align the carrier | |
| with the metal tabs at the | |
| base of the chassis and slide | |
| the carrier toward the | |
| chassis front until it fits into | |