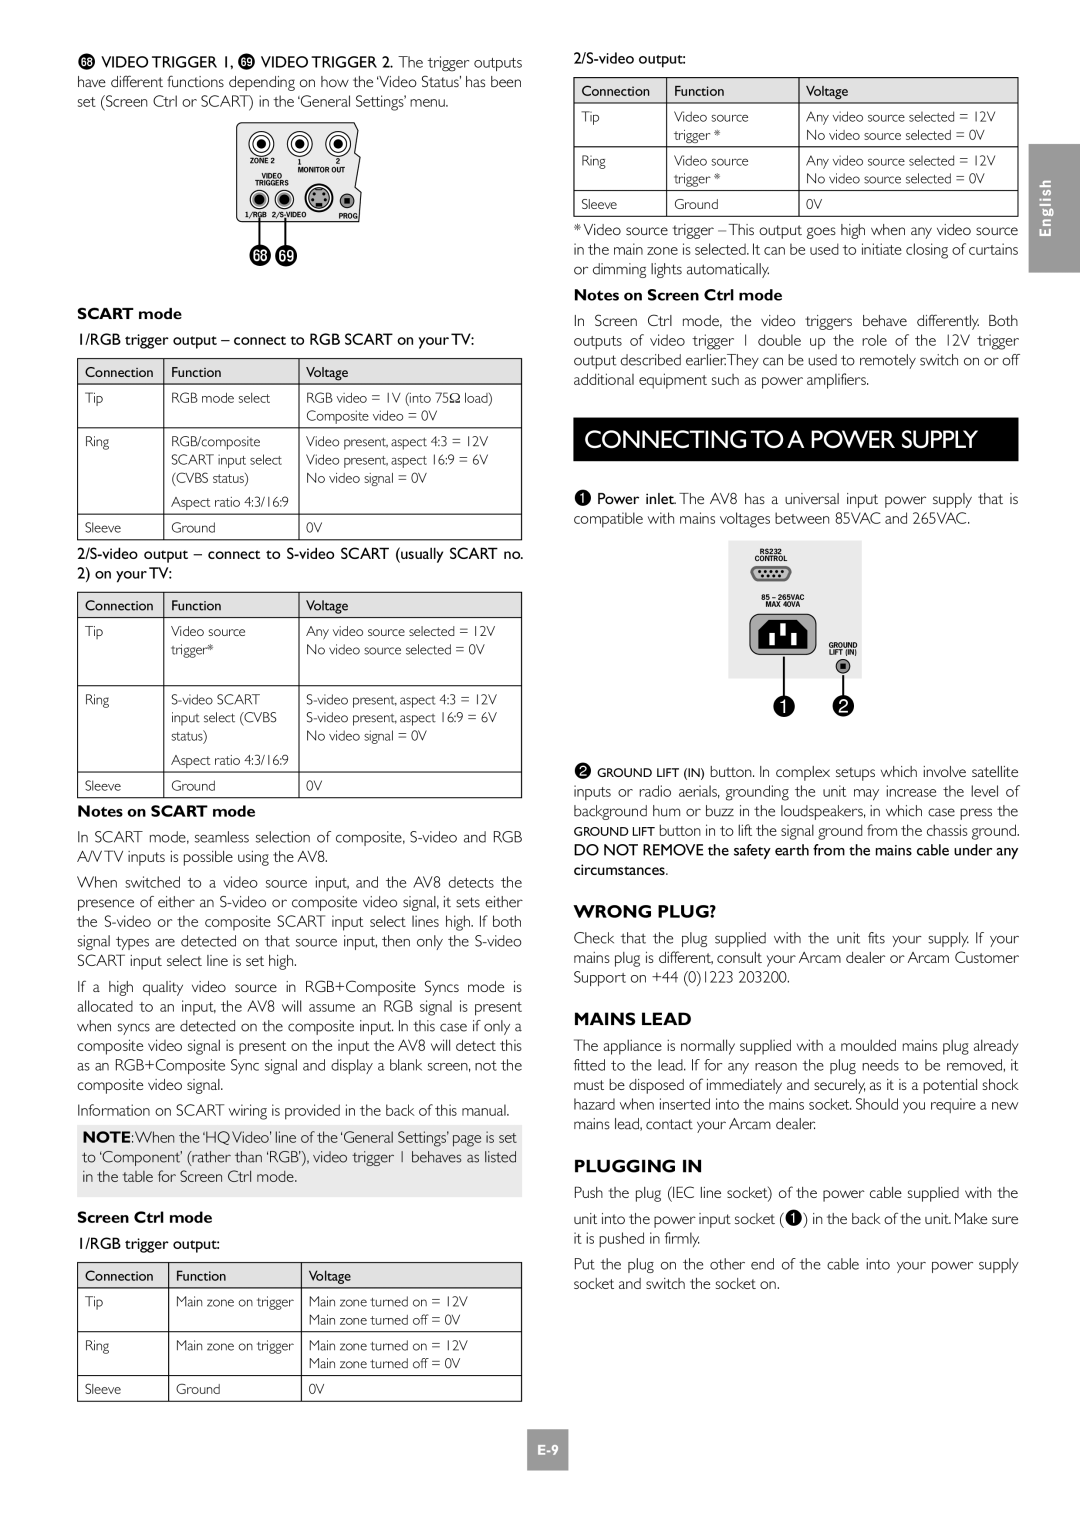
gs VIDEO TRIGGER 1, gt VIDEO TRIGGER 2. The trigger outputs have different functions depending on how the ‘Video Status’ has been set (Screen Ctrl or SCART) in the ‘General Settings’ menu.
ZONE 2 | 1 | 2 |
VIDEO | MONITOR OUT | |
|
| |
TRIGGERS |
|
|
1/RGB | PROG | |
gsgt
SCART mode
1/RGB trigger output – connect to RGB SCART on your TV:
Connection | Function | Voltage |
|
|
|
Tip | RGB mode select | RGB video = 1V (into 75Ω load) |
|
| Composite video = 0V |
|
|
|
Ring | RGB/composite | Video present, aspect 4:3 = 12V |
| SCART input select | Video present, aspect 16:9 = 6V |
| (CVBS status) | No video signal = 0V |
| Aspect ratio 4:3/16:9 |
|
|
|
|
Sleeve | Ground | 0V |
|
|
|
2) on your TV:
Connection | Function | Voltage |
|
|
|
Tip | Video source | Any video source selected = 12V |
| trigger* | No video source selected = 0V |
|
|
|
Ring | ||
| input select (CVBS | |
| status) | No video signal = 0V |
| Aspect ratio 4:3/16:9 |
|
|
|
|
Sleeve | Ground | 0V |
|
|
|
Notes on SCART mode
In SCART mode, seamless selection of composite,
When switched to a video source input, and the AV8 detects the presence of either an
If a high quality video source in RGB+Composite Syncs mode is allocated to an input, the AV8 will assume an RGB signal is present when syncs are detected on the composite input. In this case if only a composite video signal is present on the input the AV8 will detect this as an RGB+Composite Sync signal and display a blank screen, not the composite video signal.
Information on SCART wiring is provided in the back of this manual.
NOTE:When the ‘HQ Video’ line of the ‘General Settings’ page is set to ‘Component’ (rather than ‘RGB’), video trigger 1 behaves as listed in the table for Screen Ctrl mode.
Screen Ctrl mode
1/RGB trigger output:
Connection | Function | Voltage |
|
|
|
Tip | Main zone on trigger | Main zone turned on = 12V |
|
| Main zone turned off = 0V |
|
|
|
Ring | Main zone on trigger | Main zone turned on = 12V |
|
| Main zone turned off = 0V |
|
|
|
Sleeve | Ground | 0V |
|
|
|
2/S-video output:
Connection | Function | Voltage |
|
|
|
|
|
|
|
Tip | Video source | Any video source selected = 12V |
|
|
| trigger * | No video source selected = 0V |
|
|
|
|
|
|
|
Ring | Video source | Any video source selected = 12V |
|
|
| trigger * | No video source selected = 0V |
| English |
|
|
|
| |
* Video source | trigger – This output | goes high when any video source |
| |
Sleeve | Ground | 0V |
|
|
in the main zone is selected. It can be used to initiate closing of curtains or dimming lights automatically.
Notes on Screen Ctrl mode
In Screen Ctrl mode, the video triggers behave differently. Both outputs of video trigger 1 double up the role of the 12V trigger output described earlier.They can be used to remotely switch on or off additional equipment such as power amplifiers.
CONNECTING TO A POWER SUPPLY
1 Power inlet. The AV8 has a universal input power supply that is compatible with mains voltages between 85VAC and 265VAC.
RS232
CONTROL
85 – 265VAC
MAX 40VA
GROUND
LIFT (IN)
12
2 button. In complex setups which involve satellite inputs or radio aerials, grounding the unit may increase the level of background hum or buzz in the loudspeakers, in which case press the GROUND LIFT button in to lift the signal ground from the chassis ground. DO NOT REMOVE the safety earth from the mains cable under any circumstances.
WRONG PLUG?
Check that the plug supplied with the unit fits your supply. If your mains plug is different, consult your Arcam dealer or Arcam Customer Support on +44 (0)1223 203200.
MAINS LEAD
The appliance is normally supplied with a moulded mains plug already fitted to the lead. If for any reason the plug needs to be removed, it must be disposed of immediately and securely, as it is a potential shock hazard when inserted into the mains socket. Should you require a new mains lead, contact your Arcam dealer.
PLUGGING IN
Push the plug (IEC line socket) of the power cable supplied with the
unit into the power input socket (1) in the back of the unit. Make sure it is pushed in firmly.
Put the plug on the other end of the cable into your power supply socket and switch the socket on.