Configuring the AV8
The AV8 ‘Setup Menu’ has six ‘Basic’ and five ‘Advanced’ menu screens which take you through the configuration process. The ‘Basic’ menus enable you to match your AV8 to your speakers.The ‘Advanced’ menus allow you to optimise the operation of your system. Screen shots of these menus are shown in shaded boxes on the following pages.
The best way to set up the AV8 is using the
The AV8 defaults to the NTSC video standard – most display devices can sync to this automatically. For
ENTERING SETUP MODE
To enter the Setup menus press and hold the MENU button on the remote control, or on the front panel, for at least two seconds. The ‘Setup Menu Index’ is displayed on your display device.
Unstable OSD menu display?
Your AV8 may be in the wrong video standard mode. Press and hold the OK button for more than two seconds to switch between the NTSC and PAL standard OSD mode.
SETUP LOCK
To prevent tampering with the AV8 setup configuration you can ‘lock’ the menus by pressing the OK, TUNER and
SETUP MENU
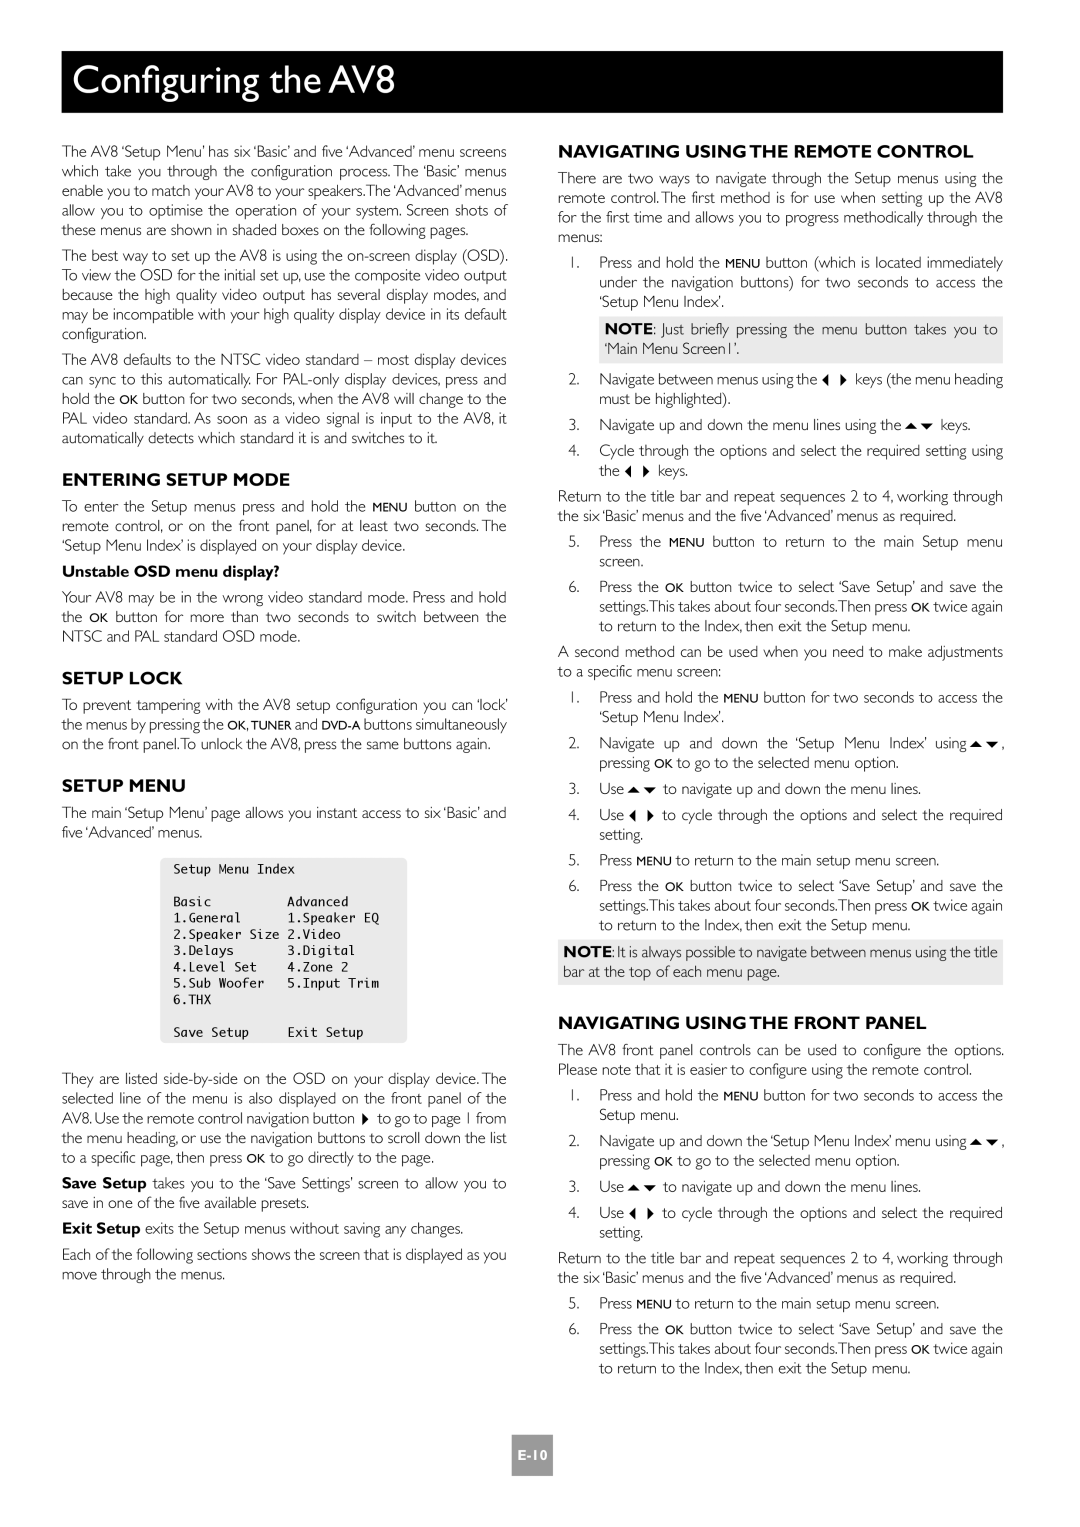
The main ‘Setup Menu’ page allows you instant access to six ‘Basic’ and five ‘Advanced’ menus.
Setup Menu Index
Basic | Advanced |
1.General | 1.Speaker EQ |
2.Speaker Size | 2.Video |
3.Delays | 3.Digital |
4.Level Set | 4.Zone 2 |
5.Sub Woofer | 5.Input Trim |
6.THX |
|
NAVIGATING USING THE REMOTE CONTROL
There are two ways to navigate through the Setup menus using the remote control. The first method is for use when setting up the AV8 for the first time and allows you to progress methodically through the menus:
1.Press and hold the MENU button (which is located immediately under the navigation buttons) for two seconds to access the ‘Setup Menu Index’.
NOTE: Just briefly pressing the menu button takes you to ‘Main Menu Screen1’.
2.Navigate between menus using the34keys (the menu heading must be highlighted).
3.Navigate up and down the menu lines using the56keys.
4.Cycle through the options and select the required setting using the34keys.
Return to the title bar and repeat sequences 2 to 4, working through the six ‘Basic’ menus and the five ‘Advanced’ menus as required.
5.Press the MENU button to return to the main Setup menu screen.
6.Press the OK button twice to select ‘Save Setup’ and save the settings.This takes about four seconds.Then press OK twice again to return to the Index, then exit the Setup menu.
A second method can be used when you need to make adjustments to a specific menu screen:
1.Press and hold the MENU button for two seconds to access the ‘Setup Menu Index’.
2.Navigate up and down the ‘Setup Menu Index’ using56, pressing OK to go to the selected menu option.
3.Use56to navigate up and down the menu lines.
4.Use34to cycle through the options and select the required setting.
5.Press MENU to return to the main setup menu screen.
6.Press the OK button twice to select ‘Save Setup’ and save the settings.This takes about four seconds.Then press OK twice again to return to the Index, then exit the Setup menu.
NOTE: It is always possible to navigate between menus using the title bar at the top of each menu page.
Save Setup | Exit Setup |
They are listed
Save Setup takes you to the ‘Save Settings’ screen to allow you to save in one of the five available presets.
Exit Setup exits the Setup menus without saving any changes.
Each of the following sections shows the screen that is displayed as you move through the menus.
NAVIGATING USING THE FRONT PANEL
The AV8 front panel controls can be used to configure the options. Please note that it is easier to configure using the remote control.
1.Press and hold the MENU button for two seconds to access the Setup menu.
2.Navigate up and down the ‘Setup Menu Index’ menu using56, pressing OK to go to the selected menu option.
3.Use56to navigate up and down the menu lines.
4.Use34to cycle through the options and select the required setting.
Return to the title bar and repeat sequences 2 to 4, working through the six ‘Basic’ menus and the five ‘Advanced’ menus as required.
5.Press MENU to return to the main setup menu screen.
6.Press the OK button twice to select ‘Save Setup’ and save the settings.This takes about four seconds.Then press OK twice again to return to the Index, then exit the Setup menu.