INFO
Press this button on the remote once to display the local OSD report on source inputs and processing mode. The display times out after about three seconds.
SYN
Delays may be introduced into the video signal by external video processing equipment which causes a mismatch between the audio and video timing. You will notice this by speech sound being out of synchronisation with the lip movements in the video.
To compensate for this you can adjust the lip sync audio delay. Press SYN and use the34navigation buttons to change the delay. Press SYN again to exit the lip sync function.
DISPLAY
This allows you to select the illumination level of the front panel display. Press DISPLAY on the front panel or DIS on the remote to cycle through the settings Off/Dim/Bright.
TRIM
This allows temporary adjustment of the speaker levels. Press TRM to access the OSD ‘Speaker Trims’ menu, using the navigation buttons to adjust the levels required. Press again to exit the trim function. As this is a temporary adjustment, the trim levels are reset to 0 when the unit is turned off or the selected input is changed, but are retained if the unit is put in standby. These temporary trim levels are independent of the ‘Level Settings’ page found in the Setup Menu.
USING THE MAIN MENU SCREEN
Three Main Menu screens allow |
|
way the AV8 operates. Examples include adjusting the tone control for |
|
a particular input, recording one source while listening to another or |
|
configuring the headphone output. | English |
selected line of each screen is also displayed on the front panel of the | |
The three Main menu screens are available on your display device.The |
|
AV8. Each of the following sections has a picture showing the screen |
|
that is displayed as you move through the menus. |
|
USING THE REMOTE CONTROL
Briefly press the MENU button to enter ‘Main Menu Screen 1’. Use the navigation5 and6buttons to go up and down the menu respectively. The3and4buttons are used to alter the selection on the highlighted line, or to change to the next screen if the menu heading is highlighted.
USING THE FRONT PANEL
Press the MENU button to enter the main menu. To cycle through the items on a menu, use the6EFFECT button to go down and5MODE button to go up one line for each press. Use the volume control knob for the3and4functions in order to cycle through the available choices, or to change the menu page if the menu heading is highlighted.
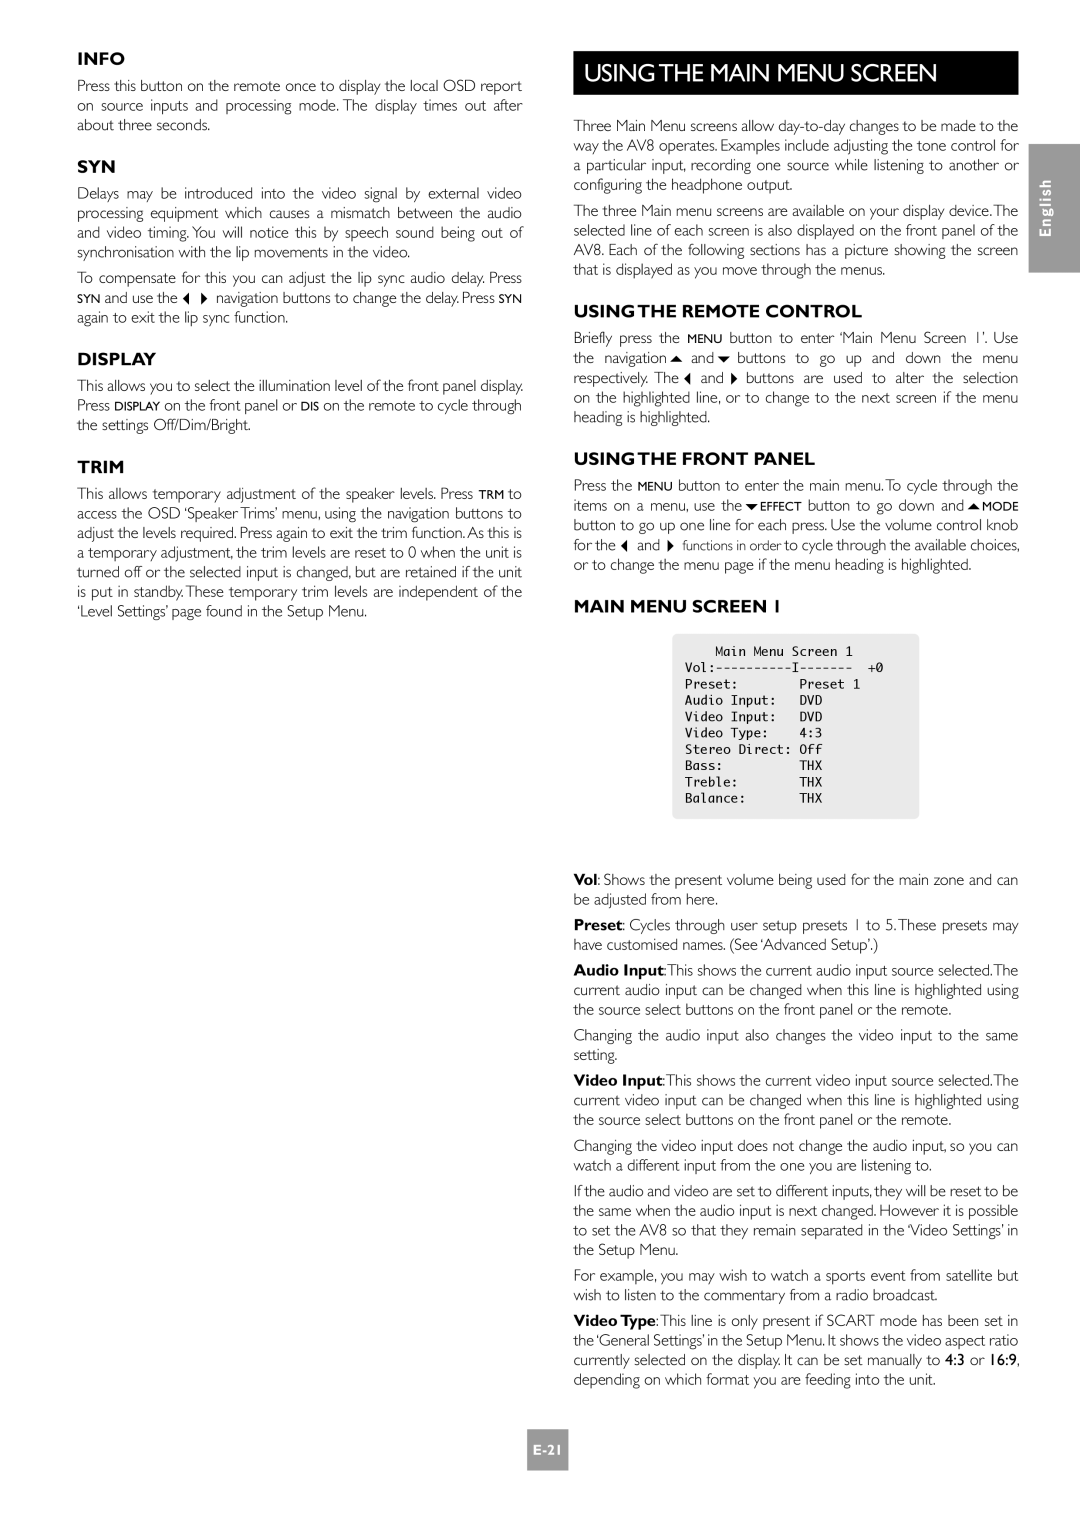
MAIN MENU SCREEN 1
Main Menu Screen 1 |
|
+0 |
Preset: | Preset 1 |
Audio Input: | DVD |
Video Input: | DVD |
Video Type: | 4:3 |
Stereo Direct: | Off |
Bass: | THX |
Treble: | THX |
Balance: | THX |
Vol: Shows the present volume being used for the main zone and can be adjusted from here.
Preset: Cycles through user setup presets 1 to 5. These presets may have customised names. (See ‘Advanced Setup’.)
Audio Input:This shows the current audio input source selected.The current audio input can be changed when this line is highlighted using the source select buttons on the front panel or the remote.
Changing the audio input also changes the video input to the same setting.
Video Input:This shows the current video input source selected.The current video input can be changed when this line is highlighted using the source select buttons on the front panel or the remote.
Changing the video input does not change the audio input, so you can watch a different input from the one you are listening to.
If the audio and video are set to different inputs, they will be reset to be the same when the audio input is next changed. However it is possible to set the AV8 so that they remain separated in the ‘Video Settings’ in the Setup Menu.
For example, you may wish to watch a sports event from satellite but wish to listen to the commentary from a radio broadcast.
Video Type:This line is only present if SCART mode has been set in the ‘General Settings’ in the Setup Menu. It shows the video aspect ratio currently selected on the display. It can be set manually to 4:3 or 16:9, depending on which format you are feeding into the unit.