5 Recording MP3 Music
Refer to the Quick Start Guide for basic information.
5.1Recording
With the Jukebox Multimedia, you do not need a computer to create MP3 music and audio files. You can create MP3 files in three different ways. You can (1) Record from the built in microphone (voice recorder) (2) Record directly from an any analog audio source such as a stereo, portable stereo, radio, etc. via the
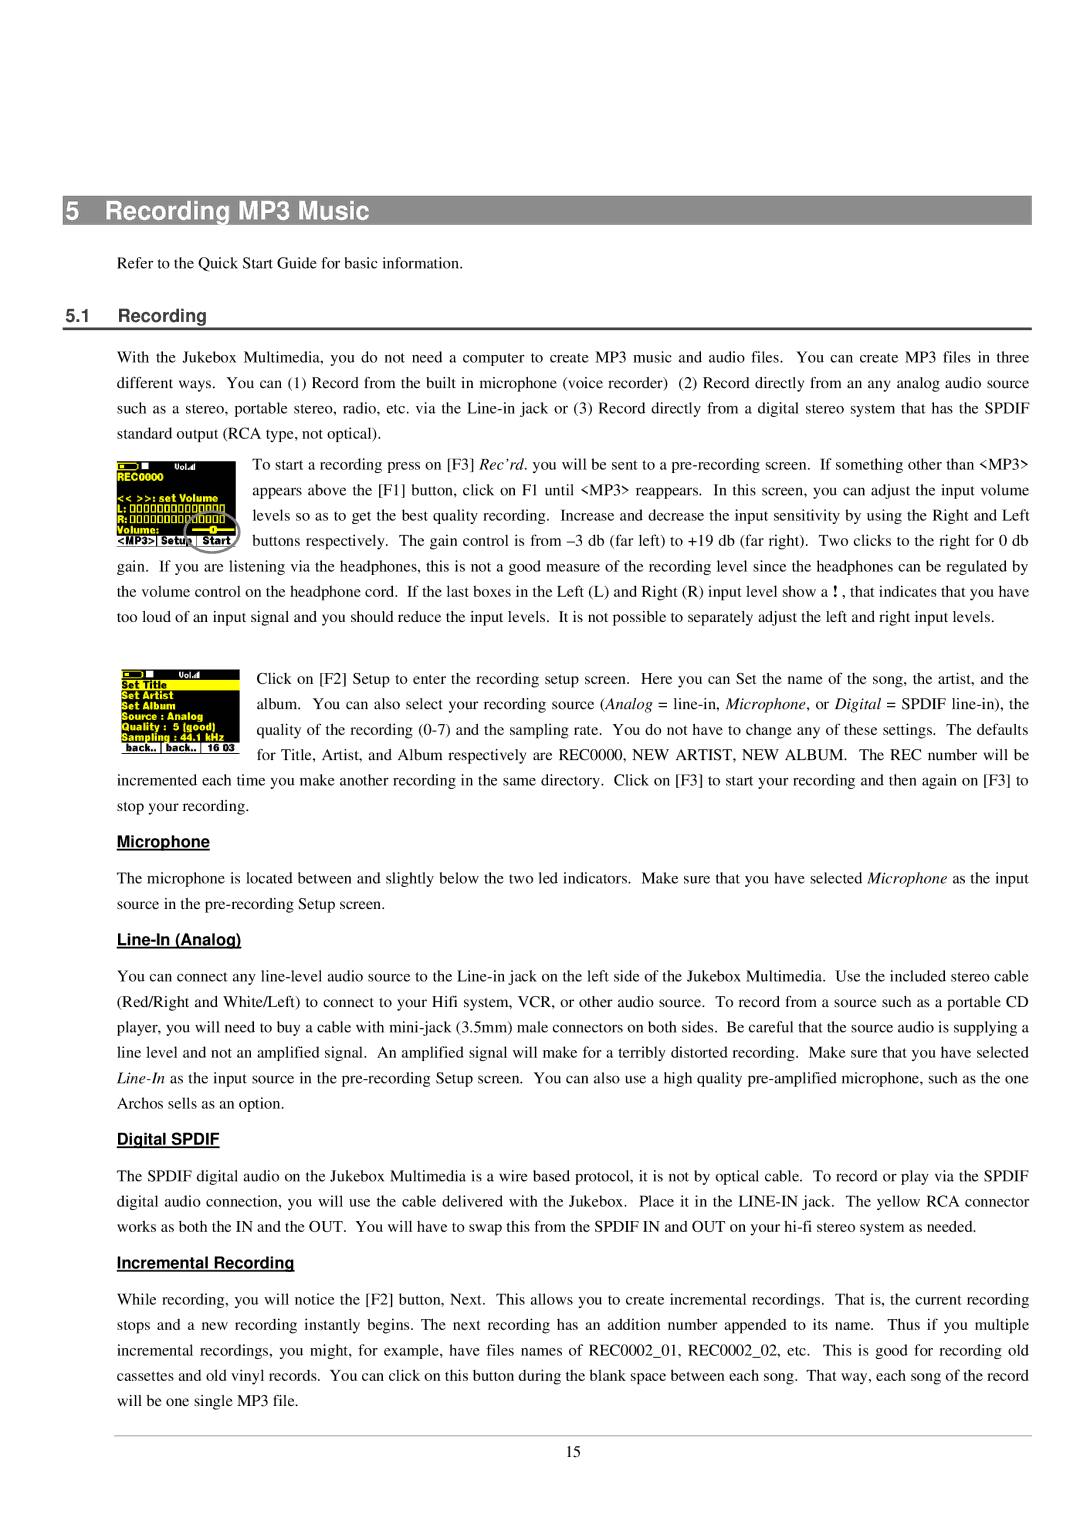
To start a recording press on [F3] Rec’rd. you will be sent to a
gain. If you are listening via the headphones, this is not a good measure of the recording level since the headphones can be regulated by the volume control on the headphone cord. If the last boxes in the Left (L) and Right (R) input level show a ! , that indicates that you have too loud of an input signal and you should reduce the input levels. It is not possible to separately adjust the left and right input levels.
Click on [F2] Setup to enter the recording setup screen. Here you can Set the name of the song, the artist, and the album. You can also select your recording source (Analog =
incremented each time you make another recording in the same directory. Click on [F3] to start your recording and then again on [F3] to stop your recording.
Microphone
The microphone is located between and slightly below the two led indicators. Make sure that you have selected Microphone as the input source in the
Line-In (Analog)
You can connect any
Digital SPDIF
The SPDIF digital audio on the Jukebox Multimedia is a wire based protocol, it is not by optical cable. To record or play via the SPDIF digital audio connection, you will use the cable delivered with the Jukebox. Place it in the
Incremental Recording
While recording, you will notice the [F2] button, Next. This allows you to create incremental recordings. That is, the current recording stops and a new recording instantly begins. The next recording has an addition number appended to its name. Thus if you multiple incremental recordings, you might, for example, have files names of REC0002_01, REC0002_02, etc. This is good for recording old cassettes and old vinyl records. You can click on this button during the blank space between each song. That way, each song of the record will be one single MP3 file.
15