8 Viewing Photos & Reading Memory Cards
Refer to the Quick Start Guide for basic information.
8.1Viewing Photos
The Jukebox Multimedia is able to display pictures of type JPEG (progressive JPEG not supported) and BMP (4,8, and 24 bit depth) on its
Button | Action |
Right | Advance to the next picture in the current folder |
Left | Go back to the previous picture in the current folder |
Up | Rotate viewing |
Down | Rotate viewing clockwise |
F1 | Setup: Adjust settings or set preview mode to view 1, 4, or 9 (with 100 series) images at a time. |
F2 | No Bar: Show F1 and F3 options |
F3 | More: Show file information and Delete file if desired |
Off | Go back to the browser view (view directories) |
8.2Transferring Photos from a Memory Card
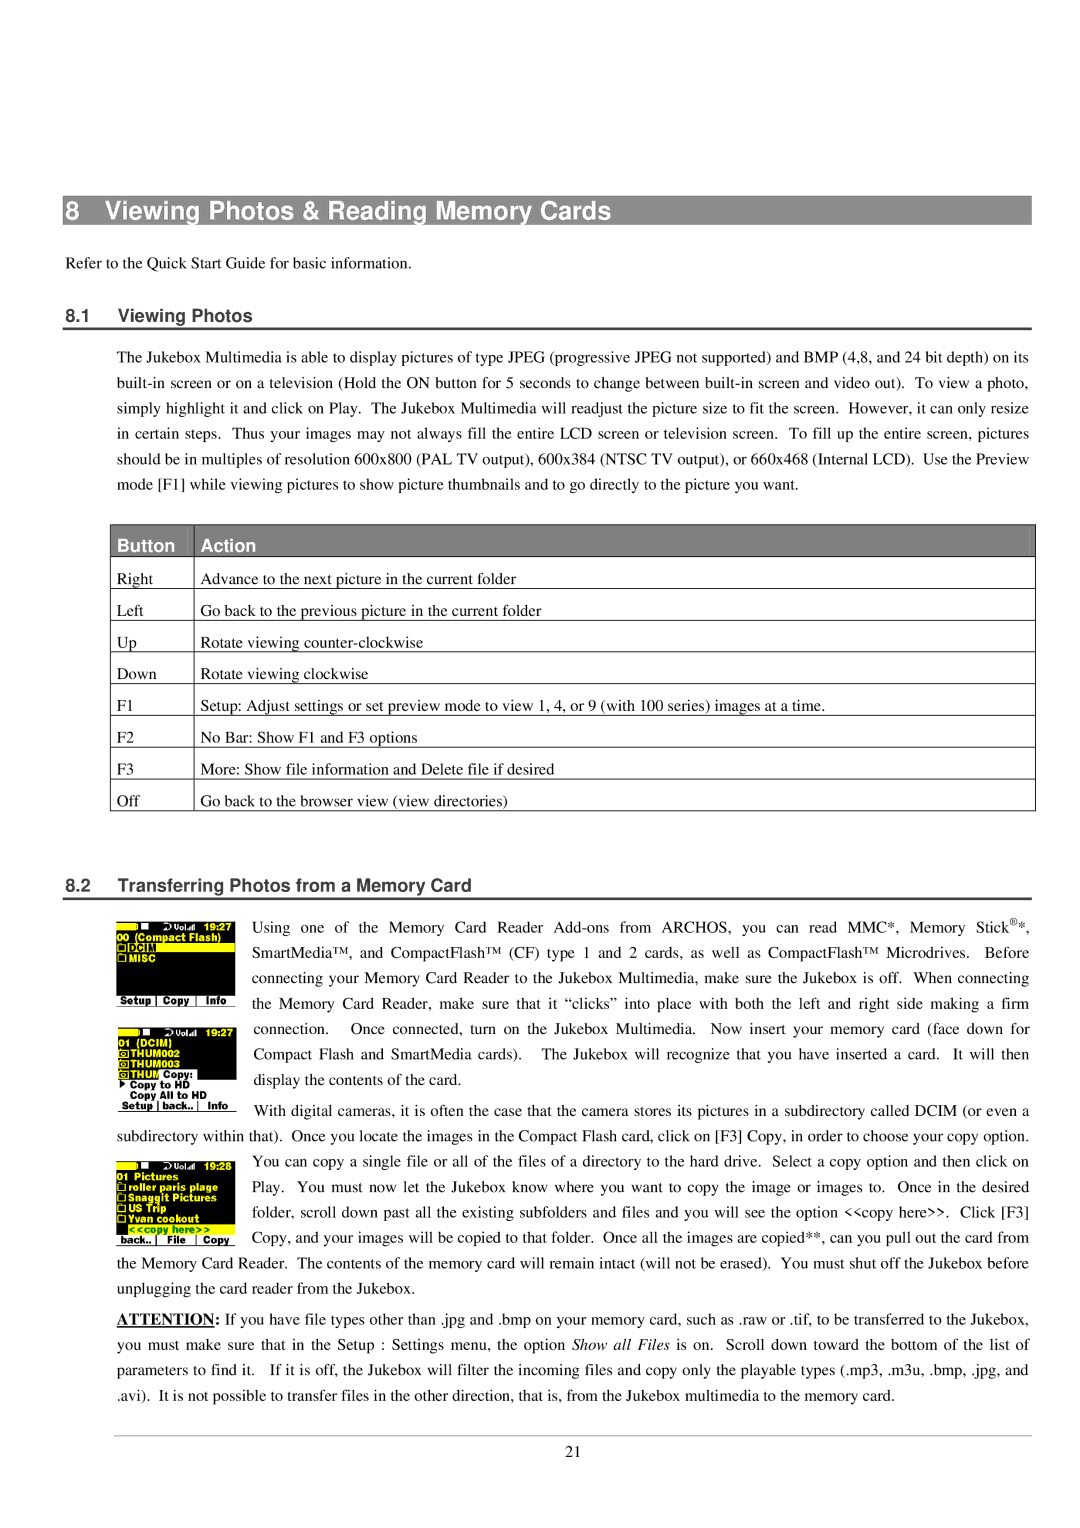
Using one of the Memory Card Reader
With digital cameras, it is often the case that the camera stores its pictures in a subdirectory called DCIM (or even a subdirectory within that). Once you locate the images in the Compact Flash card, click on [F3] Copy, in order to choose your copy option.
You can copy a single file or all of the files of a directory to the hard drive. Select a copy option and then click on Play. You must now let the Jukebox know where you want to copy the image or images to. Once in the desired folder, scroll down past all the existing subfolders and files and you will see the option <<copy here>>. Click [F3] Copy, and your images will be copied to that folder. Once all the images are copied**, can you pull out the card from
the Memory Card Reader. The contents of the memory card will remain intact (will not be erased). You must shut off the Jukebox before unplugging the card reader from the Jukebox.
ATTENTION: If you have file types other than .jpg and .bmp on your memory card, such as .raw or .tif, to be transferred to the Jukebox,
you must make sure that in the Setup : Settings menu, the option Show all Files is on. Scroll down toward the bottom of the list of parameters to find it. If it is off, the Jukebox will filter the incoming files and copy only the playable types (.mp3, .m3u, .bmp, .jpg, and
.avi). It is not possible to transfer files in the other direction, that is, from the Jukebox multimedia to the memory card.
21