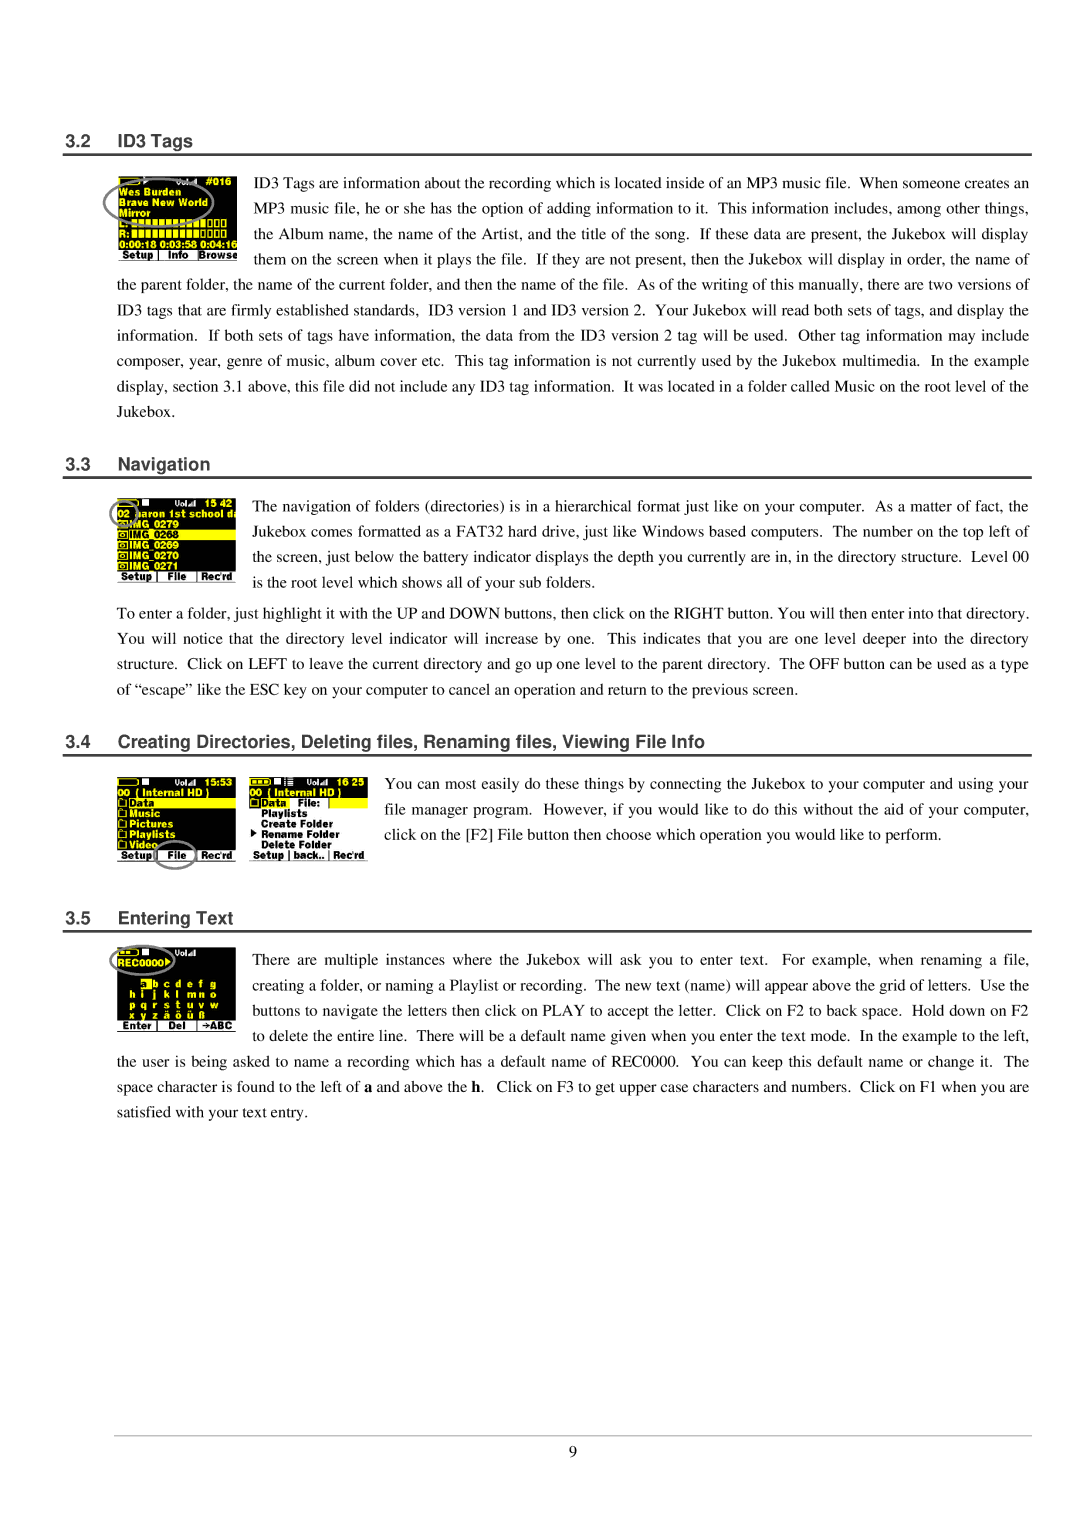
3.2ID3 Tags
ID3 Tags are information about the recording which is located inside of an MP3 music file. When someone creates an MP3 music file, he or she has the option of adding information to it. This information includes, among other things, the Album name, the name of the Artist, and the title of the song. If these data are present, the Jukebox will display them on the screen when it plays the file. If they are not present, then the Jukebox will display in order, the name of
the parent folder, the name of the current folder, and then the name of the file. As of the writing of this manually, there are two versions of ID3 tags that are firmly established standards, ID3 version 1 and ID3 version 2. Your Jukebox will read both sets of tags, and display the information. If both sets of tags have information, the data from the ID3 version 2 tag will be used. Other tag information may include composer, year, genre of music, album cover etc. This tag information is not currently used by the Jukebox multimedia. In the example display, section 3.1 above, this file did not include any ID3 tag information. It was located in a folder called Music on the root level of the Jukebox.
3.3Navigation
The navigation of folders (directories) is in a hierarchical format just like on your computer. As a matter of fact, the Jukebox comes formatted as a FAT32 hard drive, just like Windows based computers. The number on the top left of the screen, just below the battery indicator displays the depth you currently are in, in the directory structure. Level 00 is the root level which shows all of your sub folders.
To enter a folder, just highlight it with the UP and DOWN buttons, then click on the RIGHT button. You will then enter into that directory. You will notice that the directory level indicator will increase by one. This indicates that you are one level deeper into the directory structure. Click on LEFT to leave the current directory and go up one level to the parent directory. The OFF button can be used as a type of “escape” like the ESC key on your computer to cancel an operation and return to the previous screen.
3.4Creating Directories, Deleting files, Renaming files, Viewing File Info
You can most easily do these things by connecting the Jukebox to your computer and using your file manager program. However, if you would like to do this without the aid of your computer, click on the [F2] File button then choose which operation you would like to perform.
3.5Entering Text
There are multiple instances where the Jukebox will ask you to enter text. For example, when renaming a file, creating a folder, or naming a Playlist or recording. The new text (name) will appear above the grid of letters. Use the buttons to navigate the letters then click on PLAY to accept the letter. Click on F2 to back space. Hold down on F2 to delete the entire line. There will be a default name given when you enter the text mode. In the example to the left,
the user is being asked to name a recording which has a default name of REC0000. You can keep this default name or change it. The space character is found to the left of a and above the h. Click on F3 to get upper case characters and numbers. Click on F1 when you are satisfied with your text entry.
9