Zero Adjust

To ensure air entering the instrument is clean, install the aero air filter in the instrument’s intake and sample until the readings stabilize.

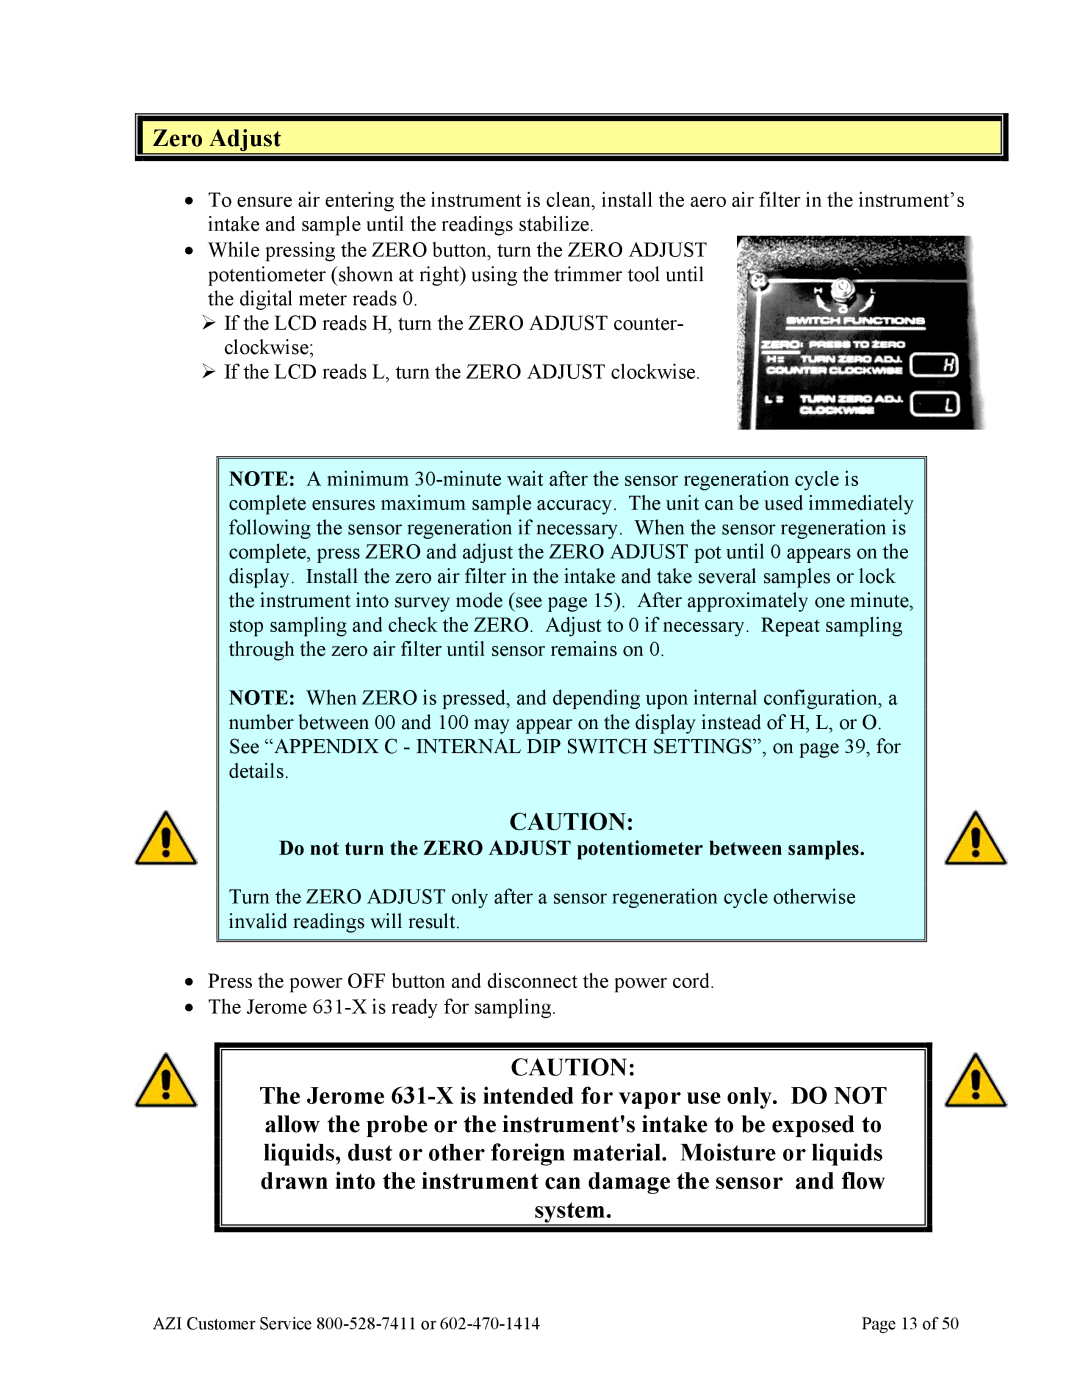
While pressing the ZERO button, turn the ZERO ADJUST potentiometer (shown at right) using the trimmer tool until the digital meter reads 0.

If the LCD reads H, turn the ZERO ADJUST counter- clockwise;

If the LCD reads L, turn the ZERO ADJUST clockwise.

NOTE: A minimum 30-minute wait after the sensor regeneration cycle is complete ensures maximum sample accuracy. The unit can be used immediately following the sensor regeneration if necessary. When the sensor regeneration is complete, press ZERO and adjust the ZERO ADJUST pot until 0 appears on the display. Install the zero air filter in the intake and take several samples or lock the instrument into survey mode (see page 15). After approximately one minute, stop sampling and check the ZERO. Adjust to 0 if necessary. Repeat sampling through the zero air filter until sensor remains on 0.

NOTE: When ZERO is pressed, and depending upon internal configuration, a number between 00 and 100 may appear on the display instead of H, L, or O. See “APPENDIX C - INTERNAL DIP SWITCH SETTINGS”, on page 39, for details.

CAUTION:

Do not turn the ZERO ADJUST potentiometer between samples.

Turn the ZERO ADJUST only after a sensor regeneration cycle otherwise invalid readings will result.

Press the power OFF button and disconnect the power cord.

The Jerome 631-X is ready for sampling.

CAUTION:

The Jerome 631-X is intended for vapor use only. DO NOT allow the probe or the instrument's intake to be exposed to liquids, dust or other foreign material. Moisture or liquids drawn into the instrument can damage the sensor and flow system.

AZI Customer Service 800-528-7411 or 602-470-1414

Page 13 of 50

Page 13
Image 13
Arizona Jerome 631-X operation manual Do not turn the Zero Adjust potentiometer between samples