Programming Voice Terminals For
Personal Priorities
By programming their own voice terminals, people can change the features on all but the fixed feature buttons and the line, pool, and Intercom buttons. This allows almost everyone to have features that provide personal convenience, such as an Out- side Auto Dial button for calling home.
ASSIGNING FEATURES TO PROGRAMMABLE BUTTONS
You may want to advise users who program their own voice terminals of the following:
●In order to give information as to whether they are on or off, these features re- quire buttons with lights: Do Not Disturb, Privacy, Auto Answer on Intercom, and Auto Answer on Outside Lines.
●A button with a light is recommended, but not required, for the following features: Intercom Auto Dial and
●Features that require optional equipment may also require a button (for exam- ple, Loudspeaker Paging, Automatic Answering on Intercom and Automatic Answering on Outside Lines).
Follow these steps to assign a feature to a programmable button:
1.Label the button.
2.Set the voice terminal to program mode by following the boxed instructions on page 30.
3.Touch the button that you want to represent the feature.
4.Dial the appropriate code from the chart below.
5.If you have more features to assign, you can do so. Otherwise, slide the T/P switch to the center position to return to normal operation.
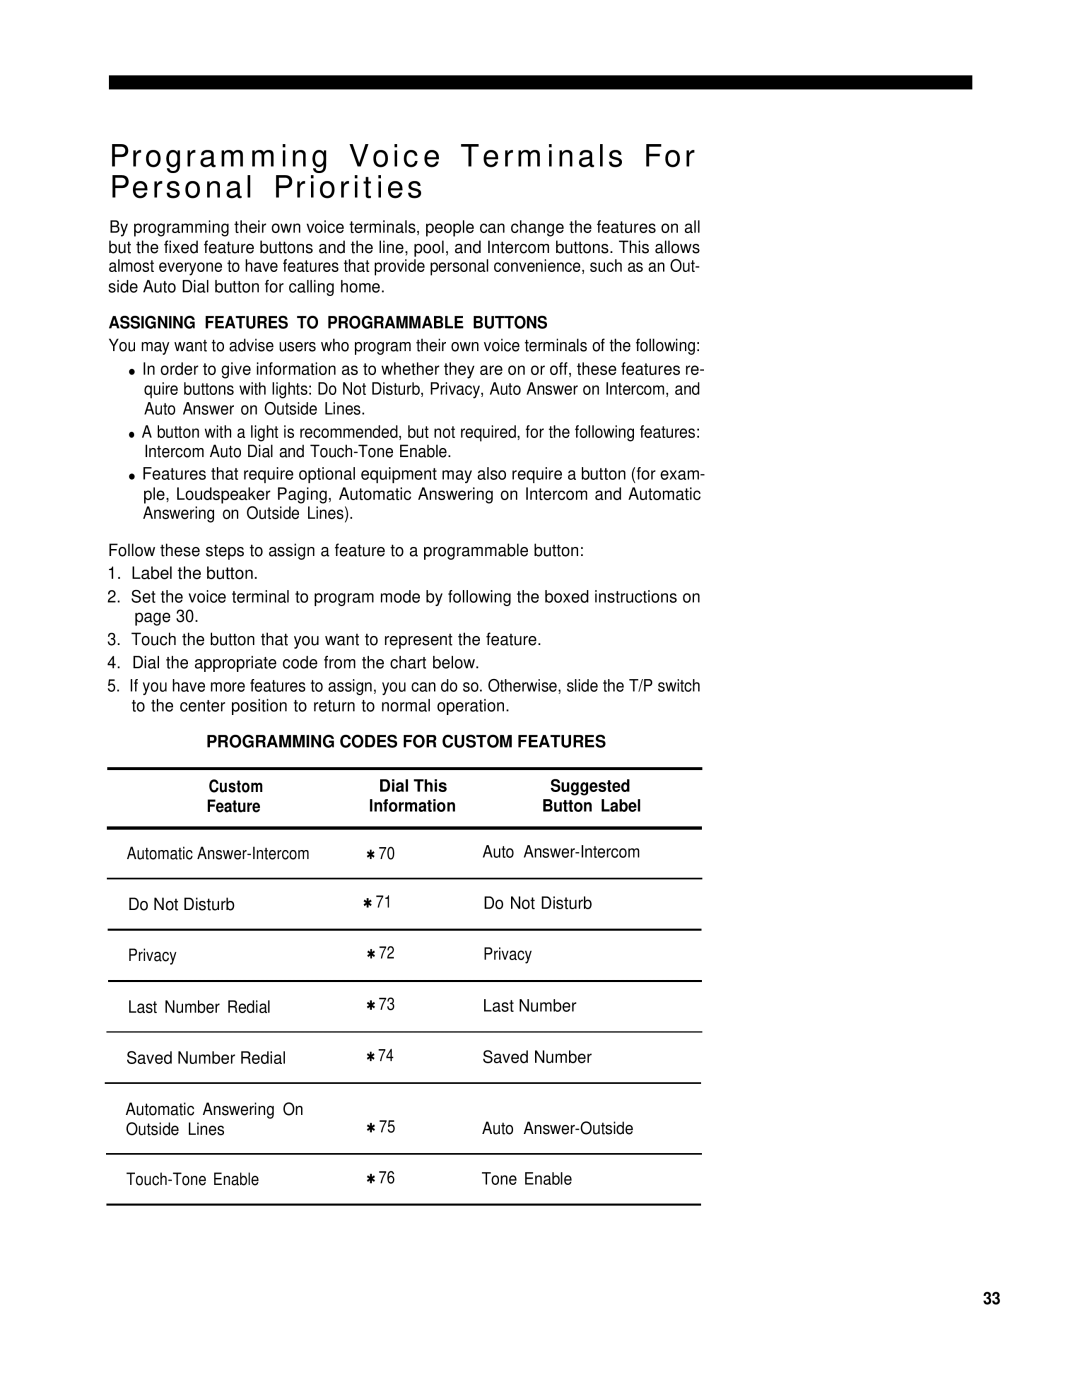
PROGRAMMING CODES FOR CUSTOM FEATURES
| Custom | Dial This | Suggested |
| Feature | Information | Button Label |
|
|
|
|
| Automatic | ✱ 70 | Auto |
|
|
|
|
| Do Not Disturb | ✱ 71 | Do Not Disturb |
|
|
|
|
| Privacy | ✱ 72 | Privacy |
|
|
|
|
| Last Number Redial | ✱ 73 | Last Number |
|
|
|
|
| Saved Number Redial | ✱ 74 | Saved Number |
|
|
|
|
| Automatic Answering On | ✱ 75 | Auto |
| Outside Lines | ||
|
|
|
|
| ✱ 76 | Tone Enable | |
|
|
|
|
33
