10AXIS 223M - Accessing the Camera
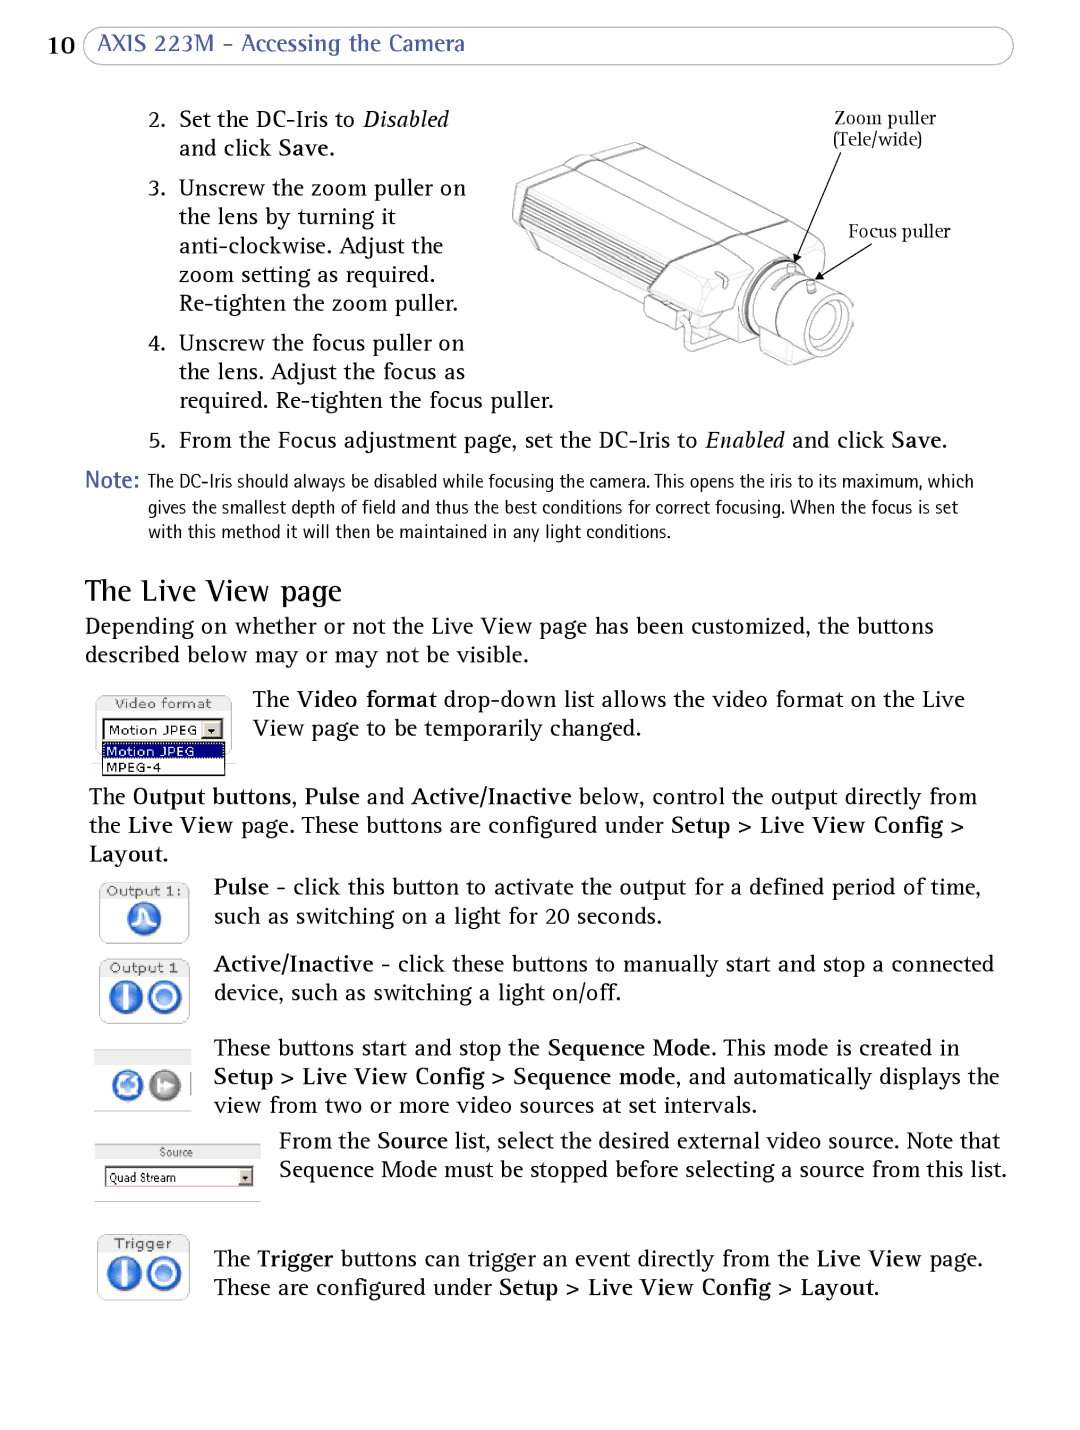
2. | Set the | Zoom puller |
| and click Save. | (Tele/wide) |
|
| |
3. | Unscrew the zoom puller on |
|
| the lens by turning it |
|
Focus puller | |
| |
zoom setting as required. |
|
|
4.Unscrew the focus puller on the lens. Adjust the focus as required.
5.From the Focus adjustment page, set the
Note: The
The Live View page
Depending on whether or not the Live View page has been customized, the buttons described below may or may not be visible.
The Video format
The Output buttons, Pulse and Active/Inactive below, control the output directly from the Live View page. These buttons are configured under Setup > Live View Config >
Layout.
Pulse - click this button to activate the output for a defined period of time, such as switching on a light for 20 seconds.
Active/Inactive - click these buttons to manually start and stop a connected device, such as switching a light on/off.
These buttons start and stop the Sequence Mode. This mode is created in Setup > Live View Config > Sequence mode, and automatically displays the view from two or more video sources at set intervals.
From the Source list, select the desired external video source. Note that Sequence Mode must be stopped before selecting a source from this list.
The Trigger buttons can trigger an event directly from the Live View page. These are configured under Setup > Live View Config > Layout.