Bay Technical Associates Installing the 400-ST1 Cascade Module, Removing the Filler Panel

Models: 400-ST1

1 40
Download 40 pages 45.9 Kb
Page 19
Image 19

Installing the 400-ST1 Cascade Module

The Cascade Module slot on the BayStack 450 switch can accommodate a single 400-ST1 Cascade Module.

To install a 400-ST1 Cascade Module into the Cascade Module slot, follow these steps:

1.Unplug the AC power cord from the back of the switch.

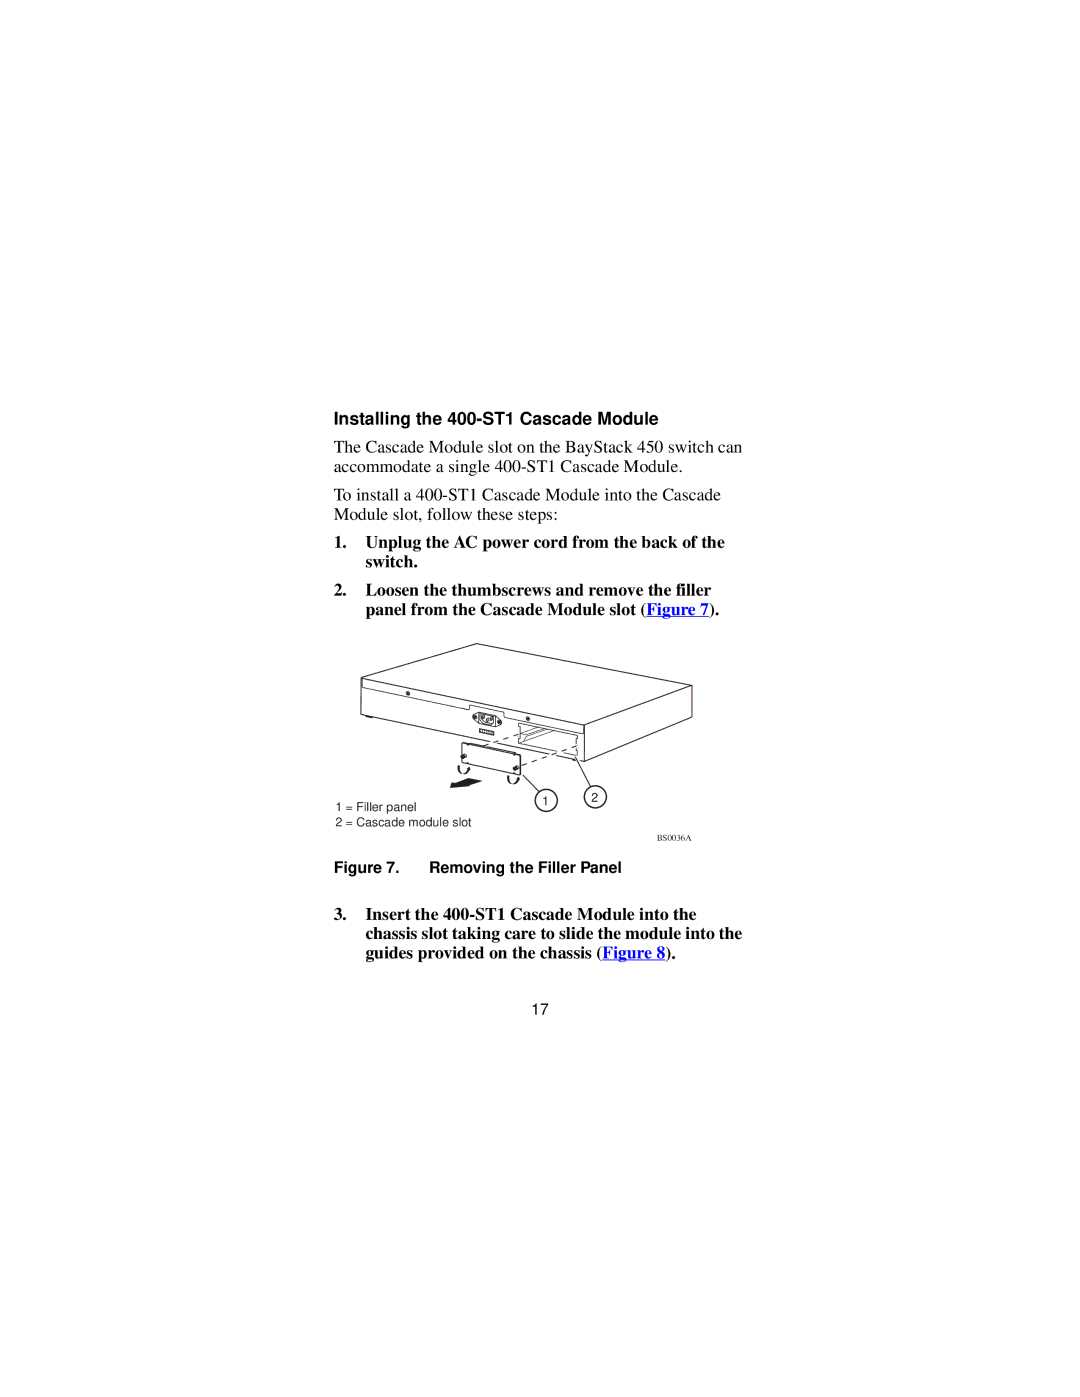
2.Loosen the thumbscrews and remove the filler panel from the Cascade Module slot (Figure 7).

1

= Filler panel

1

2


2

= Cascade module slot


BS0036A

Figure 7. Removing the Filler Panel

3.Insert the 400-ST1 Cascade Module into the chassis slot taking care to slide the module into the guides provided on the chassis (Figure 8).

17

Page 19
Image 19
Bay Technical Associates manual Installing the 400-ST1 Cascade Module, Removing the Filler Panel