I N STA L L AT I O N
Step-by-Step Installation Guide
Cautions and Warnings:
Before attempting to connect anything to the PRO2 or your computer(s), please ensure that everything is powered off. Plugging and unplugging cables while computer(s) are powered on may cause irreversible damage to the computer(s) and/or the PRO2(s). Belkin Components is not responsible for damage caused in this way.
Installing the PRO2 into a Server Rack:
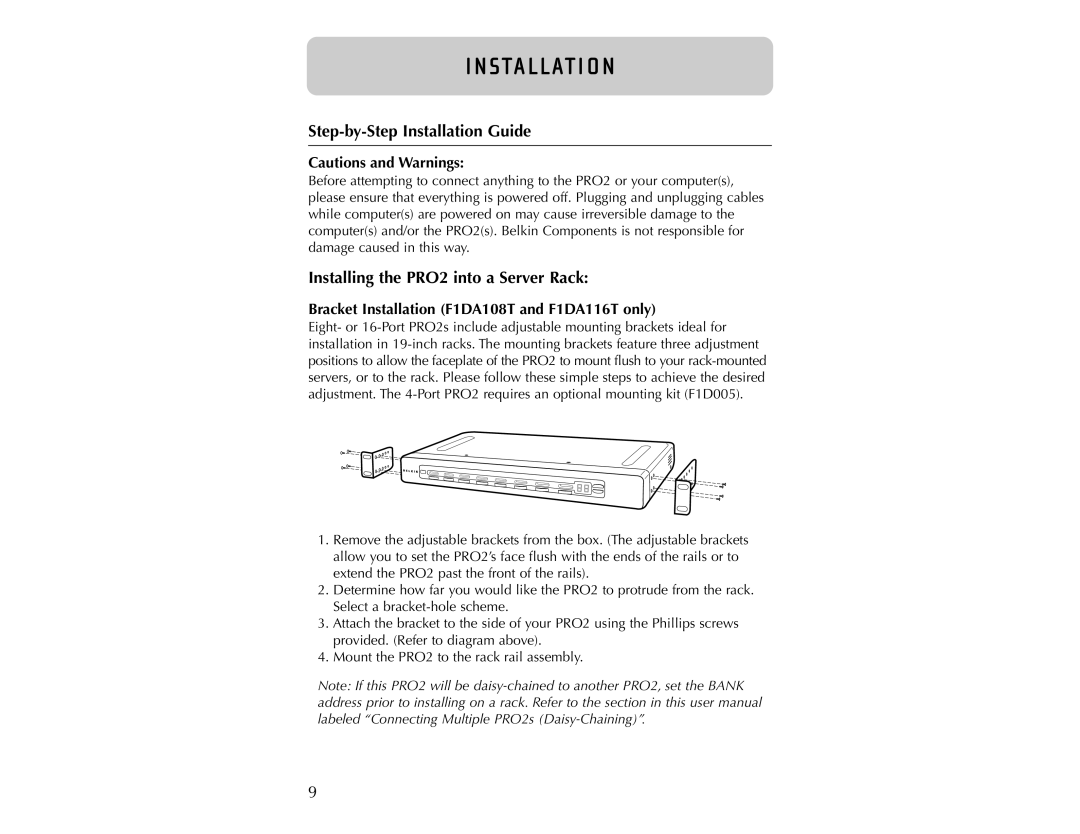
Bracket Installation (F1DA108T and F1DA116T only)
Eight- or
1.Remove the adjustable brackets from the box. (The adjustable brackets allow you to set the PRO2’s face flush with the ends of the rails or to extend the PRO2 past the front of the rails).
2.Determine how far you would like the PRO2 to protrude from the rack. Select a
3.Attach the bracket to the side of your PRO2 using the Phillips screws provided. (Refer to diagram above).
4.Mount the PRO2 to the rack rail assembly.
Note: If this PRO2 will be
9