U S I N G YO U R P R O 2
On-Screen Display Menu Control:
To access the
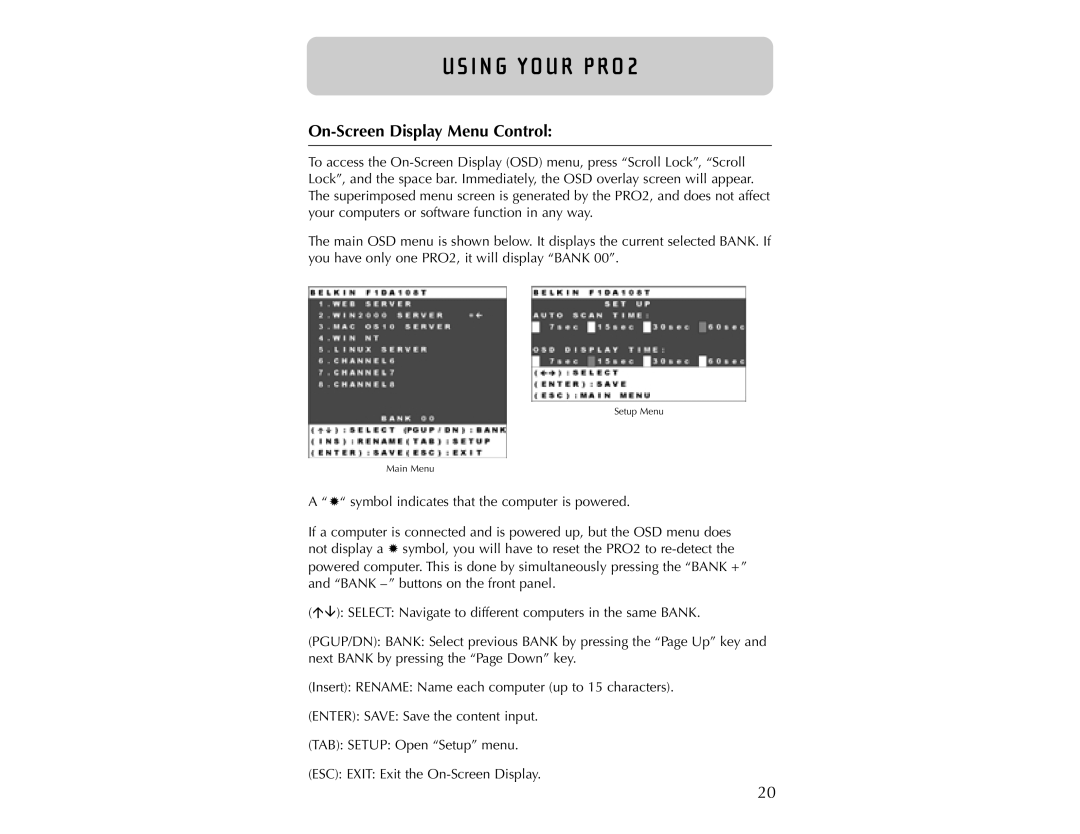
The main OSD menu is shown below. It displays the current selected BANK. If you have only one PRO2, it will display “BANK 00”.
Setup Menu
Main Menu
A “ ✹“ symbol indicates that the computer is powered.
If a computer is connected and is powered up, but the OSD menu does not display a ✹ symbol, you will have to reset the PRO2 to
( | ): SELECT: Navigate to different computers in the same BANK. |
(PGUP/DN): BANK: Select previous BANK by pressing the “Page Up” key and next BANK by pressing the “Page Down” key.
(Insert): RENAME: Name each computer (up to 15 characters).
(ENTER): SAVE: Save the content input.
(TAB): SETUP: Open “Setup” menu.
(ESC): EXIT: Exit the
20