EncrypTight Enforcement Point (ETEP) Installation Guide specifications
The Black Box EncrypTight Enforcement Point (ETEP) is a robust solution designed to enhance data security by ensuring that sensitive information is securely transmitted and stored. This article provides a comprehensive installation guide that highlights the main features, technologies, and characteristics of ETEP.The EncrypTight ETEP operates by providing a secure gateway between different networks. It employs advanced encryption algorithms to safeguard data from potential threats, ensuring that unauthorized access is thwarted. A core feature of the ETEP is its ability to support a range of encryption standards, including AES, RSA, and ECC, thus allowing organizations to choose the most suitable protocols for their specific needs.
One of the standout technologies integrated within the ETEP is its end-to-end encryption capability. This ensures that data remains encrypted during transmission from the sender to the receiver, making it virtually impossible for any third-party entities to decipher the information even if they manage to intercept it.
The ETEP also boasts a user-friendly interface that simplifies installation and configuration processes. Administrators can easily set up the system without requiring extensive technical knowledge. Furthermore, the system is designed to integrate seamlessly with existing IT infrastructure, ensuring minimal disruption during deployment.
Another critical characteristic of the ETEP is its scalability. As businesses grow and evolve, the ETEP can be easily adjusted to accommodate increased data traffic and changing security requirements. This flexibility makes it an ideal solution for organizations of all sizes, from small businesses to large enterprises.
Moreover, the ETEP employs state-of-the-art threat detection and response mechanisms. It continuously monitors network activity, identifying anomalies that may indicate potential security breaches. This proactive approach ensures that organizations can respond swiftly to threats, thereby minimizing potential damage.
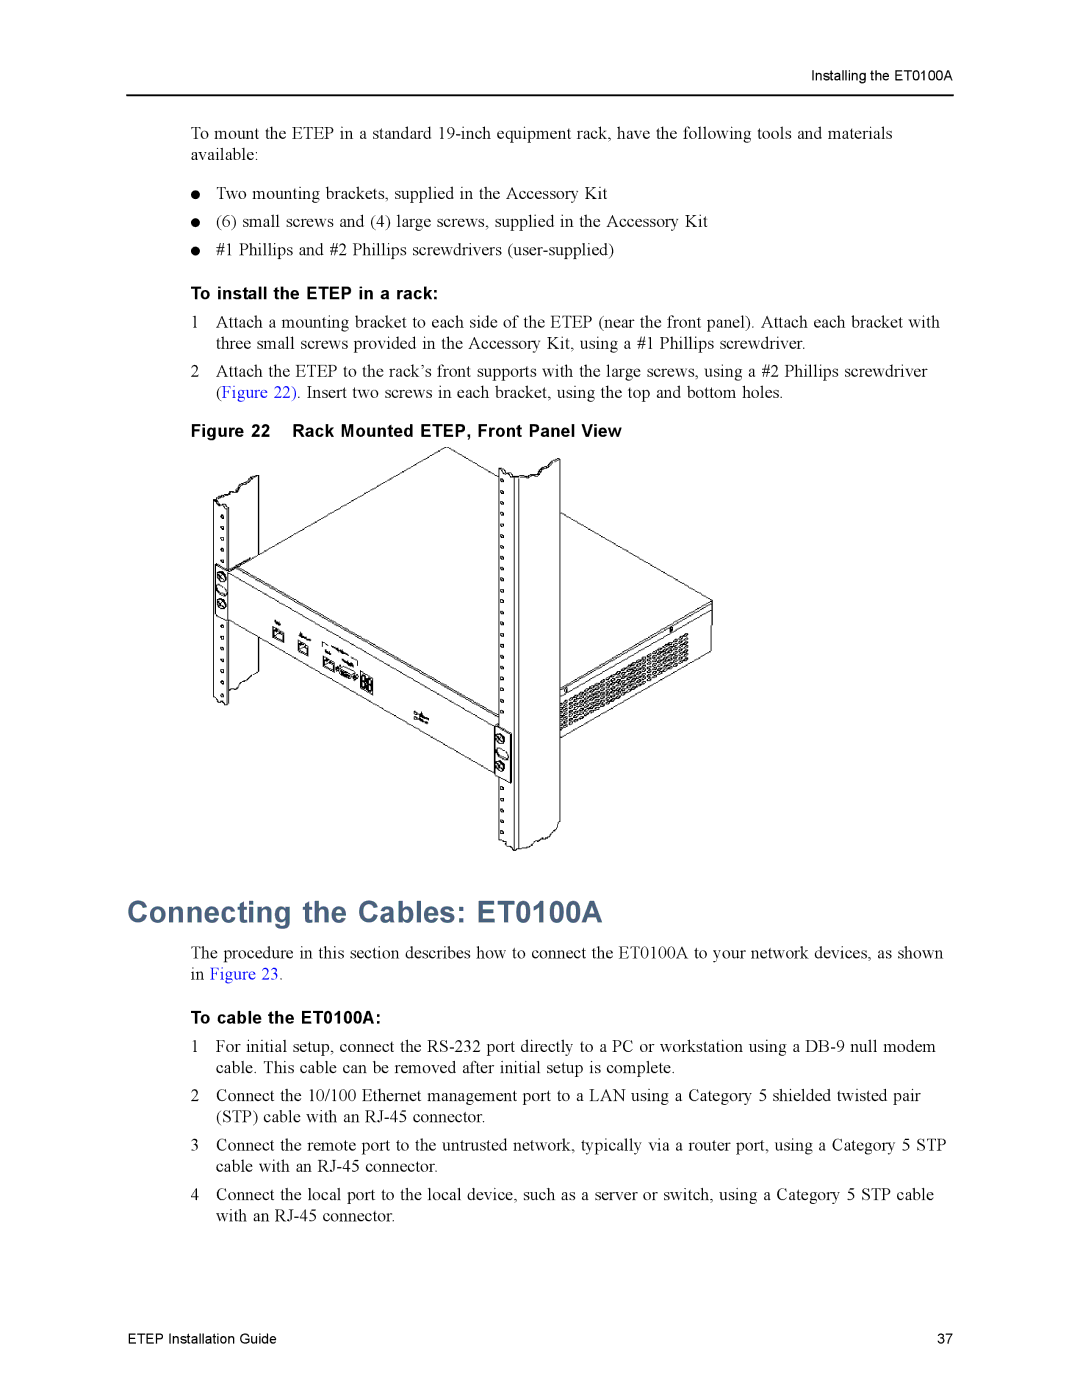
The installation of the Black Box EncrypTight ETEP typically involves the following steps: first, assess the current network architecture; second, select the appropriate hardware and software components; third, configure encryption settings; and finally, conduct thorough testing to ensure the system is functioning as expected.
In conclusion, the Black Box EncrypTight Enforcement Point installation is a crucial step in bolstering an organization’s data security framework. With its advanced features, reliable technologies, and user-centric design, the ETEP stands out as an essential tool for businesses looking to safeguard their sensitive information against ever-evolving cybersecurity threats.

