DOOR LABEL EXAMPLE
After you have inserted the batteries and the enclosed tape cassette as explained in the Getting Started chapter, let’s practice using some of the basic functions of your
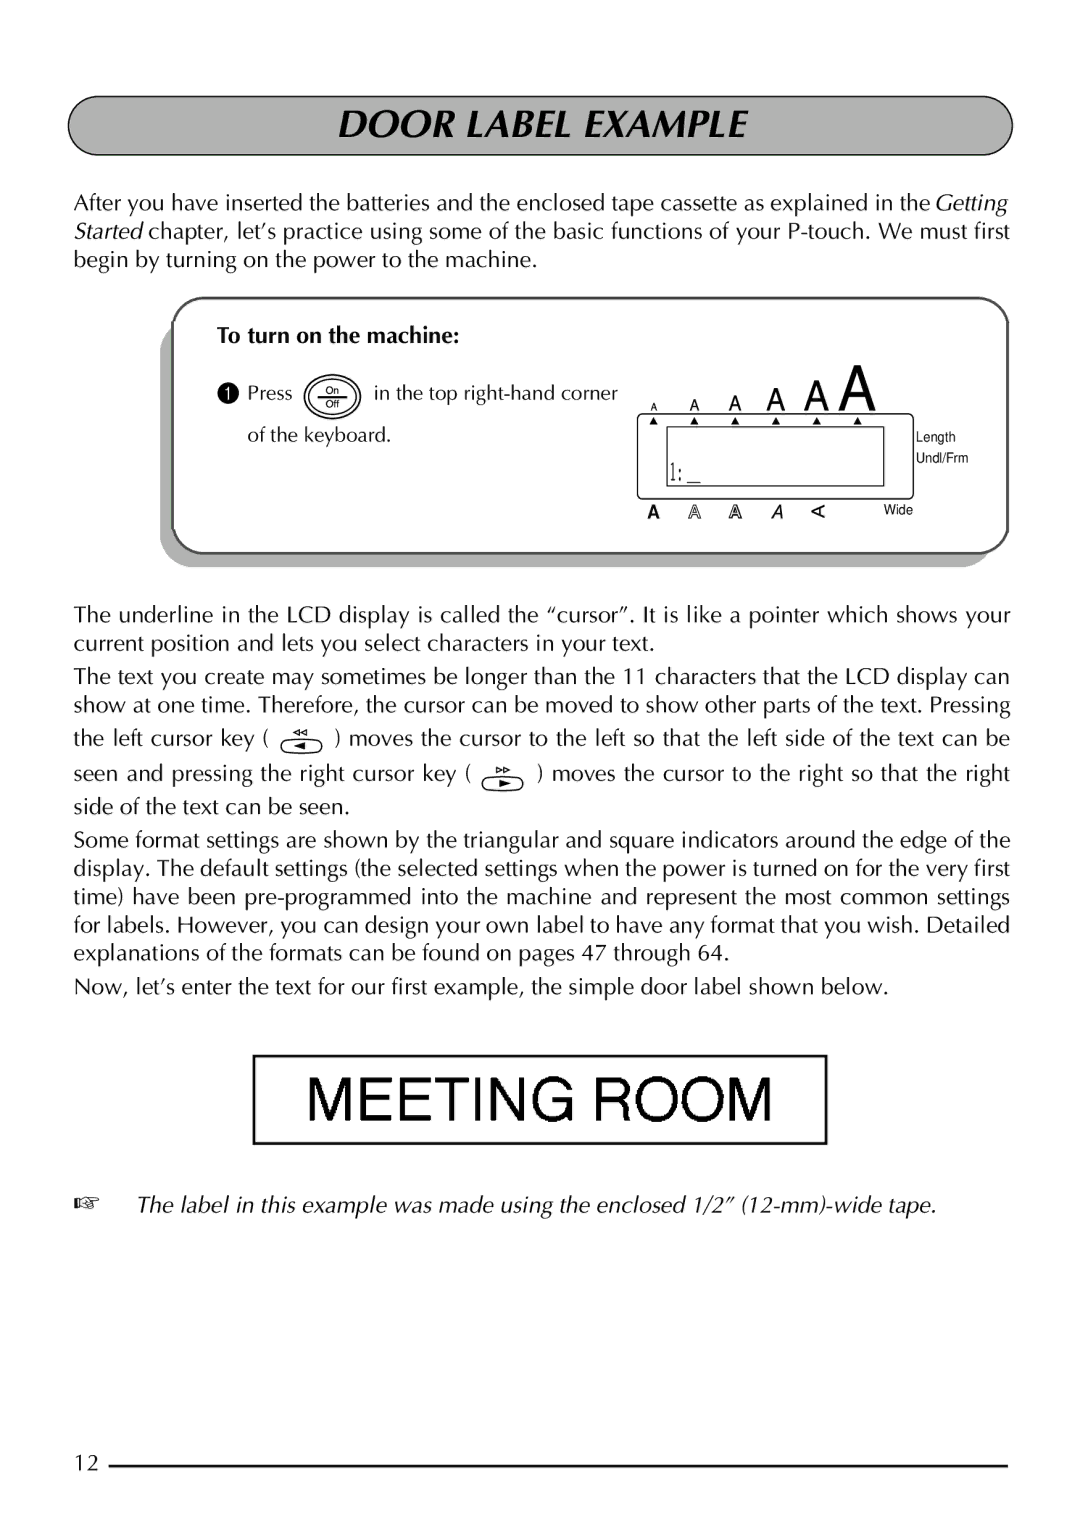
To turn on the machine:
1 Press | in the top |
|
of the keyboard. | Length | |
|
| Undl/Frm |
|
| 1: _ |
|
| Wide |
The underline in the LCD display is called the “cursor”. It is like a pointer which shows your current position and lets you select characters in your text.
The text you create may sometimes be longer than the 11 characters that the LCD display can show at one time. Therefore, the cursor can be moved to show other parts of the text. Pressing
the left cursor key ( ![]() ) moves the cursor to the left so that the left side of the text can be
) moves the cursor to the left so that the left side of the text can be
seen and pressing the right cursor key ( | ) moves the cursor to the right so that the right |
side of the text can be seen.
Some format settings are shown by the triangular and square indicators around the edge of the display. The default settings (the selected settings when the power is turned on for the very first time) have been
Now, let’s enter the text for our first example, the simple door label shown below.
☞The label in this example was made using the enclosed 1/2”
12