EMBROIDERING APPLICATIONS
Combining a frame pattern with a design
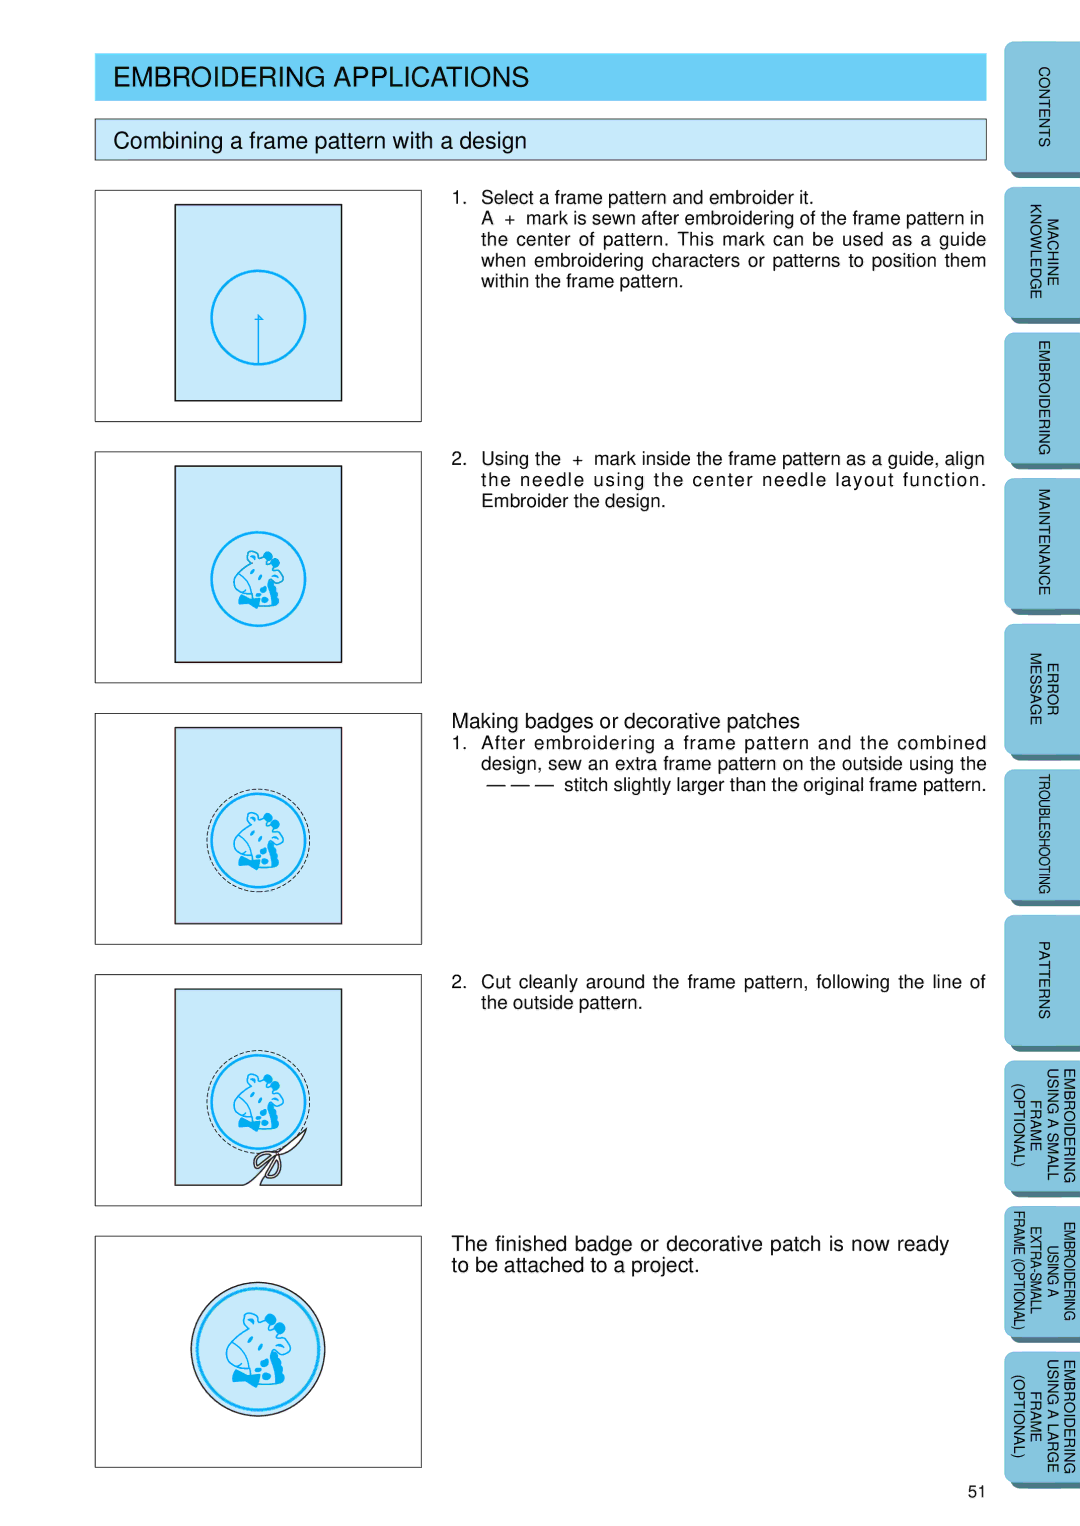
1.Select a frame pattern and embroider it.
A “+” mark is sewn after embroidering of the frame pattern in
the center of pattern. This mark can be used as a guide when embroidering characters or patterns to position them within the frame pattern.
2.Using the “+” mark inside the frame pattern as a guide, align the needle using the center needle layout function. Embroider the design.
Making badges or decorative patches
1.After embroidering a frame pattern and the combined design, sew an extra frame pattern on the outside using the “– –
| CONTENTS | |
|
|
|
|
|
|
| KNOWLEDGE | MACHINE |
|
| |
|
| |
| EMBROIDERING | |
|
| |
|
| |
| MAINTENANCE | |
|
|
|
|
|
|
| MESSAGE | ERROR |
|
| |
|
| |
| TROUBLESHOOTING | |
|
|
|
2.Cut cleanly around the frame pattern, following the line of the outside pattern.
The finished badge or decorative patch is now ready to be attached to a project.
| PATTERNS |
| |
|
|
|
|
|
|
|
|
(OPTIONAL) | FRAME | USING A SMALL | EMBROIDERING |
|
|
|
|
|
|
|
|
FRAME (OPTIONAL) | USING A | EMBROIDERING | |
|
|
|
|
(OPTIONAL) | FRAME | USING A LARGE | EMBROIDERING |
|
|
|
|
51