a |
c |
CONTENTS
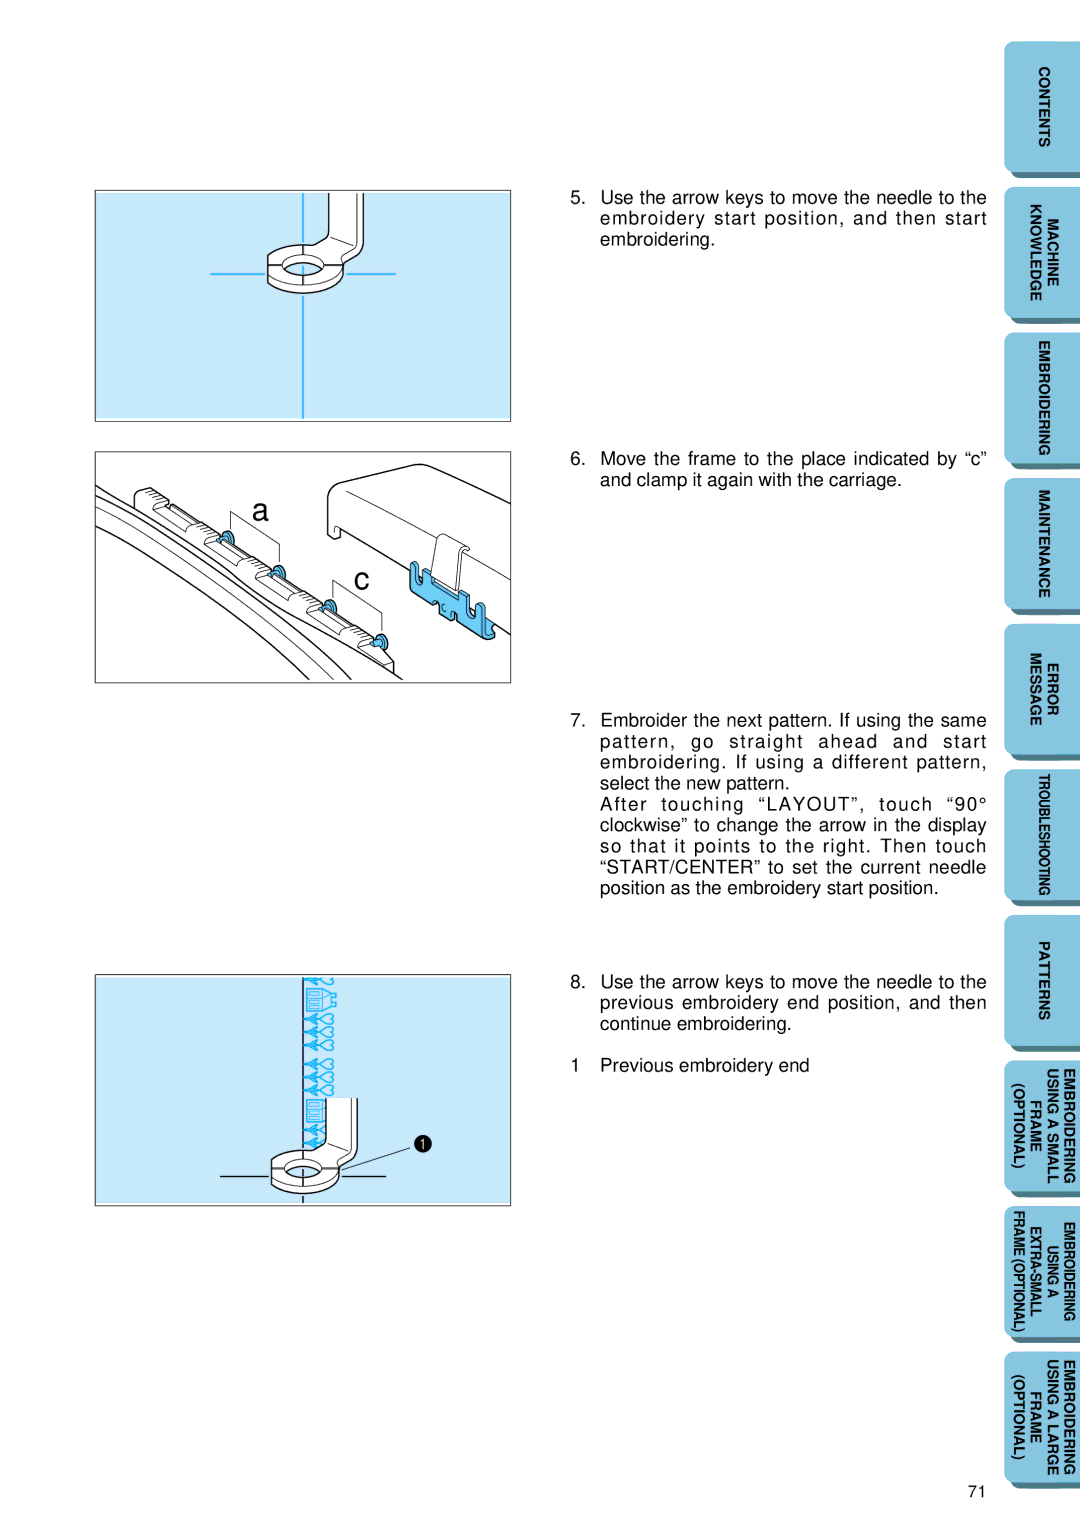
5. | Use the arrow keys to move the needle to the | KNOWLEDGE | MACHINE |
|
| embroidery start position, and then start |
| ||
|
|
|
| |
| embroidering. |
|
|
|
|
|
|
| |
|
|
|
| |
6. | Move the frame to the place indicated by “c” | EMBROIDERING |
| |
|
|
| ||
| and clamp it again with the carriage. |
|
|
|
| MAINTENANCE |
| ||
|
|
| ||
|
|
|
|
|
|
|
|
|
|
7. | Embroider the next pattern. If using the same | MESSAGE | ERROR |
|
|
|
| ||
| pattern, go straight ahead and start |
|
|
|
| embroidering. If using a different pattern, |
|
|
|
| position as the embroidery start position. | TROUBLESHOOTING |
| |
| select the new pattern. |
|
|
|
| After touching “LAYOUT”, touch “90° |
|
|
|
| clockwise” to change the arrow in the display |
|
|
|
| so that it points to the right. Then touch |
|
|
|
| “START/CENTER” to set the current needle |
|
|
|
|
|
|
| |
|
|
|
| |
8. | Use the arrow keys to move the needle to the | PATTERNS |
| |
|
|
| ||
| previous embroidery end position, and then |
|
|
|
| continue embroidering. |
|
|
|
1 | Previous embroidery end |
|
|
|
|
|
| ||
| USING A SMALL | EMBROIDERING | ||
| (OPTIONAL) | FRAME | ||
|
|
|
|
|
|
|
|
|
|
| FRAME (OPTIONAL) | USING A | EMBROIDERING | |
|
|
|
|
|
| (OPTIONAL) | FRAME | USING A LARGE | EMBROIDERING |
|
|
|
|
|
71
