Start embroidering
CONTENTS
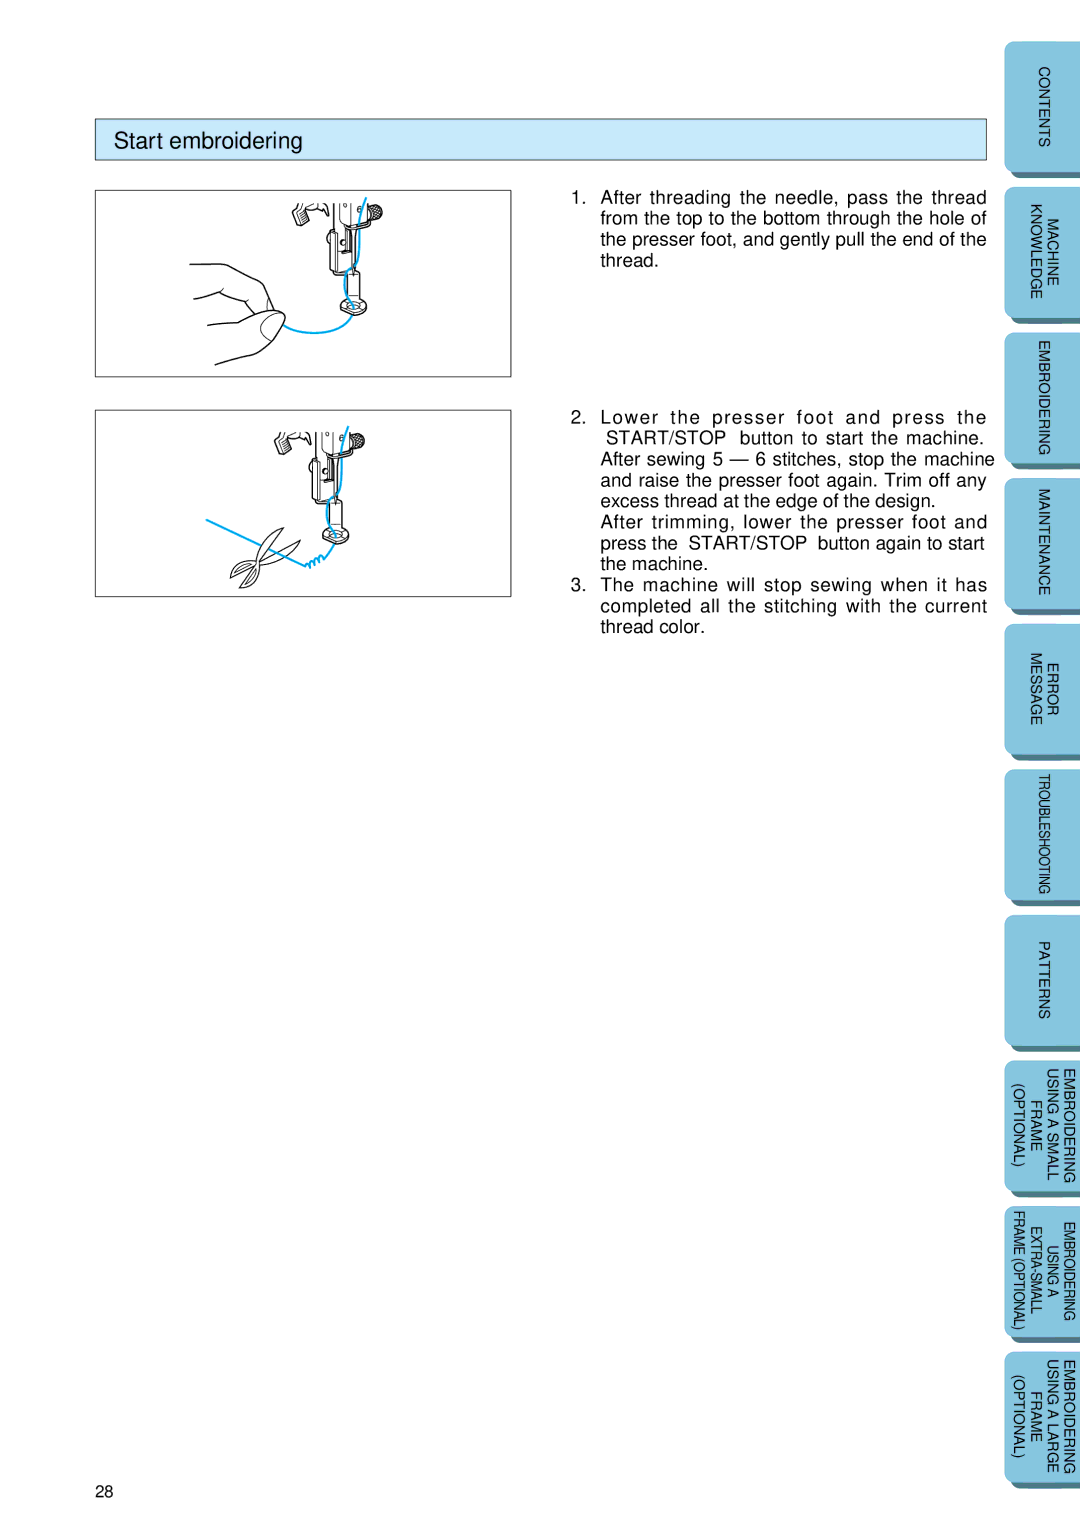
1. After threading the needle, pass the thread
from the top to the bottom through the hole of | KNOWLEDGE | MACHINE |
|
|
|
| |
the presser foot, and gently pull the end of the |
|
|
|
thread. |
|
|
|
|
|
| |
2. Lower the presser foot and press the | EMBROIDERING |
| |
|
|
| |
“START/STOP” button to start the machine. |
|
|
|
After sewing 5 – 6 stitches, stop the machine |
|
|
|
and raise the presser foot again. Trim off any |
|
|
|
MAINTENANCE |
| ||
excess thread at the edge of the design. |
| ||
|
|
| |
After trimming, lower the presser foot and |
|
|
|
press the “START/STOP” button again to start |
|
|
|
the machine. |
|
|
|
3. The machine will stop sewing when it has |
|
|
|
completed all the stitching with the current |
|
|
|
thread color. |
|
|
|
MESSAGE | ERROR |
| |
|
| ||
|
|
| |
|
|
| |
| TROUBLESHOOTING |
| |
|
|
| |
| PATTERNS |
| |
|
|
|
|
|
|
|
|
(OPTIONAL) | FRAME | USING A SMALL | EMBROIDERING |
|
|
|
|
|
|
|
|
FRAME (OPTIONAL) | USING A | EMBROIDERING | |
|
|
|
|
(OPTIONAL) | FRAME | USING A LARGE | EMBROIDERING |
|
|
|
|
28
