If the strainer must be replaced, shut off all power to the unit. See Fig. 49 for strainer location.
XI. ACCUMULATOR
The accumulator is a device always found in heat pumps and found in some condensing-unit models. Under some light-load condi- tions on indoor coils and on outdoor coil with heat pump in heating mode, some liquid refrigerant is present in suction gas returning to compressor. The accumulator stores liquid and allows it to boil off into a vapor so it can be safely returned to compressor. Since a compressor is designed to pump refrigerant in its gaseous state, introduction of liquid into it could cause severe damage or total failure of compressor.
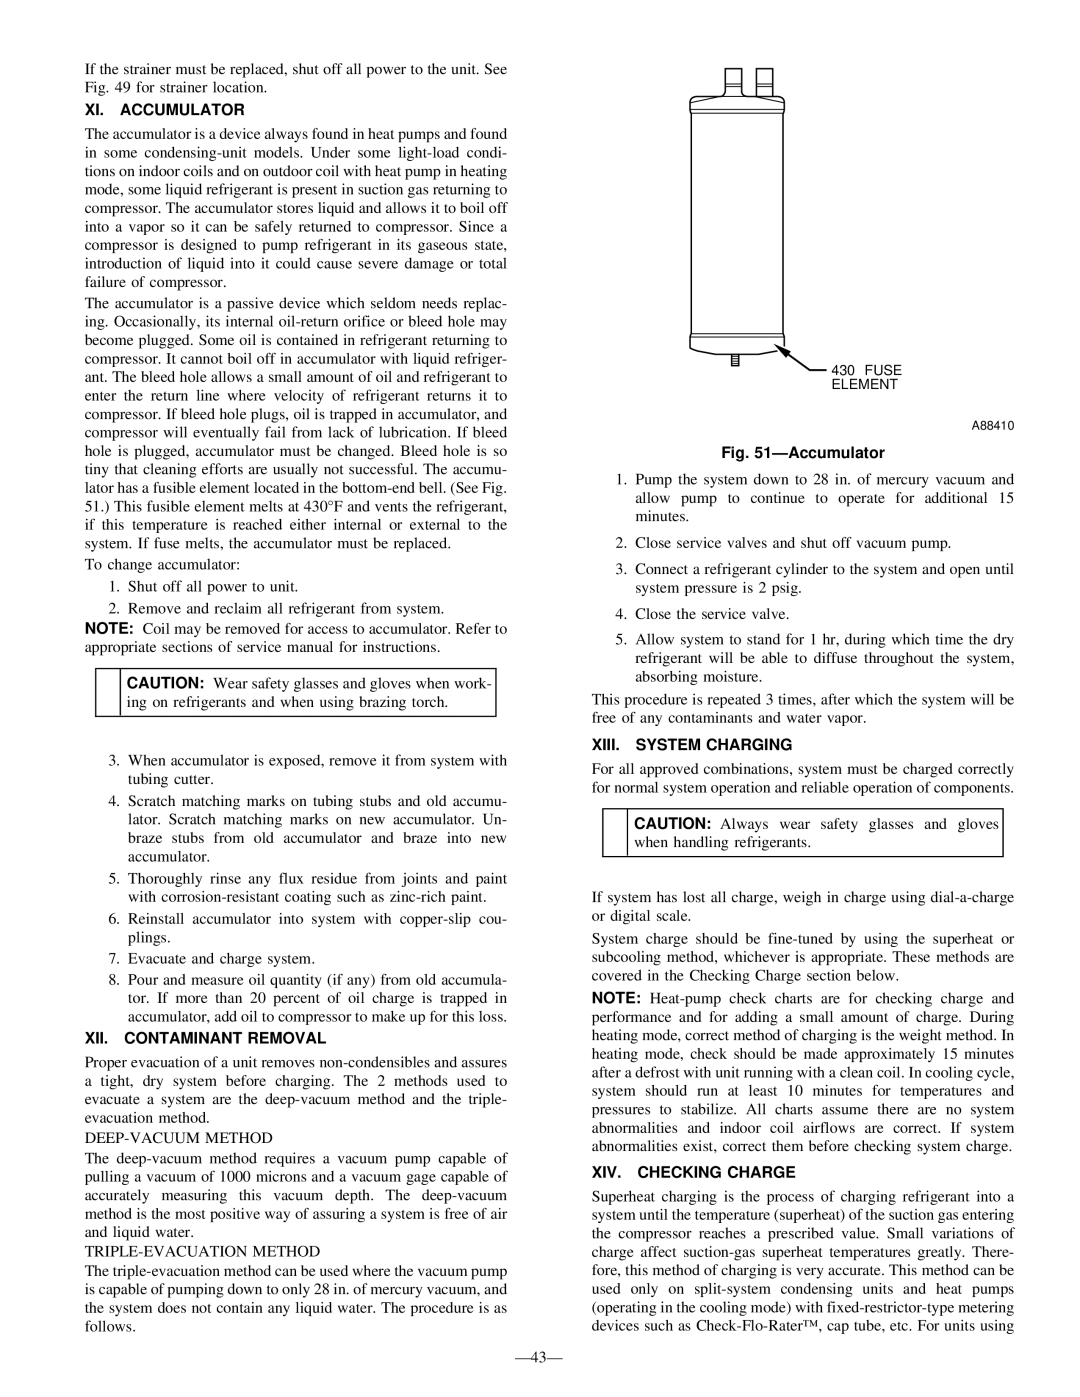
The accumulator is a passive device which seldom needs replac- ing. Occasionally, its internal oil-return orifice or bleed hole may become plugged. Some oil is contained in refrigerant returning to compressor. It cannot boil off in accumulator with liquid refriger- ant. The bleed hole allows a small amount of oil and refrigerant to enter the return line where velocity of refrigerant returns it to compressor. If bleed hole plugs, oil is trapped in accumulator, and compressor will eventually fail from lack of lubrication. If bleed hole is plugged, accumulator must be changed. Bleed hole is so tiny that cleaning efforts are usually not successful. The accumu- lator has a fusible element located in the bottom-end bell. (See Fig. 51.) This fusible element melts at 430°F and vents the refrigerant, if this temperature is reached either internal or external to the system. If fuse melts, the accumulator must be replaced.
To change accumulator:
1.Shut off all power to unit.
2.Remove and reclaim all refrigerant from system.
NOTE: Coil may be removed for access to accumulator. Refer to appropriate sections of service manual for instructions.
CAUTION: Wear safety glasses and gloves when work- ing on refrigerants and when using brazing torch.
3.When accumulator is exposed, remove it from system with tubing cutter.
4.Scratch matching marks on tubing stubs and old accumu- lator. Scratch matching marks on new accumulator. Un- braze stubs from old accumulator and braze into new accumulator.
5.Thoroughly rinse any flux residue from joints and paint with corrosion-resistant coating such as zinc-rich paint.
6.Reinstall accumulator into system with copper-slip cou- plings.
7.Evacuate and charge system.
8.Pour and measure oil quantity (if any) from old accumula- tor. If more than 20 percent of oil charge is trapped in accumulator, add oil to compressor to make up for this loss.
XII. CONTAMINANT REMOVAL
Proper evacuation of a unit removes non-condensibles and assures a tight, dry system before charging. The 2 methods used to evacuate a system are the deep-vacuum method and the triple- evacuation method.
DEEP-VACUUM METHOD
The deep-vacuum method requires a vacuum pump capable of pulling a vacuum of 1000 microns and a vacuum gage capable of accurately measuring this vacuum depth. The deep-vacuum method is the most positive way of assuring a system is free of air and liquid water.
TRIPLE-EVACUATION METHOD
The triple-evacuation method can be used where the vacuum pump is capable of pumping down to only 28 in. of mercury vacuum, and the system does not contain any liquid water. The procedure is as follows.
—43—
 430° FUSE
ELEMENT
A88410
Fig. 51—Accumulator
1.Pump the system down to 28 in. of mercury vacuum and allow pump to continue to operate for additional 15 minutes.
2.Close service valves and shut off vacuum pump.
3.Connect a refrigerant cylinder to the system and open until system pressure is 2 psig.
4.Close the service valve.
5.Allow system to stand for 1 hr, during which time the dry refrigerant will be able to diffuse throughout the system, absorbing moisture.
This procedure is repeated 3 times, after which the system will be free of any contaminants and water vapor.
XIII. SYSTEM CHARGING
For all approved combinations, system must be charged correctly for normal system operation and reliable operation of components.
CAUTION: Always wear safety glasses and gloves when handling refrigerants.
If system has lost all charge, weigh in charge using dial-a-charge or digital scale.
System charge should be fine-tuned by using the superheat or subcooling method, whichever is appropriate. These methods are covered in the Checking Charge section below.
NOTE: Heat-pump check charts are for checking charge and performance and for adding a small amount of charge. During heating mode, correct method of charging is the weight method. In heating mode, check should be made approximately 15 minutes after a defrost with unit running with a clean coil. In cooling cycle, system should run at least 10 minutes for temperatures and pressures to stabilize. All charts assume there are no system abnormalities and indoor coil airflows are correct. If system abnormalities exist, correct them before checking system charge.
XIV. CHECKING CHARGE
Superheat charging is the process of charging refrigerant into a system until the temperature (superheat) of the suction gas entering the compressor reaches a prescribed value. Small variations of charge affect suction-gas superheat temperatures greatly. There- fore, this method of charging is very accurate. This method can be used only on split-system condensing units and heat pumps (operating in the cooling mode) with fixed-restrictor-type metering devices such as Check-Flo-Rater™ , cap tube, etc. For units using

