L i f e B o o k S S e r i e s – S e c t i o n F o u r
REMOVING A CD
1.Push and release the eject button on the front of the
2.Gently pull the tray out until the CD can easily be removed from the tray.
3.Carefully remove the CD from the holder tray.
4.Gently push the holder tray back in until you hear a click.
EMERGENCY CD TRAY RELEASE
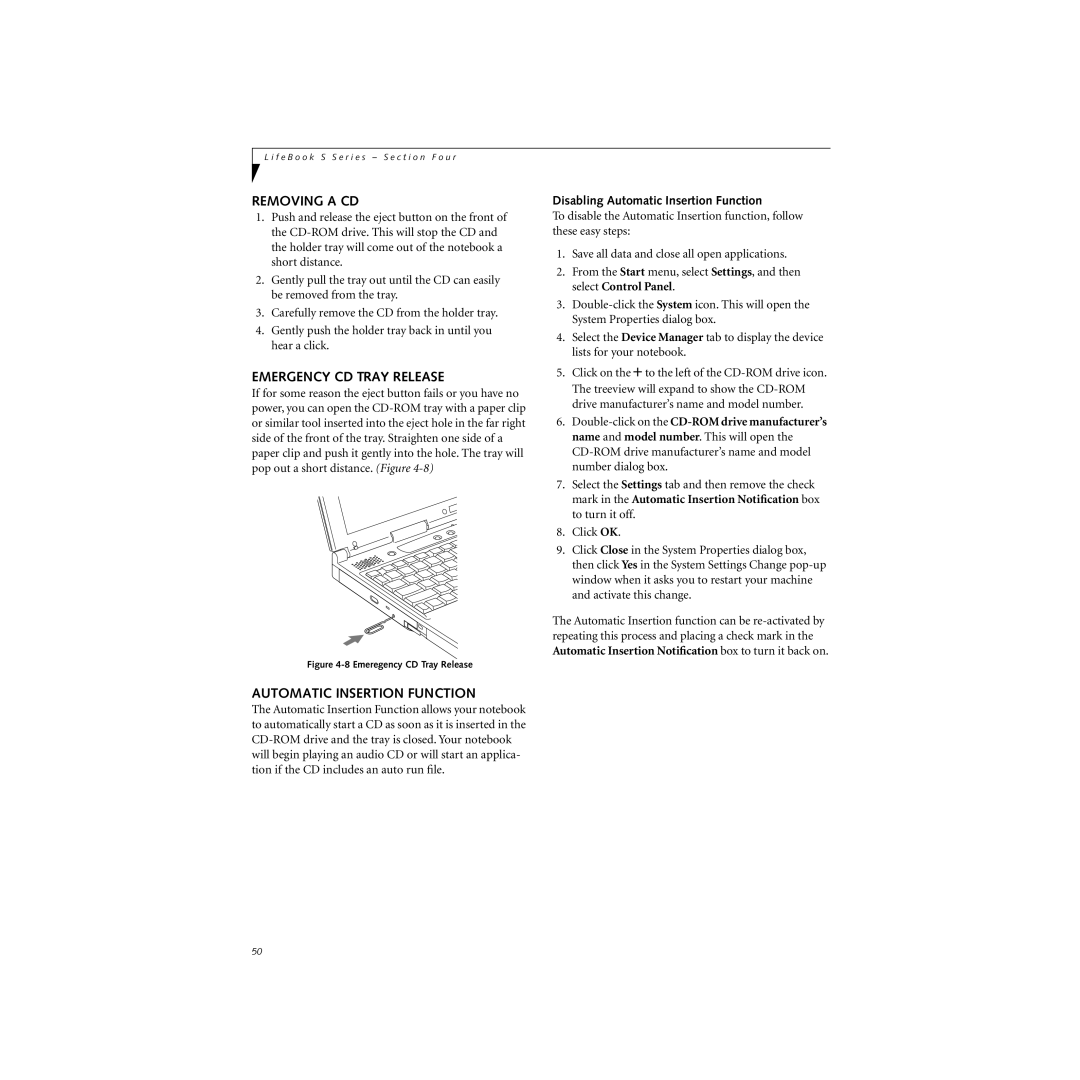
If for some reason the eject button fails or you have no power, you can open the
Figure 4-8 Emeregency CD Tray Release
AUTOMATIC INSERTION FUNCTION
The Automatic Insertion Function allows your notebook to automatically start a CD as soon as it is inserted in the
Disabling Automatic Insertion Function
To disable the Automatic Insertion function, follow these easy steps:
1.Save all data and close all open applications.
2.From the Start menu, select Settings, and then select Control Panel.
3.
4.Select the Device Manager tab to display the device lists for your notebook.
5.Click on the + to the left of the
6.
7.Select the Settings tab and then remove the check mark in the Automatic Insertion Notification box to turn it off.
8.Click OK.
9.Click Close in the System Properties dialog box, then click Yes in the System Settings Change
The Automatic Insertion function can be
50
