@Making Dark Subjects Appear Brighter (i-Contrast)
Detects and compensates for dark sections of subjects or people’s faces and saves the image as a separate file. You can select 4 levels of correction: [Auto], [Low], [Medium] or [High].
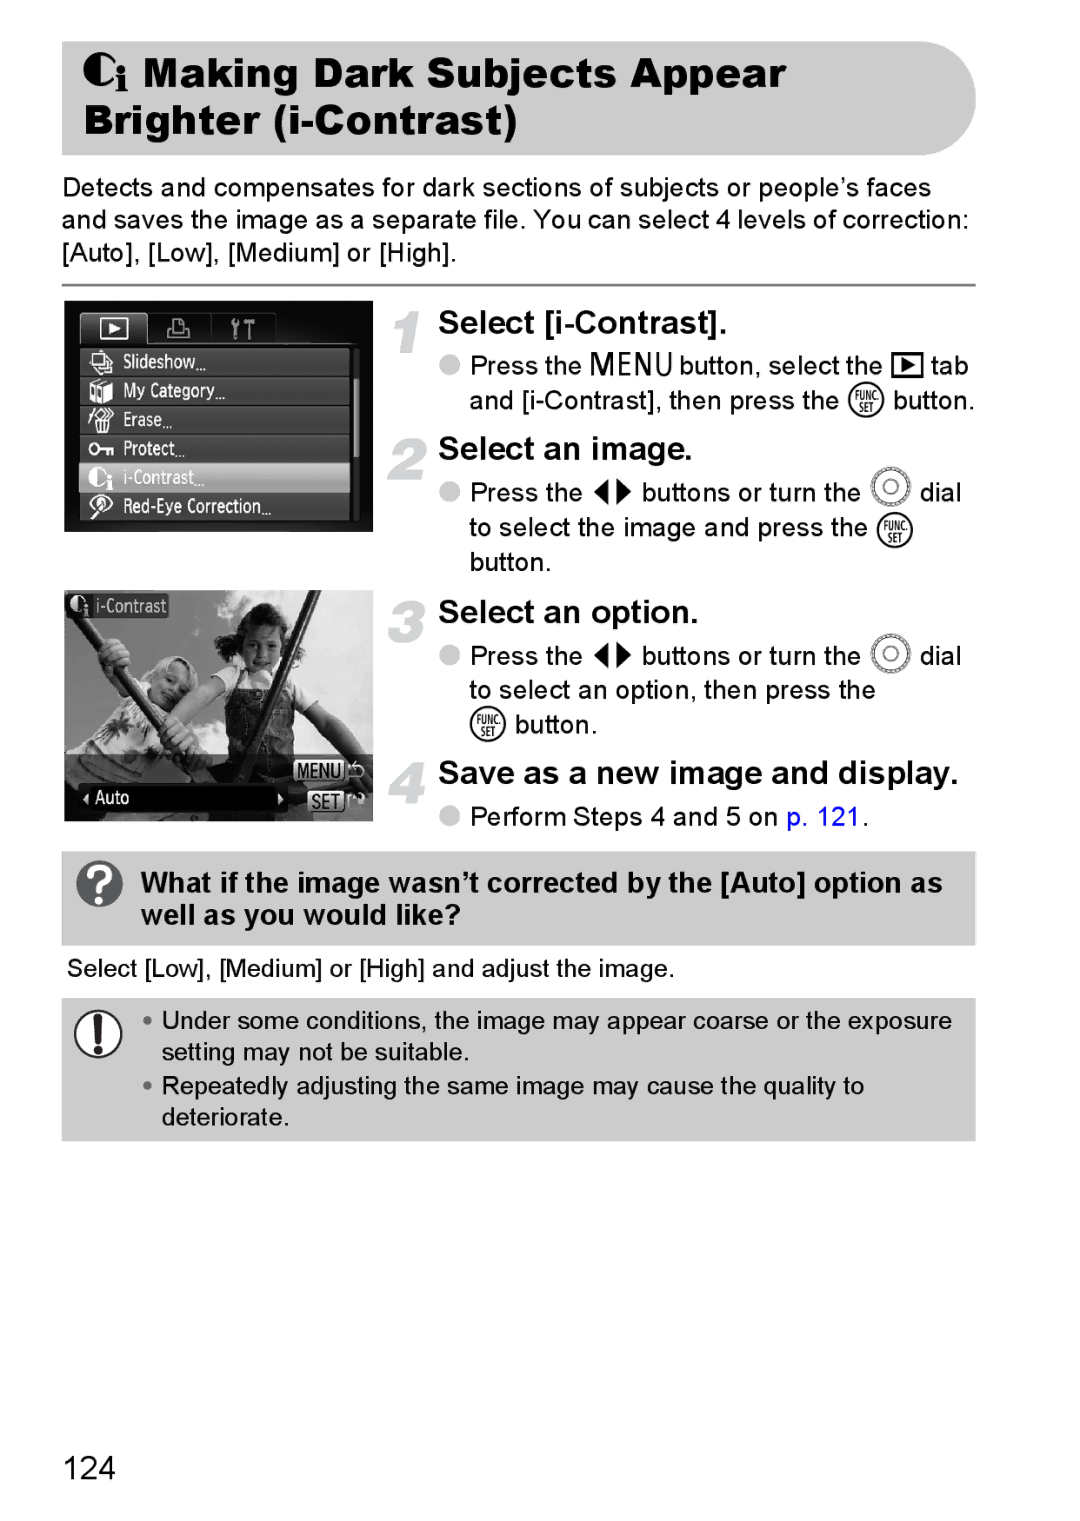
Select [i-Contrast].
●Press the n button, select the 1 tab and
Select an image.
●Press the qr buttons or turn the  dial to select the image and press the m button.
Select an option.
●Press the qr buttons or turn the  dial
to select an option, then press the m button.
Save as a new image and display.
●Perform Steps 4 and 5 on p. 121.
What if the image wasn’t corrected by the [Auto] option as well as you would like?
Select [Low], [Medium] or [High] and adjust the image.
•Under some conditions, the image may appear coarse or the exposure
setting may not be suitable.
•Repeatedly adjusting the same image may cause the quality to deteriorate.