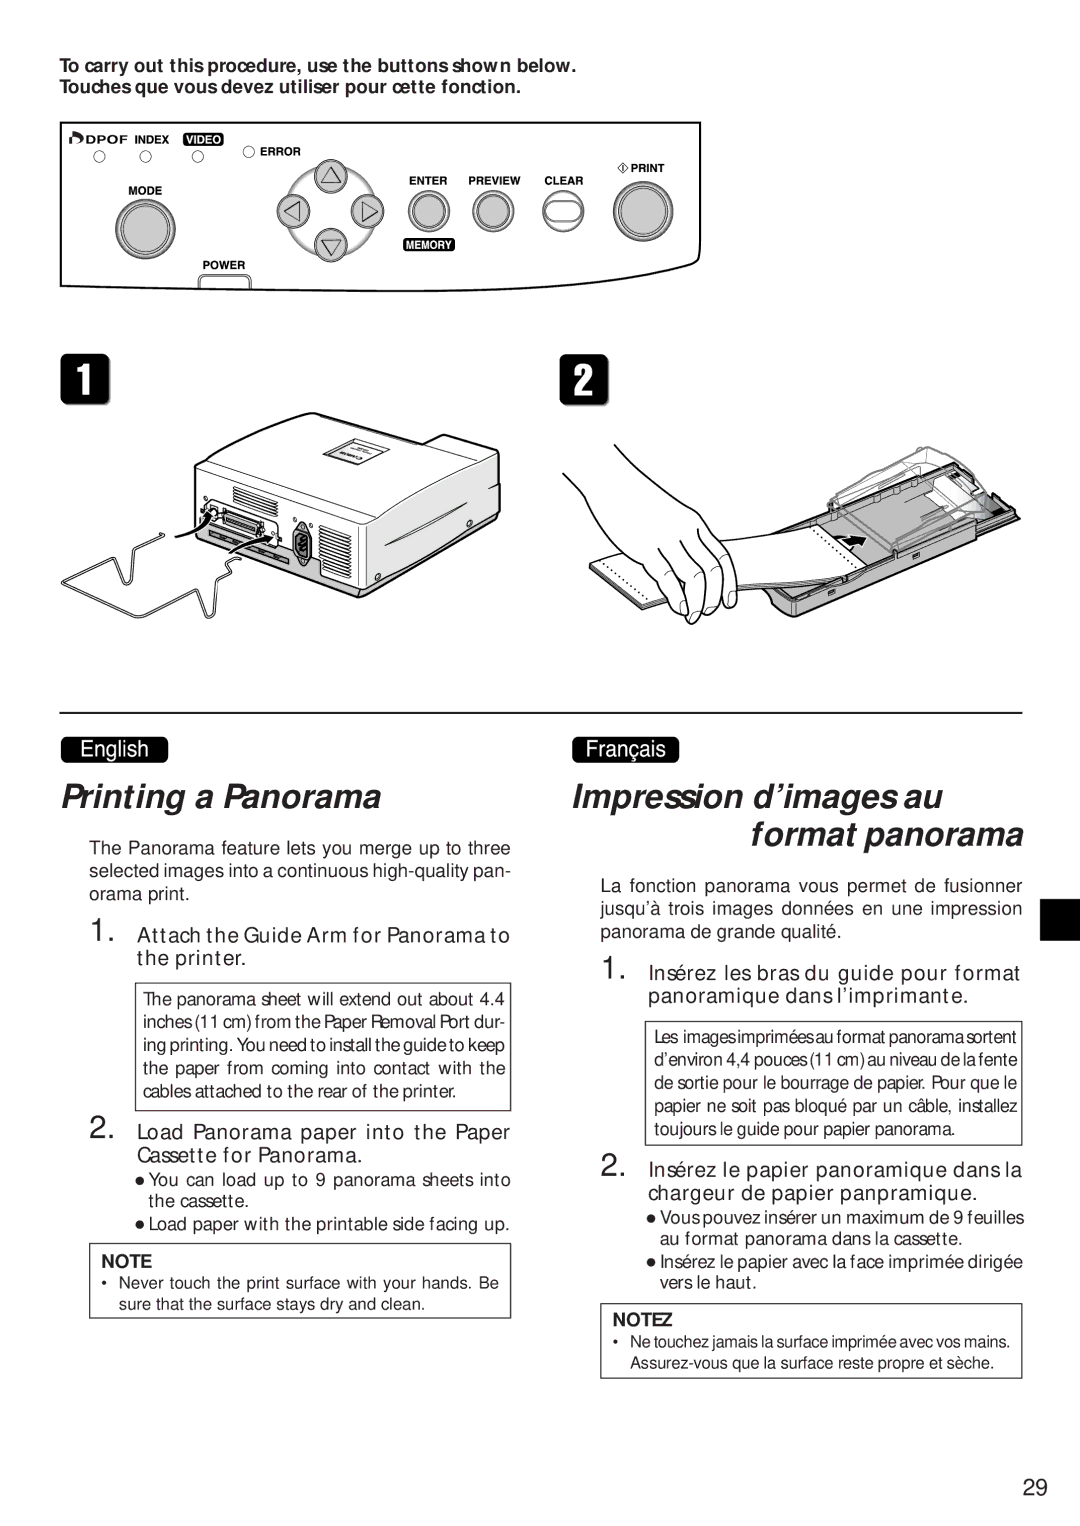
To carry out this procedure, use the buttons shown below. Touches que vous devez utiliser pour cette fonction.
Printing a Panorama
The Panorama feature lets you merge up to three selected images into a continuous
1. Attach the Guide Arm for Panorama to the printer.
The panorama sheet will extend out about 4.4 inches (11 cm) from the Paper Removal Port dur- ing printing. You need to install the guide to keep the paper from coming into contact with the cables attached to the rear of the printer.
2. Load Panorama paper into the Paper Cassette for Panorama.
•You can load up to 9 panorama sheets into the cassette.
•Load paper with the printable side facing up.
NOTE
•Never touch the print surface with your hands. Be sure that the surface stays dry and clean.
Impression d’images au format panorama
La fonction panorama vous permet de fusionner jusqu’à trois images données en une impression panorama de grande qualité.
1. Insérez les bras du guide pour format panoramique dans l’imprimante.
Les images imprimées au format panorama sortent d’environ 4,4 pouces (11 cm) au niveau de la fente de sortie pour le bourrage de papier. Pour que le papier ne soit pas bloqué par un câble, installez toujours le guide pour papier panorama.
2. Insérez le papier panoramique dans la chargeur de papier panpramique.
•Vous pouvez insérer un maximum de 9 feuilles au format panorama dans la cassette.
•Insérez le papier avec la face imprimée dirigée vers le haut.
NOTEZ
•Ne touchez jamais la surface imprimée avec vos mains.
29