Correcting Red Eyes and Printing (Correct
Correct images with
 Off (Default setting) /
  On
On
If SELPHY's power is turned off or the memory card is removed, the setting will return to [ Off].
Off].
Portions other than the eyes may be mistakenly corrected. Set [Correct  On] only when printing images with
small, large, dark or bright in relation to the overall image, with faces turned to the side or at a diagonal, or faces with a portion hidden.
⁜If you set [Page Layout] (p. 33) to [

 Index],
The correction may differ depending on the layout settings or images size.
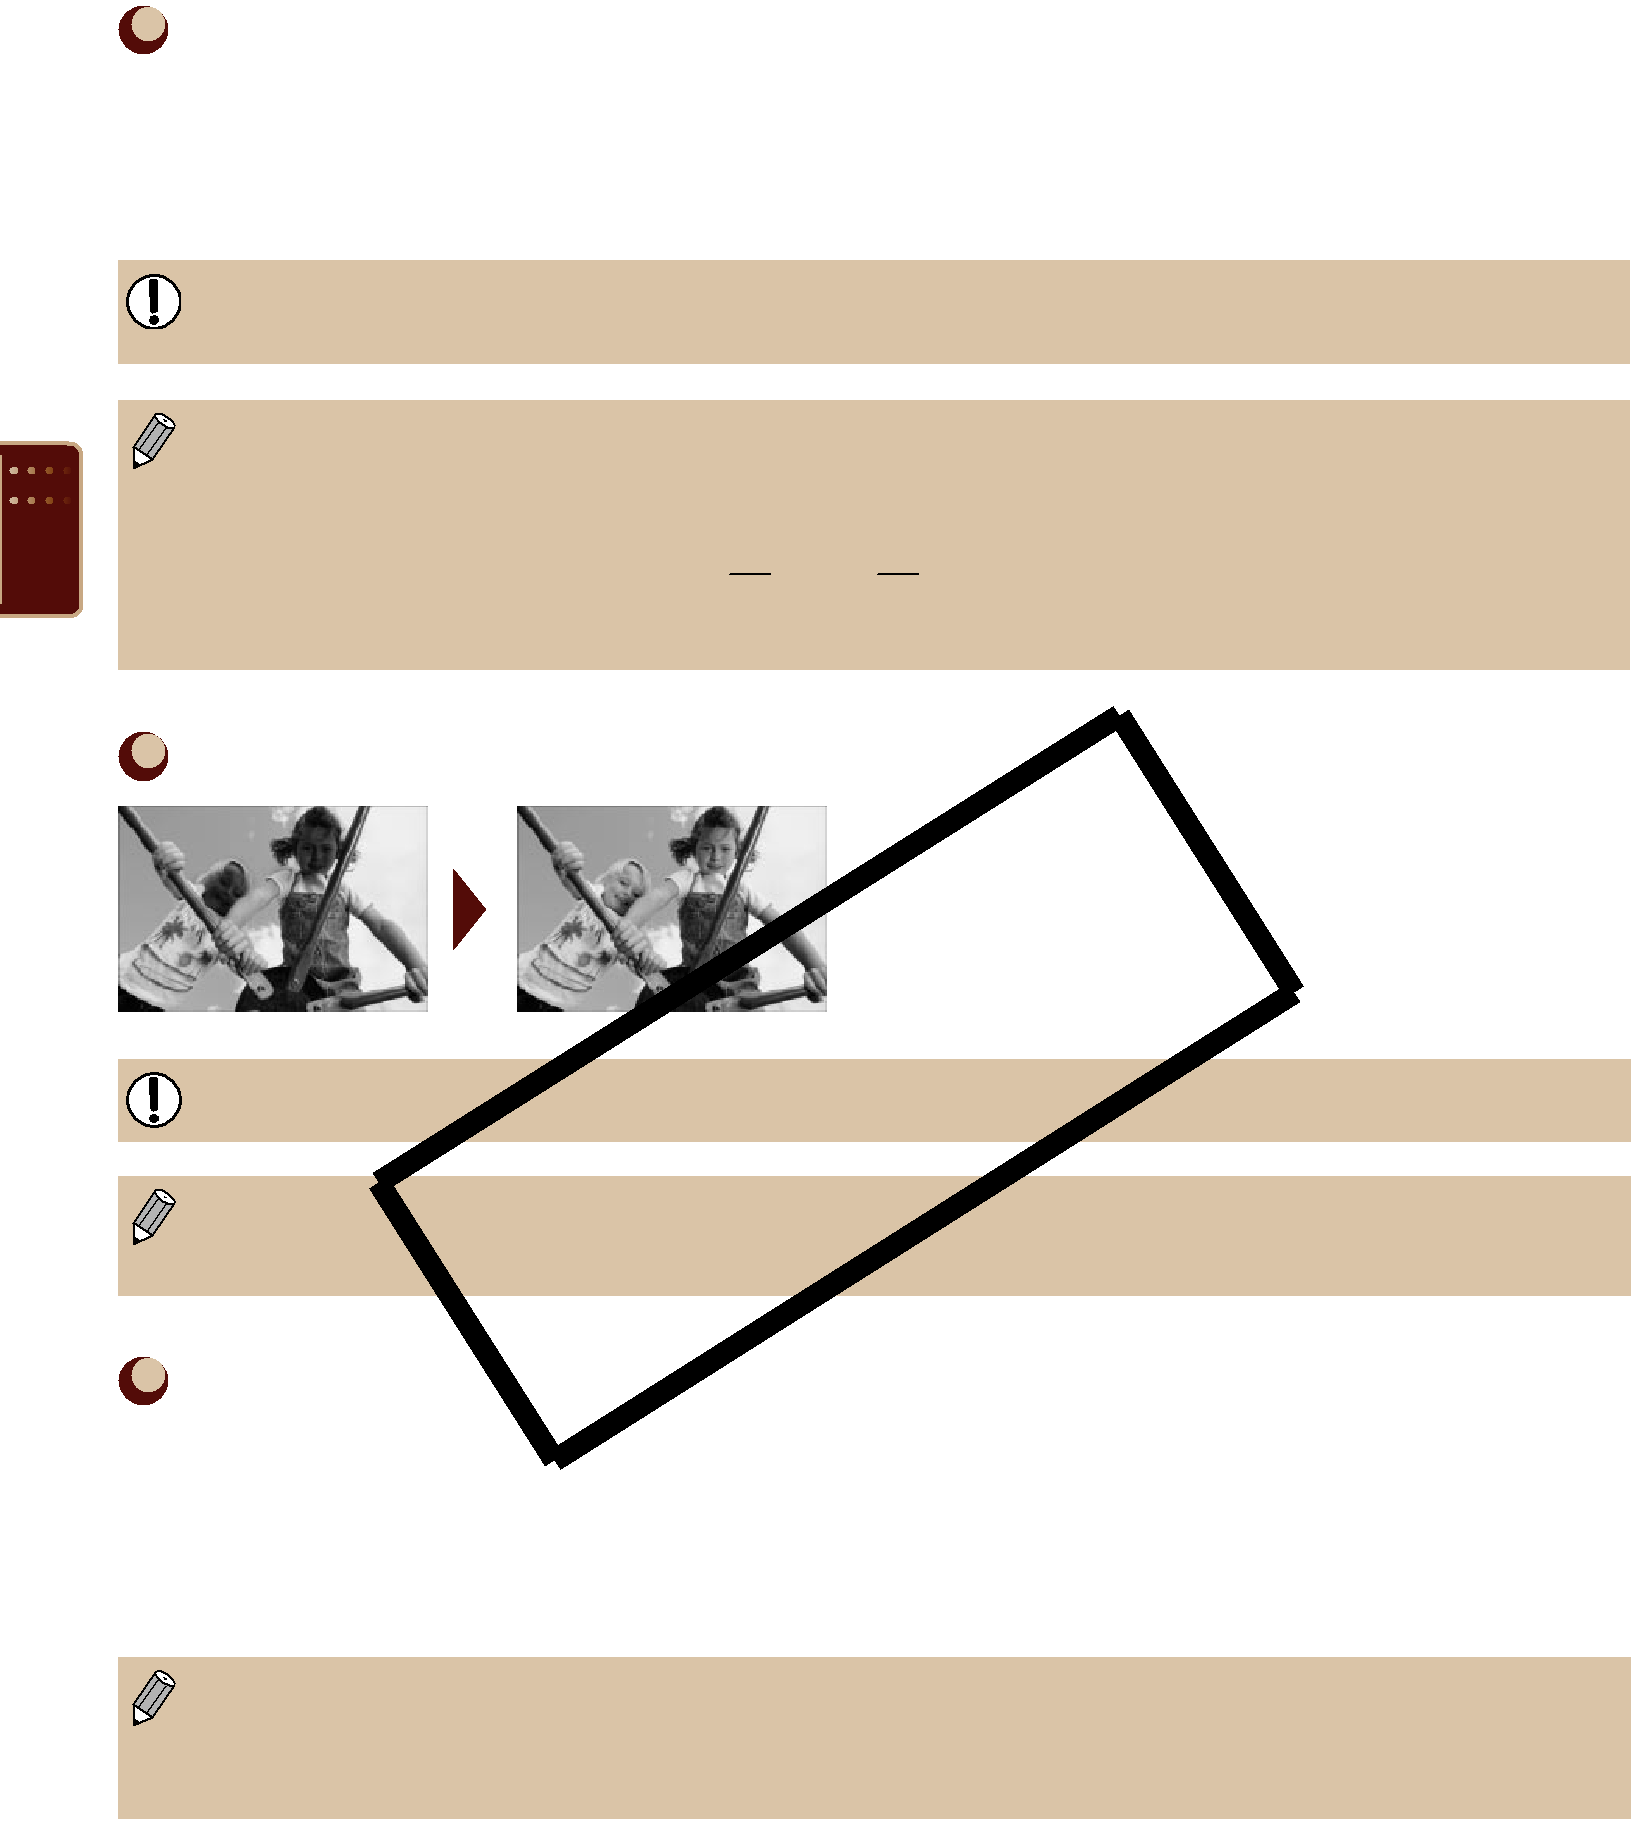
Getting the Best Results with Auto Correction (Image Optimize)
SELPHY will automatically correct the image to achieve optimum image quality.
 Off /
Off /  On (Default setting)
Some images may not be adjusted correctly.
When [Page Layout] (p. 33) is set to [ Index], Image Optimize will not be applied.
The correction may differ depending on the image size or layout settings.
Adjusting the Image’s Qualities (Adjust Image)
You can correct image brightness, contrast, sharpness or saturation in a range of ±3. Setting higher + values will make the effect brighter or more intense, while setting - values will make the effect darker or less intense.
 Off (Default Setting),
  On (When set to [
 On], [Brightness], [Contrast], [Sharpness] and [Saturation] can be adjusted)
When [Page Layout] (p. 33) is set to [ Index], Adjust Image will not be applied.
When [My Colors] (p. 35) is set to [ Sepia], [
 B/W], or when the B&W cartridge
34