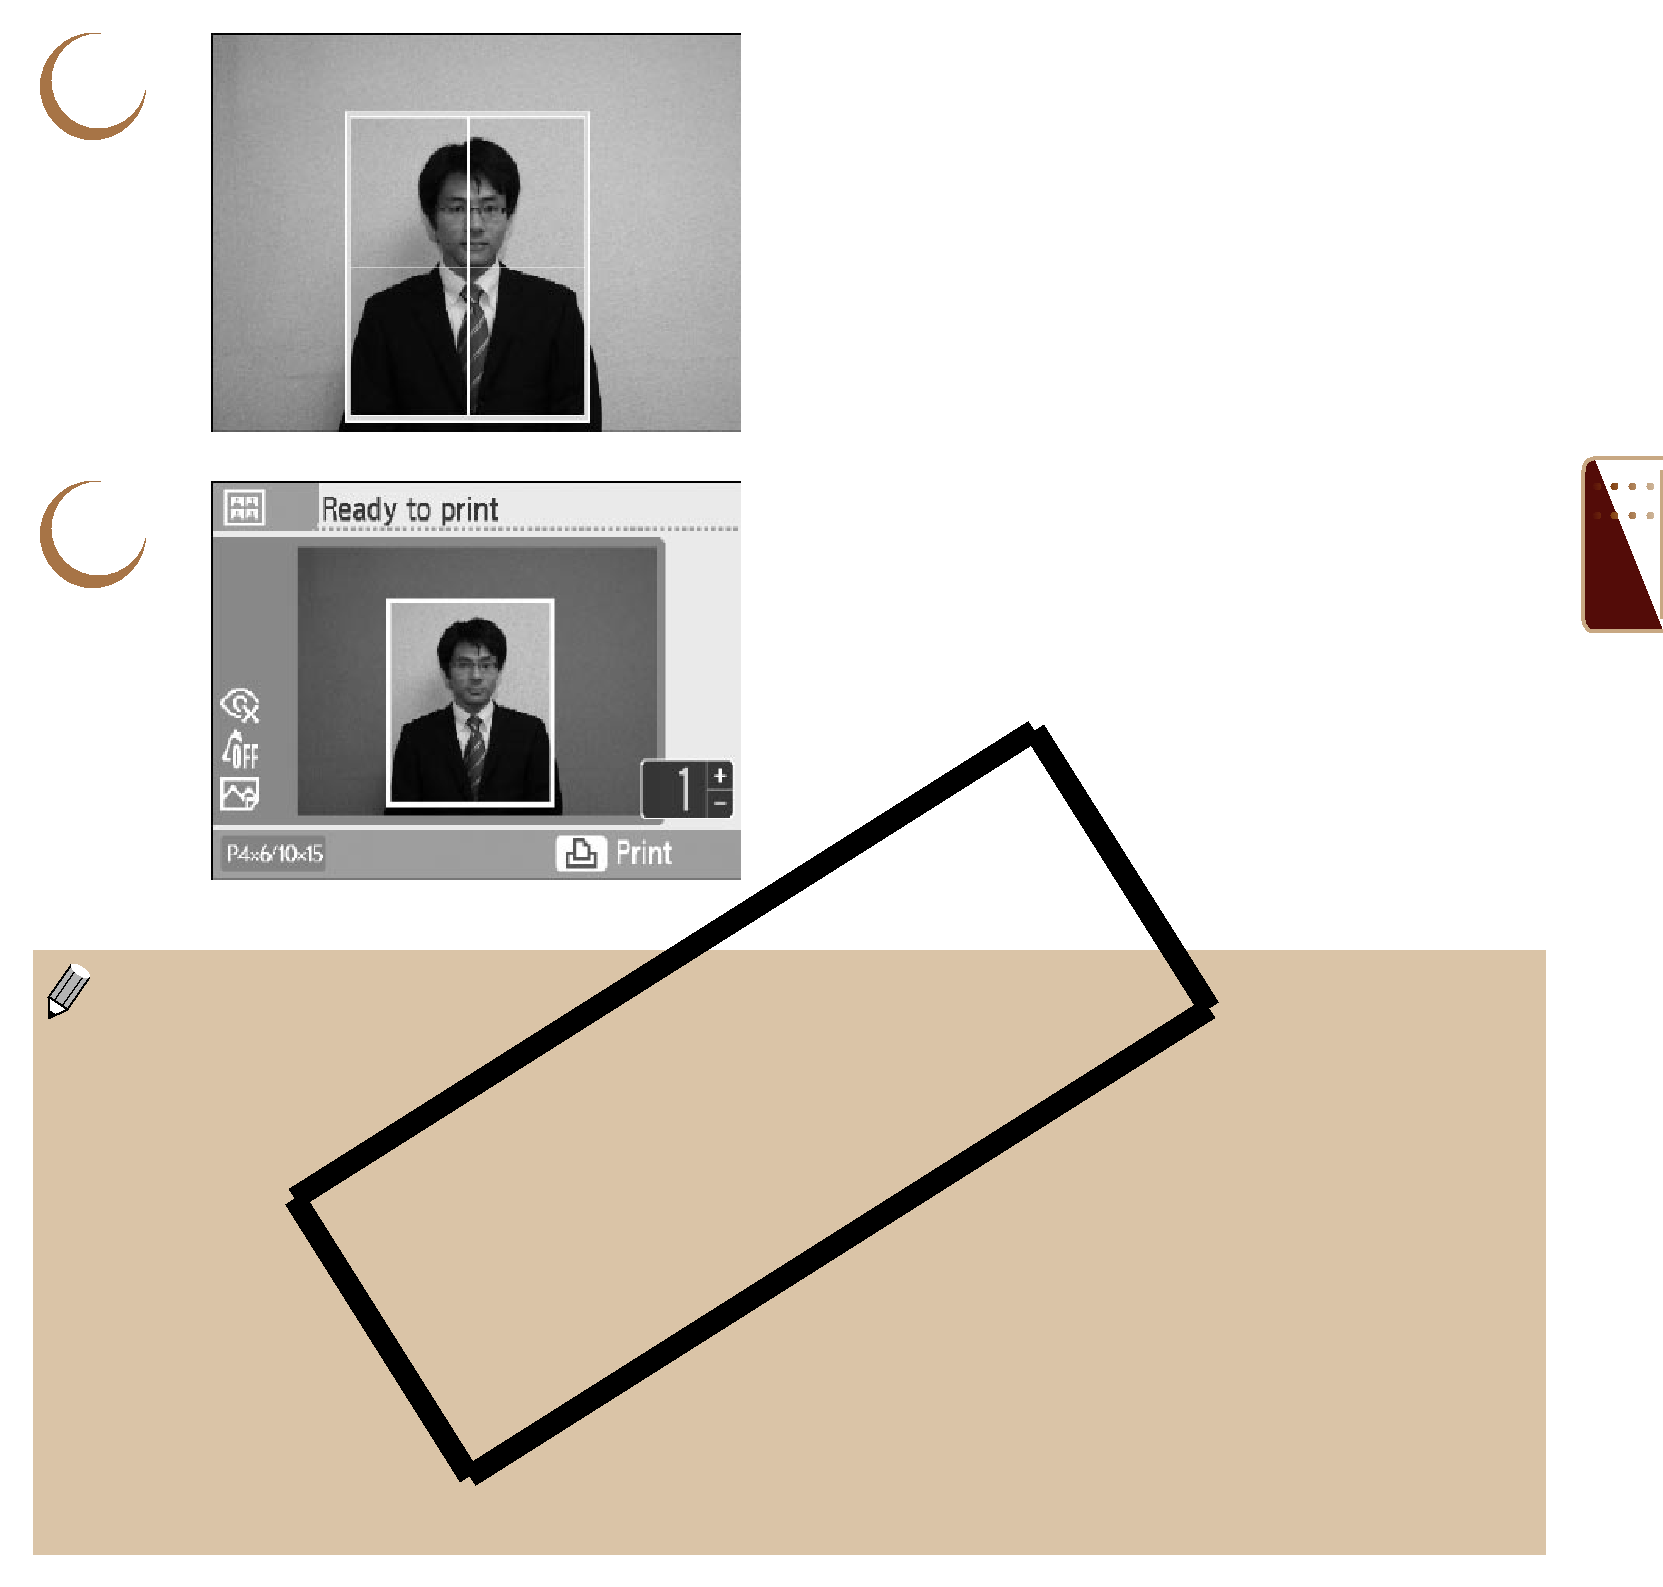
4 | Choose where to trim the image. |
Press the udl r buttons to move the | |
| trimming frame. |
| Press the m(DISPLAY) button, or turn the w |
| wheel to rotate the trimming frame 90 degrees. |
| Pressing the - button will make the trimming |
| frame larger. Pressing the 0 button will make it |
| smaller. |
| Press the o button. |
5 | Confirm the images and print. |
Press the ., buttons to choose the number of |
copies to be printed.
Press the p button to start printing.
 With the exception of [Correct
Only images taken with a Canon Compact Digital Camera with the recording pixels set to L (large) can be printed as ID photos.
If an image taken with a
When a cartridge is replaced
The ID photo may not be accepted officially, depending on the institution the ID photo is required for. Please contact the appropriate institution for details.
53