E
Using the Full Range of Features
Setting the White Balance
The camcorder’s auto white balance system compensates for a wide range of lighting conditions. Although slight variations are unavoidable, colours will appear natural in virtually every situation.
In some cases, you will get better results by setting the white balance yourself, or using one of the two preset modes:
T Indoor Mode
•Under halogen or studio/video lighting
•Subject is of one dominant colour
•Close ups
UOutdoor mode
•In daylight, especially for close- ups and where the subject is of one dominant colour
TAPE + CAMERA , CARD | + CAMERA |
CAM.SET UP | WHITE BAL.••AUTO |
( ![]() 40)
40)
1.Make sure the camcorder is set to the Q (program AE) mode.
2.Open the menu and select CAM.SET UP.
3.Select WHITE BAL.
4.a) For the indoor, outdoor or auto settings, press the selector dial in to choose the setting.
•T/U appears in the display when you set the white balance to indoor/outdoor mode.
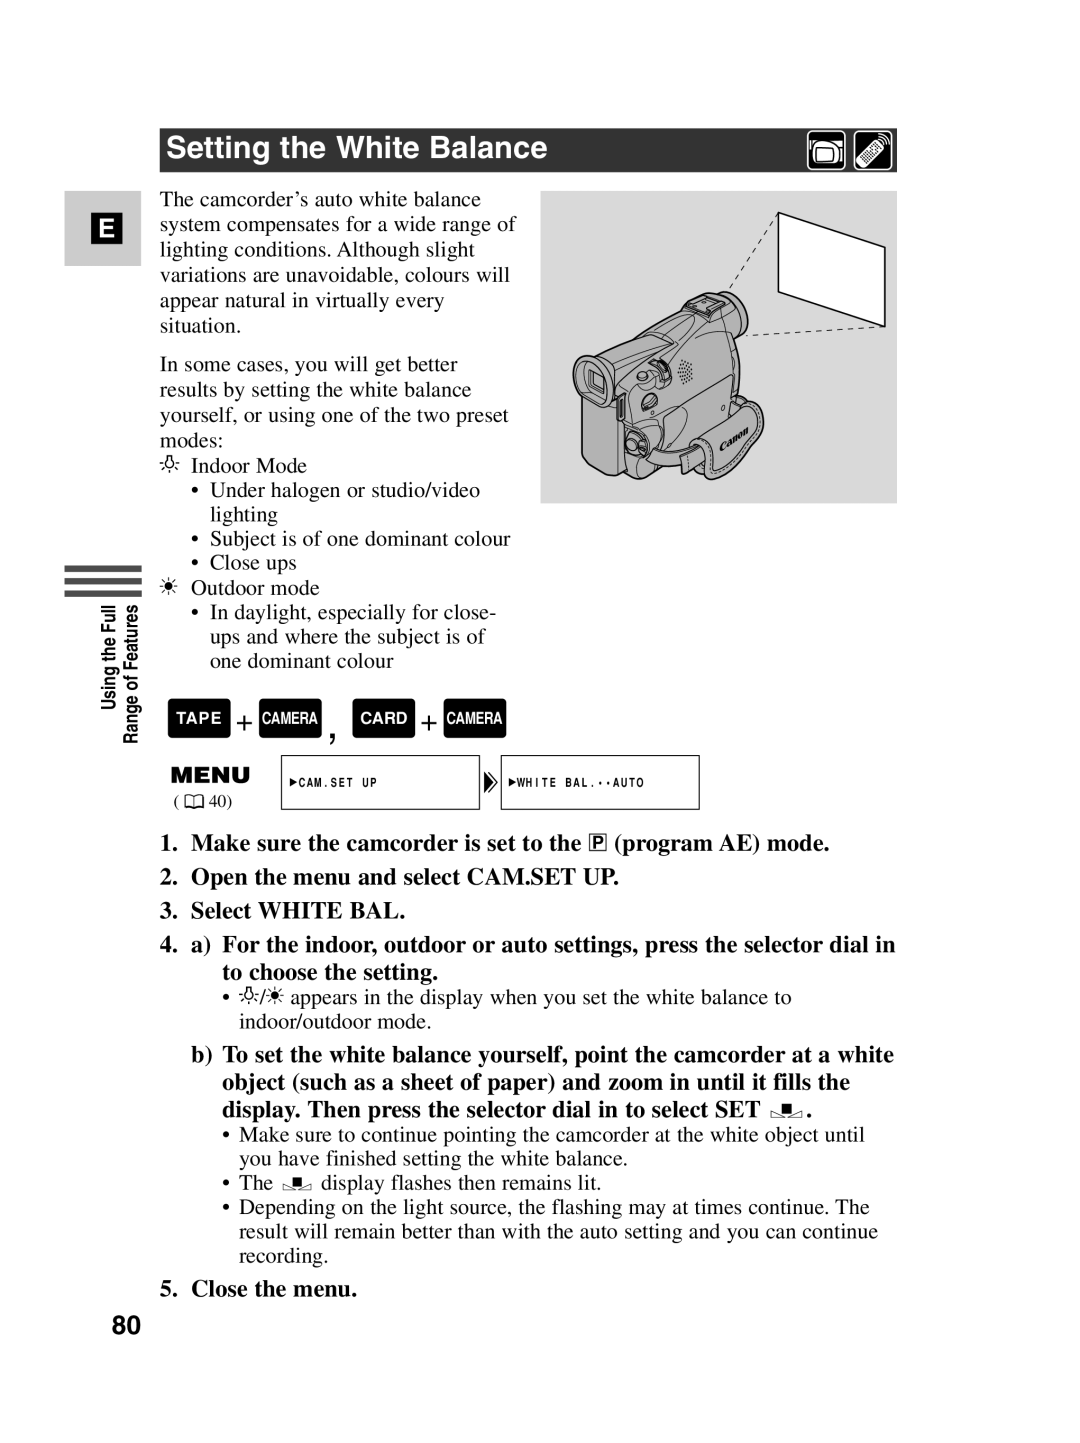
b)To set the white balance yourself, point the camcorder at a white object (such as a sheet of paper) and zoom in until it fills the display. Then press the selector dial in to select SET W.
•Make sure to continue pointing the camcorder at the white object until you have finished setting the white balance.
•The W display flashes then remains lit.
•Depending on the light source, the flashing may at times continue. The result will remain better than with the auto setting and you can continue recording.
5. Close the menu.
80
