Quick Start Instructions
Folow the procedures below to start scanning immediately. If you require more information at any stage, read the pages referenced at each step.
1 | Install |
This step is not required if you have already installed |
Module
1.Place the CanoScan Setup Utility
2.Click [Install the Software] to install
2 | Start |
| p. 14 |
1. Start ArcSoft PhotoStudio 2000 or other | |||
application.
2.Open the [File] menu, select [Acquire] and [CanonPI
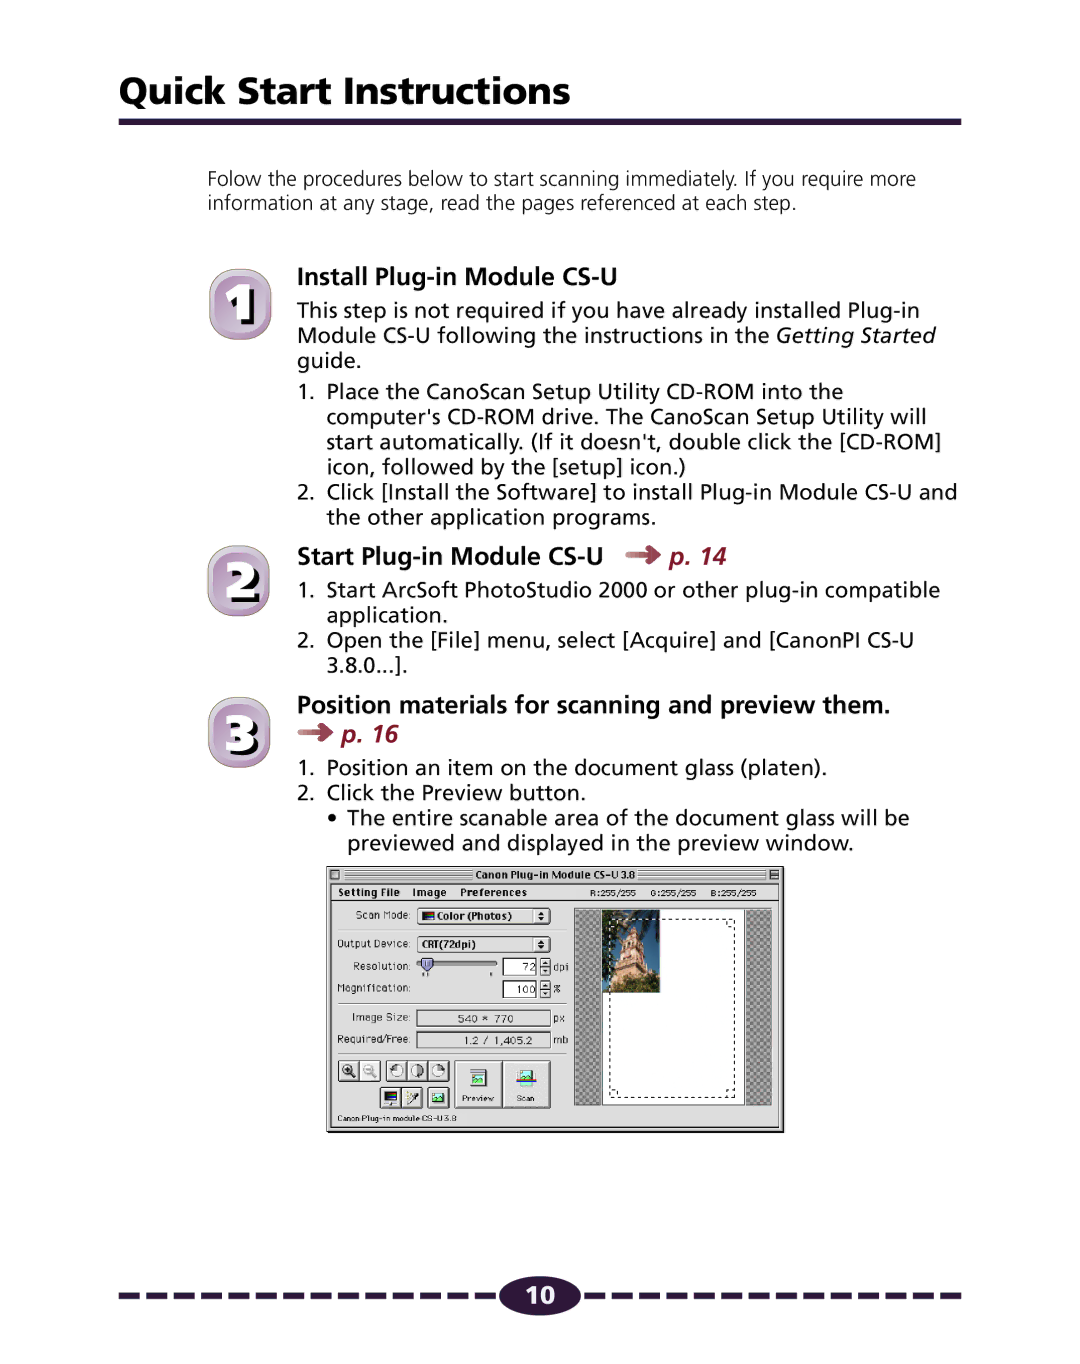
Position materials for scanning and preview them.
3 ![]()
![]()
![]()
![]()
![]() p. 16
p. 16
1. Position an item on the document glass (platen).
2.Click the Preview button.
•The entire scanable area of the document glass will be previewed and displayed in the preview window.
![]()
![]()
![]()
![]()
![]()
![]()
![]()
![]()
![]()
![]()
![]()
![]()
![]()
![]()
![]() 10
10![]()
![]()
![]()
![]()
![]()
![]()
![]()
![]()
![]()
![]()
![]()
![]()
![]()
![]()
![]()