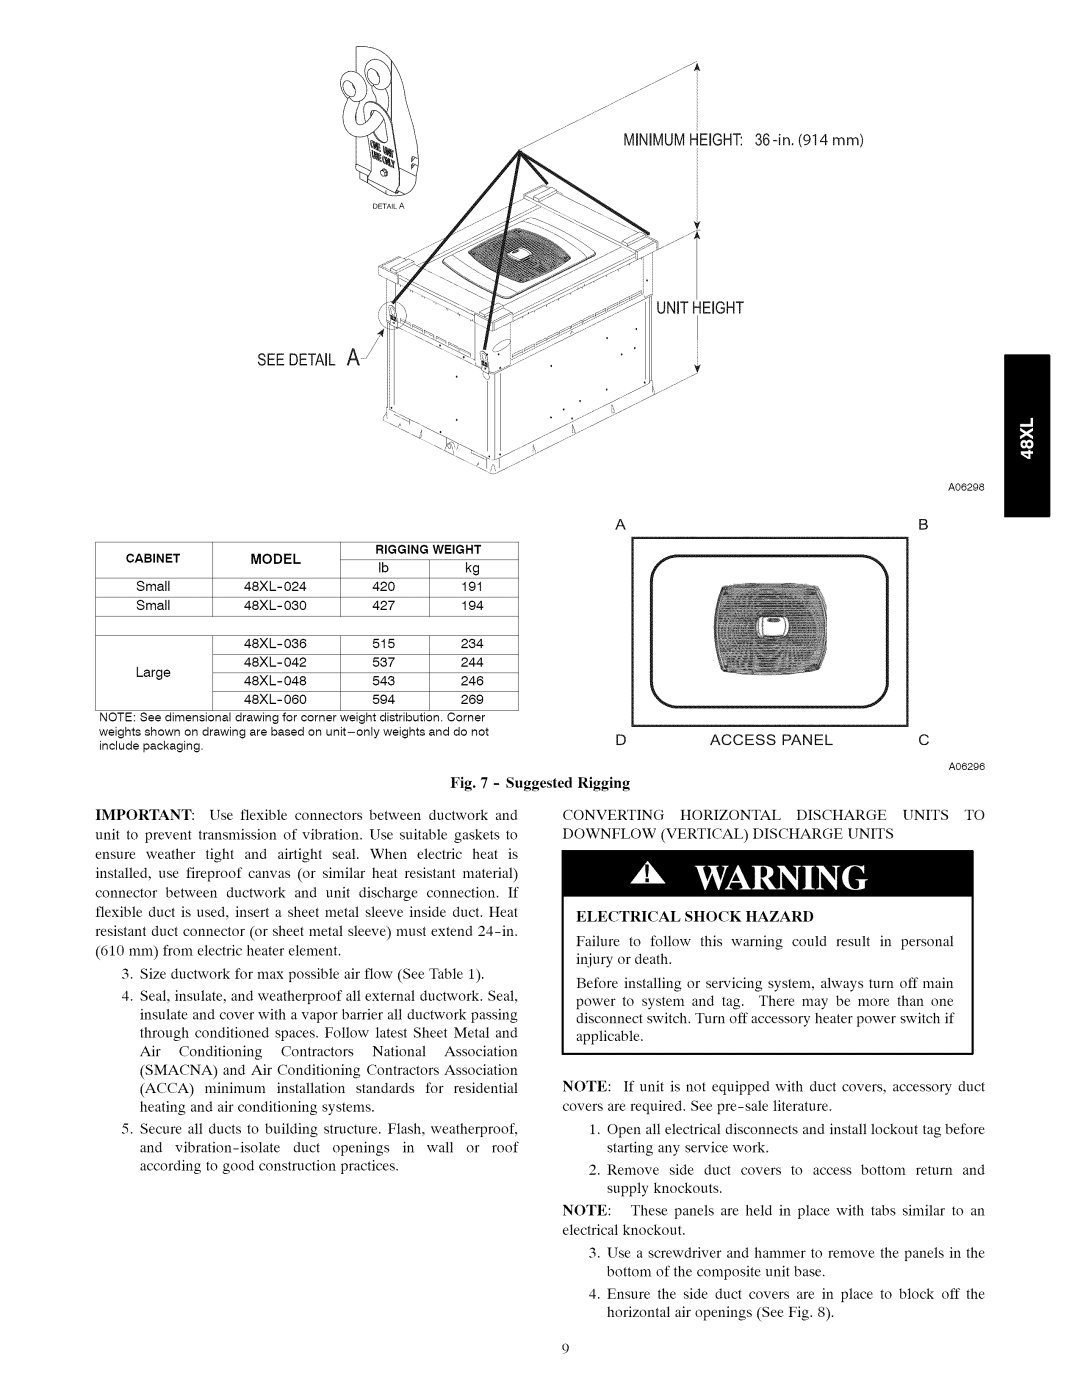
SEE DETAIL A /
CABINET | MODEL | RIGGING | WEIGHT | |
Ib | kg | |||
|
| |||
Small | 420 | 191 | ||
Small | 427 | 194 | ||
| 515 | 234 | ||
| 537 | 244 | ||
Large | 543 | 246 | ||
| 594 | 269 |
NOTE: See dimensional drawing for corner weight distribution. Corner weights shown on drawing are based on
UNITHEIGHT
A06298
A
J
DACCESS PANELC
A06296
Fig. 7 - Suggested
IMPORTANT: Use flexible connectors between ductwork and
unit to prevent transmission of vibration. Use suitable gaskets to
ensure weather tight and airtight seal. When electric heat is
installed, use fireproof canvas (or similar heat resistant material)
connector between ductwork and unit discharge connection. If flexible duct is used, insert a sheet metal sleeve inside duct. Heat
resistant duct connector (or sheet metal sleeve) must extend 24-in.
(610 mm) from electric heater element.
3.Size ductwork for max possible air flow (See Table 1).
4.Seal, insulate, and weatherproof all external ductwork. Seal,
insulate and cover with a vapor barrier all ductwork passing
through conditioned spaces. Follow latest Sheet Metal and
Air Conditioning Contractors National Association
(SMACNA) and Air Conditioning Contractors Association
(ACCA) minimum installation standards for residential
heating and air conditioning systems.
5.Secure all ducts to building structure. Flash, weatherproof,
and vibration-isolate duct openings in wall or roof
according to good construction practices.
Rigging
CONVERTING HORIZONTAL DISCHARGE UNITS TO
DOWNFLOW (VERTICAL) DISCHARGE UNITS
ELECTRICAL | SHOCK | HAZARD |
|
|
|
Failure to follow | this | warning could | result | in | personal |
iniury or death. |
|
|
|
|
|
Before installing | or servicing system, | always | turn | off main | |
power to system and tag. There may be more than one
disconnect switch. Turn off accessory heater power switch if applicable.
NOTE: If unit is not equipped with duct covers, accessory duct covers are required. See
1.Open all electrical disconnects and install lockout tag before starting any service work.
2.Remove side duct covers to access bottom return and supply knockouts.
NOTE: | These panels are held in place with tabs similar to an |
electrical | knockout. |
3.Use a screwdriver and hammer to remove the panels in the bottom of the composite unit base.
4.Ensure the side duct covers are in place to block off the horizontal air openings (See Fig. 8).