2.Use u and i to display the name of the bar code you want, and then press SET to delete it.
3.Press SET to delete the bar code.
NUMBERING
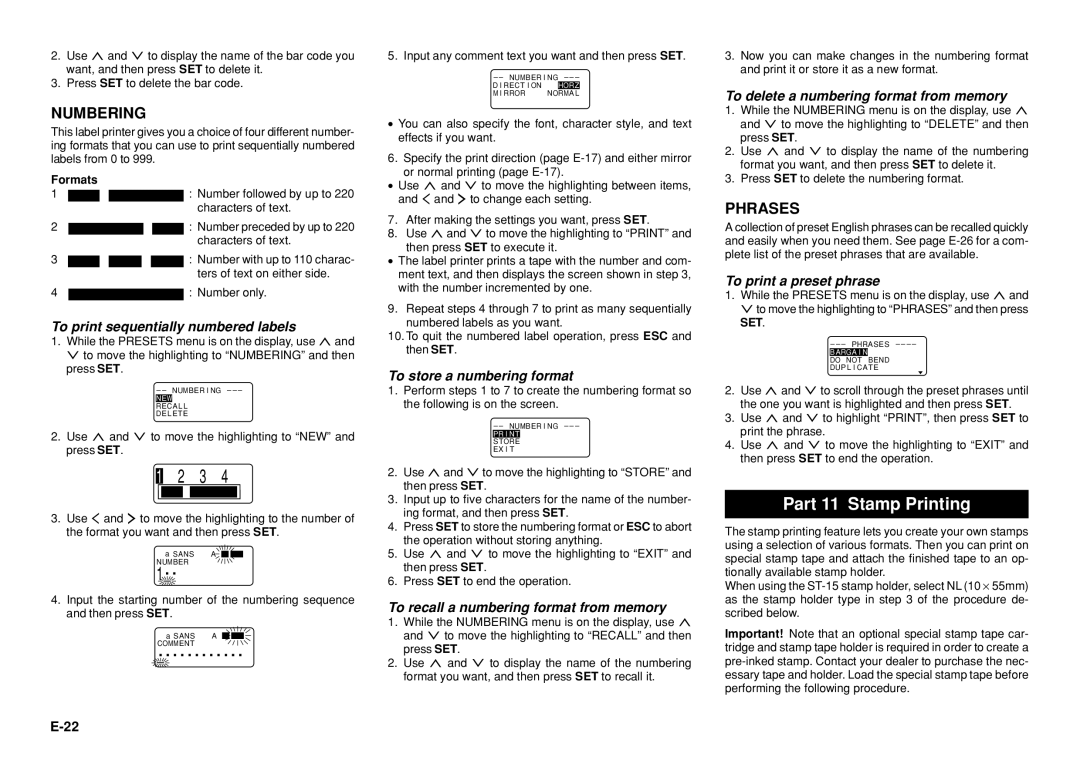
This label printer gives you a choice of four different number- ing formats that you can use to print sequentially numbered labels from 0 to 999.
Formats
1![]()
![]() : Number followed by up to 220 characters of text.
: Number followed by up to 220 characters of text.
2![]()
![]() : Number preceded by up to 220 characters of text.
: Number preceded by up to 220 characters of text.
3![]()
![]()
![]() : Number with up to 110 charac- ters of text on either side.
: Number with up to 110 charac- ters of text on either side.
4 |
| : Number only. |
To print sequentially numbered labels
1.While the PRESETS menu is on the display, use u and i to move the highlighting to “NUMBERING” and then press SET.
– – NUMBER I NG – – –
RECA L L
DE L ETE
2.Use u and i to move the highlighting to “NEW” and press SET.
2 3 4
3.Use t and y to move the highlighting to the number of the format you want and then press SET.
a SANS | A |
NUMBER |
|
1
4.Input the starting number of the numbering sequence and then press SET.
| a SANS | A |
COMMENT |
| |
|
|
|
5. Input any comment text you want and then press SET.
– – NUMBER I NG – – –
D I RECT I ON |
|
M I RROR | NORMA L |
•You can also specify the font, character style, and text effects if you want.
6. Specify the print direction (page
•Use u and i to move the highlighting between items, and t and y to change each setting.
7.After making the settings you want, press SET.
8.Use u and i to move the highlighting to “PRINT” and
then press SET to execute it.
•The label printer prints a tape with the number and com- ment text, and then displays the screen shown in step 3, with the number incremented by one.
9.Repeat steps 4 through 7 to print as many sequentially numbered labels as you want.
10.To quit the numbered label operation, press ESC and then SET.
To store a numbering format
1.Perform steps 1 to 7 to create the numbering format so the following is on the screen.
– – NUMBER I NG – – –
STORE EX I T
2.Use u and i to move the highlighting to “STORE” and then press SET.
3.Input up to five characters for the name of the number- ing format, and then press SET.
4.Press SET to store the numbering format or ESC to abort the operation without storing anything.
5.Use u and i to move the highlighting to “EXIT” and then press SET.
6.Press SET to end the operation.
To recall a numbering format from memory
1.While the NUMBERING menu is on the display, use u and i to move the highlighting to “RECALL” and then press SET.
2.Use u and i to display the name of the numbering format you want, and then press SET to recall it.
3.Now you can make changes in the numbering format and print it or store it as a new format.
To delete a numbering format from memory
1.While the NUMBERING menu is on the display, use u and i to move the highlighting to “DELETE” and then press SET.
2.Use u and i to display the name of the numbering format you want, and then press SET to delete it.
3.Press SET to delete the numbering format.
PHRASES
A collection of preset English phrases can be recalled quickly and easily when you need them. See page
To print a preset phrase
1.While the PRESETS menu is on the display, use u and ito move the highlighting to “PHRASES” and then press SET.
– – – PHRASES – – – –
DO NOT BEND
DUP L I CATE
2.Use u and i to scroll through the preset phrases until the one you want is highlighted and then press SET.
3.Use u and i to highlight “PRINT”, then press SET to print the phrase.
4.Use u and i to move the highlighting to “EXIT” and then press SET to end the operation.
Part 11 Stamp Printing
The stamp printing feature lets you create your own stamps using a selection of various formats. Then you can print on special stamp tape and attach the finished tape to an op- tionally available stamp holder.
When using the
Important! Note that an optional special stamp tape car- tridge and stamp tape holder is required in order to create a
