2.Use u and i to move the highlighting to “RECALL” and then press SET.
3.Use t and y to select the user character you want and then press SET.
To delete a user character
1.Press FUNC and then ILLUST (USER CHR).
2.Use u and i to move the highlighting to “DELETE” and then press SET.
3.Use t and y to select the user character you want and then press SET.
4.Press SET to delete the selected character or ESC to abort without deleting anything.
Part 4 Deleting and Inserting Characters
This section describes everything you need to know about deleting and editing characters you have already input.
Moving the Cursor
Use the cursor keys to move the cursor around the display and position it for deleting and editing characters.
To move the cursor
•Press t to move the cursor to the left, and y to move the cursor to the right.
•Press SHIFT and then t to make the cursor jump to the next block mark (![]() ) to the left. (See page
) to the left. (See page
•Press SHIFT and then y to make the cursor jump to the next block mark (![]() ) to the right.
) to the right.
•Press FUNC and then t to make the cursor jump to the beginning (far left) of the current line.
•Press FUNC and then y to make the cursor jump to the end (far right) of the current line.
•Press FUNC and then u to make the cursor jump to the first character of the text.
•Press FUNC and then i to make the cursor jump to the end of the text.
•Holding down the t or y cursor key moves the cursor at high speed.
Deleting Individual Characters
You can delete individual characters with either the BS key or the DEL key. The only difference between the operation of these two keys is the location of the cursor.
To delete characters using the BS key
Example: To change the word “commmputer” to “computer”.
1. Use t and y to move the cursor under “p”.
a SANS | A |
|
4 ⋅ 4 | 1 1 . 8 c m | |
c o m m m p u t e r
2.Press BS twice to delete the two m’s to the left of the cursor, shifting “puter” to the left as you do.
To delete characters using the DEL key
Example: To change the word “commmputer” to “computer”.
1.Use t and y to move the cursor under the first (far left) “m”.
2.Press DEL twice to delete the two m’s at the cursor’s position, shifting “mputer” to the left as you do.
Clearing the Display
The label printer gives you a choice of clearing the entire display or only a specific block of text.
To clear all text
1. Press FUNC and then BS (CLS).
– – – – – C L S – – – – – –
PART
2.Use u and i to highlight “ALL” (if it isn’t already high- lighted).
3.Press SET.
– – – – – C L S – – – – – –
C L EAR ? SET / ESC
c o m p u t e r
4.Press SET to clear all of the text on the display or ESC to abort without clearing anything.
To clear a portion of text
1.Press FUNC and then BS (CLS).
2.Use u and ito highlight “PART” (if it isn’t already high- lighted).
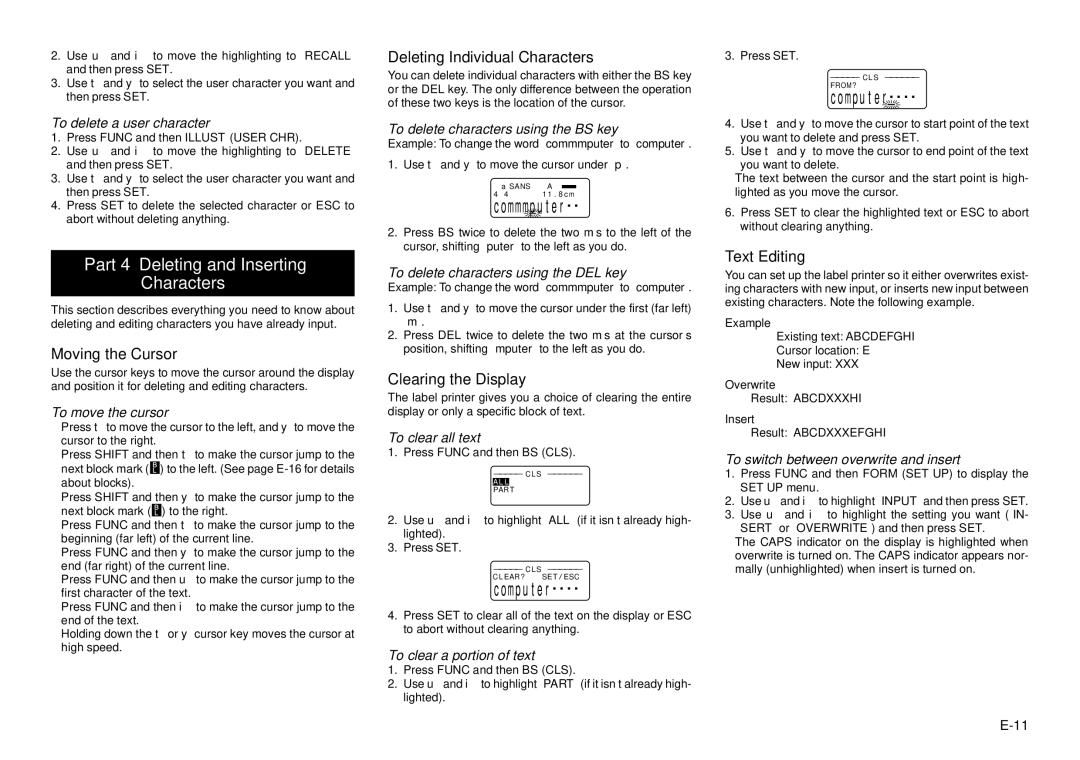
3. Press SET.
– – – – – C L S – – – – – –
FROM ?
c o m p u t e r
4.Use t and y to move the cursor to start point of the text you want to delete and press SET.
5.Use t and y to move the cursor to end point of the text
you want to delete.
•The text between the cursor and the start point is high- lighted as you move the cursor.
6.Press SET to clear the highlighted text or ESC to abort without clearing anything.
Text Editing
You can set up the label printer so it either overwrites exist- ing characters with new input, or inserts new input between existing characters. Note the following example.
Example
Existing text: ABCDEFGHI
Cursor location: E
New input: XXX
Overwrite
Result: ABCDXXXHI
Insert
Result: ABCDXXXEFGHI
To switch between overwrite and insert
1.Press FUNC and then FORM (SET UP) to display the SET UP menu.
2.Use u and i to highlight “INPUT” and then press SET.
3.Use u and i to highlight the setting you want (“IN- SERT” or “OVERWRITE”) and then press SET.
•The CAPS indicator on the display is highlighted when overwrite is turned on. The CAPS indicator appears nor- mally (unhighlighted) when insert is turned on.