3.Use u and i to highlight “DENSITY”, and then press SET.
– – – DENS I TY – – – –
< L I GHT | DARK > | |||
1 | 2 |
| 4 | 5 |
4.Use t and y to highlight the density you want to use and then press SET to apply the setting and return to the
text input screen.
•The higher the number you select, the darker the charac- ters that are printed.
Using the Image Display
The image display lets you view a realistic image of exactly what your tape will look like before you print it.
To show the image display
1. After laying out the label you plan to print, press IMAGE.
 ABC
ABC
•The image on the display scrolls from right to left.
2.To stop the image from scrolling and freeze the current contents on the display, press SET.
3.Press SET again to resume scrolling.
4.Press ESC to quit the image display.
•Labels that contain very thin lines or a large number of characters may not appear normally on the image display.
The appearance of the message “REPLACE BATTER- IES!” or “LOW BATTERY!” indicates that battery power is low. Whenever either of these messages appears, replace all the batteries with a full set of new ones as soon as possible. Continued use of the label printer while battery power is low can result in sudden power failure during operation or printing.
Part 9 Frames
The frame feature makes it easy to add attractive ornamen- tal frames to your text. You get a choice of two types of frames.
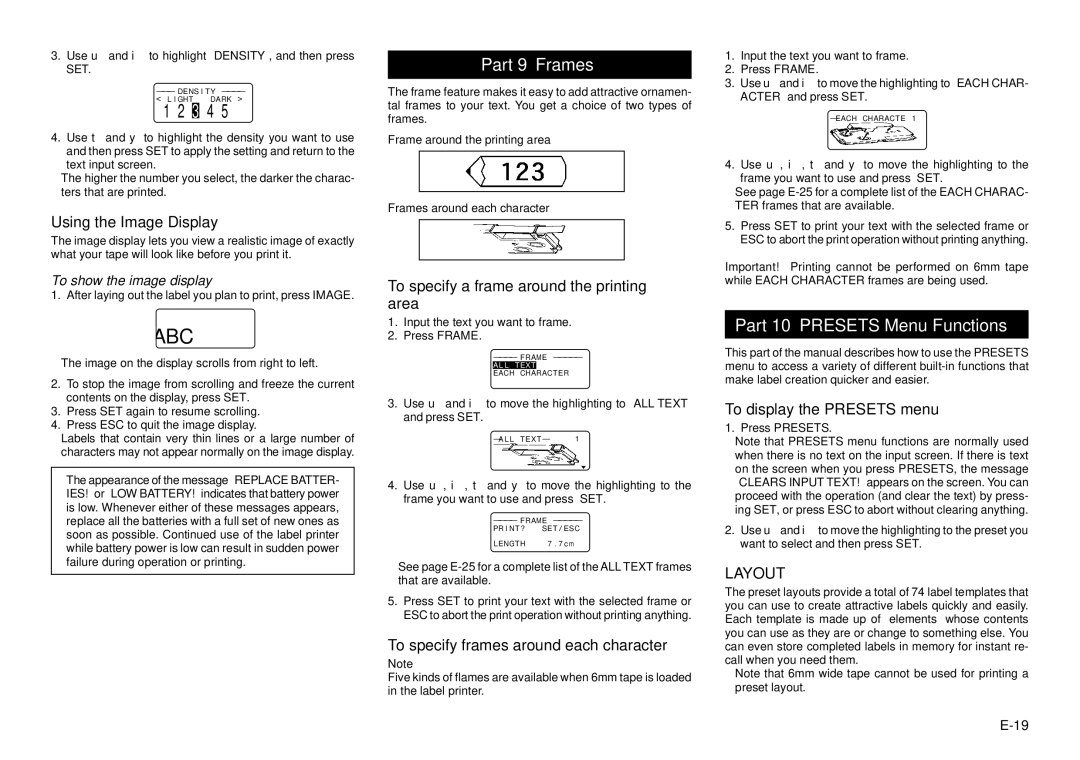
Frame around the printing area
Frames around each character
To specify a frame around the printing area
1.Input the text you want to frame.
2.Press FRAME.
– – – – FRAME – – – – –
EACH CHARACTER
3.Use u and i to move the highlighting to “ALL TEXT” and press SET.
– A L L TEXT – | 1 |
4.Use u, i, t and y to move the highlighting to the frame you want to use and press SET.
– – – – FRAME – – – – –
PR I NT ? | SET / ESC |
L ENGTH | 7 . 7 c m |
•See page
5.Press SET to print your text with the selected frame or ESC to abort the print operation without printing anything.
To specify frames around each character
Note
Five kinds of flames are available when 6mm tape is loaded in the label printer.
1.Input the text you want to frame.
2.Press FRAME.
3.Use u and ito move the highlighting to “EACH CHAR- ACTER” and press SET.
–EACH CHARACTE 1
4.Use u, i, t and y to move the highlighting to the frame you want to use and press SET.
•See page
5.Press SET to print your text with the selected frame or ESC to abort the print operation without printing anything.
Important! Printing cannot be performed on 6mm tape while EACH CHARACTER frames are being used.
Part 10 PRESETS Menu Functions
This part of the manual describes how to use the PRESETS menu to access a variety of different
To display the PRESETS menu
1.Press PRESETS.
•Note that PRESETS menu functions are normally used when there is no text on the input screen. If there is text on the screen when you press PRESETS, the message “CLEARS INPUT TEXT!” appears on the screen. You can proceed with the operation (and clear the text) by press- ing SET, or press ESC to abort without clearing anything.
2.Use u and i to move the highlighting to the preset you want to select and then press SET.
LAYOUT
The preset layouts provide a total of 74 label templates that you can use to create attractive labels quickly and easily. Each template is made up of “elements” whose contents you can use as they are or change to something else. You can even store completed labels in memory for instant re- call when you need them.
•Note that 6mm wide tape cannot be used for printing a preset layout.