Using your Cateye ErgociserTM without a data card
The red card you used on your first ride contains data used in selecting different types of training. Even without this card, you can use buttons on the control unit to run through the same operations.
1.Switch on power supply
•Plug in the AC adaptor and connect to the exerciser. Switch on.
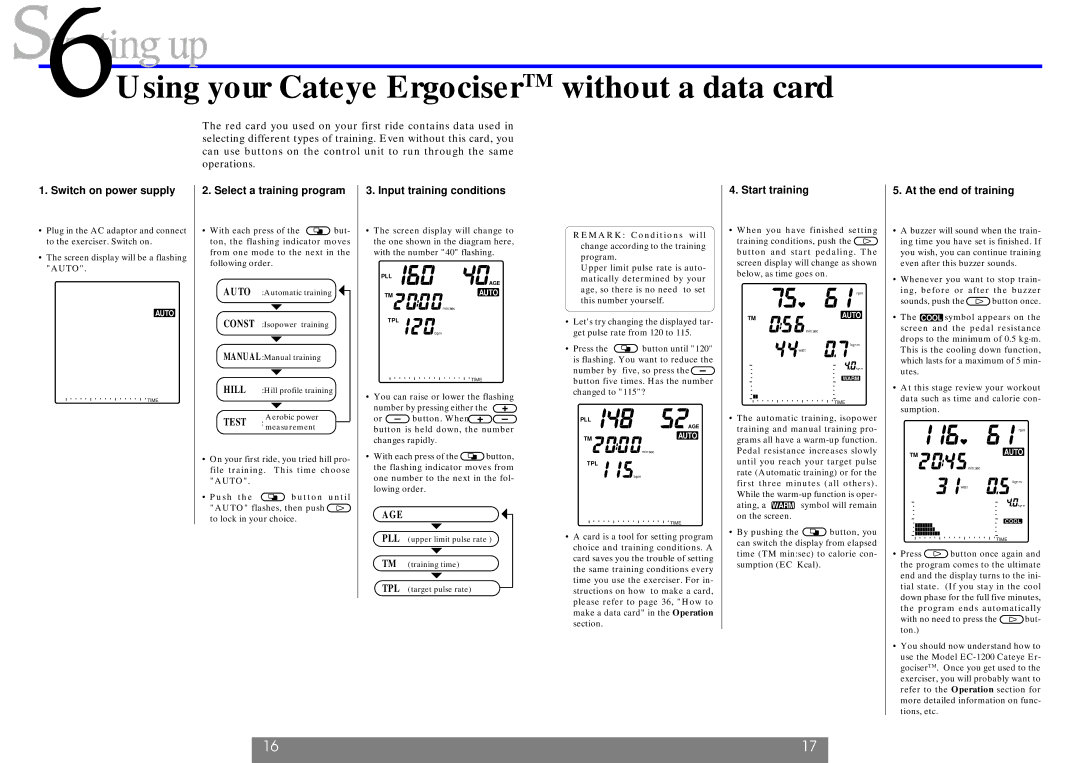
•The screen display will be a flashing "AUTO".
AUTO
TIME
2. Select a training program
• With each press of the MO but- ton, the flashing indicator moves from one mode to the next in the following order.
AUTO :Automatic training
CONST :Isopower training
MANUAL :Manual training
HILL :Hill profile training
Aerobic power
TEST : measurement
•On your first ride, you tried hill pro- file training. This time choose "AUTO".
•Push the MO button until "AUTO" flashes, then push ADV to lock in your choice.
3.Input training conditions
•The screen display will change to the one shown in the diagram here, with the number "40" flashing.
PLL
| AGE |
TM | AUTO |
| min:sec |
TPL |
|
| bpm |
TIME
• You can raise or lower the flashing
number by pressing either the | + |
+ | |
or – button. When + | – |
button is held down, the number changes rapidly.
• With each press of the MO button, the flashing indicator moves from one number to the next in the fol- lowing order.
AGE
PLL (upper limit pulse rate )
REMARK: Conditions will change according to the training program.
Upper limit pulse rate is auto- matically determined by your age, so there is no need to set this number yourself.
•Let's try changing the displayed tar- get pulse rate from 120 to 115.
• Press the | MO button until "120" |
is flashing. You want to reduce the | |
number by | five, so press the – - |
button five times. Has the number changed to "115"?
PLL
| AGE |
TM | AUTO |
| min:sec |
TPL |
|
| bpm |
TIME
• A card is a tool for setting program |
choice and training conditions. A |
card saves you the trouble of setting |
4.Start training
•When you have finished setting
training conditions, push the AD button and start pedaling. The screen display will change as shown below, as time goes on.
|
| rpm |
TM | AUTO | |
|
| min:sec |
|
| kg•m |
|
| watt |
|
| kg•m |
|
| WARM |
|
| TIME |
|
| |
|
| |
• The automatic training, isopower | |
training and manual training pro- | |
grams all have a | |
Pedal resistance increases slowly | |
until you reach your target pulse | |
rate (Automatic training) or for the | |
first three minutes (all others). | |
While the | |
ating, a WARMWA | symbol will remain |
on the screen. |
|
• By pushing the | MO button, you |
can switch the display from elapsed | |
time (TM min:sec) to calorie con- | |
5. At the end of training
•A buzzer will sound when the train- ing time you have set is finished. If you wish, you can continue training even after this buzzer sounds.
•Whenever you want to stop train- ing, before or after the buzzer
sounds, push the AD button once.
•The cooCOOL symbol appears on the screen and the pedal resistance drops to the minimum of 0.5 kg·m. This is the cooling down function, which lasts for a maximum of 5 min- utes.
•At this stage review your workout data such as time and calorie con- sumption.
| rpm |
TM | AUTO |
![]()
![]() min:sec
min:sec
kg•m
![]() watt
watt
![]()
![]() kg•m
kg•m
COOL
TIME
• Press AD button once again and |
TM (training time)
TPL (target pulse rate)
the same training conditions every |
time you use the exerciser. For in- |
structions on how to make a card, |
please refer to page 36, "How to |
make a data card" in the Operation |
section. |
sumption (EC Kcal). |
the program comes to the ultimate |
end and the display turns to the ini- |
tial state. (If you stay in the cool |
down phase for the full five minutes, |
the program ends automatically |
with no need to press the AD but- ton.)
•You should now understand how to use the Model
16 | 17 |
|
|