WD962KLD, WD962KD specifications
The Chamberlain WD962KD and WD962KLD are powerful garage door opener models designed to provide homeowners with advanced technology, convenience, and reliability. Both models come equipped with smart features that make them stand out in the market.One of the primary features of the WD962KD and WD962KLD is the powerful 1.25 HP motor. This robust motor ensures that even the heaviest garage doors can be opened and closed smoothly without straining the system. The WD962KLD model, in particular, features a DC motor, which not only offers silent operation but also enhances energy efficiency.
Both garage door openers are equipped with Chamberlain's patented MAX Lift Power System. This innovative technology delivers optimal lifting force and steady performance, making the opening and closing cycle faster and more efficient. The models are compatible with various types of garage doors, including sectional, one-piece, and up-and-over doors, providing versatility to suit different homeowners' needs.
Security is a major concern for homeowners, and Chamberlain addresses this with its advanced security features. The WD962KD and WD962KLD come with the MYQ technology, allowing users to monitor and control their garage door from anywhere using their smartphones. The app notifies users about the door's status in real time, providing peace of mind.
Another essential characteristic is the built-in battery backup feature. This ensures that even during power outages, homeowners can still operate their garage doors without hassle. The WD962KLD model goes one step further with its integrated lighting system that illuminates the garage area, enhancing safety and visibility when entering or exiting.
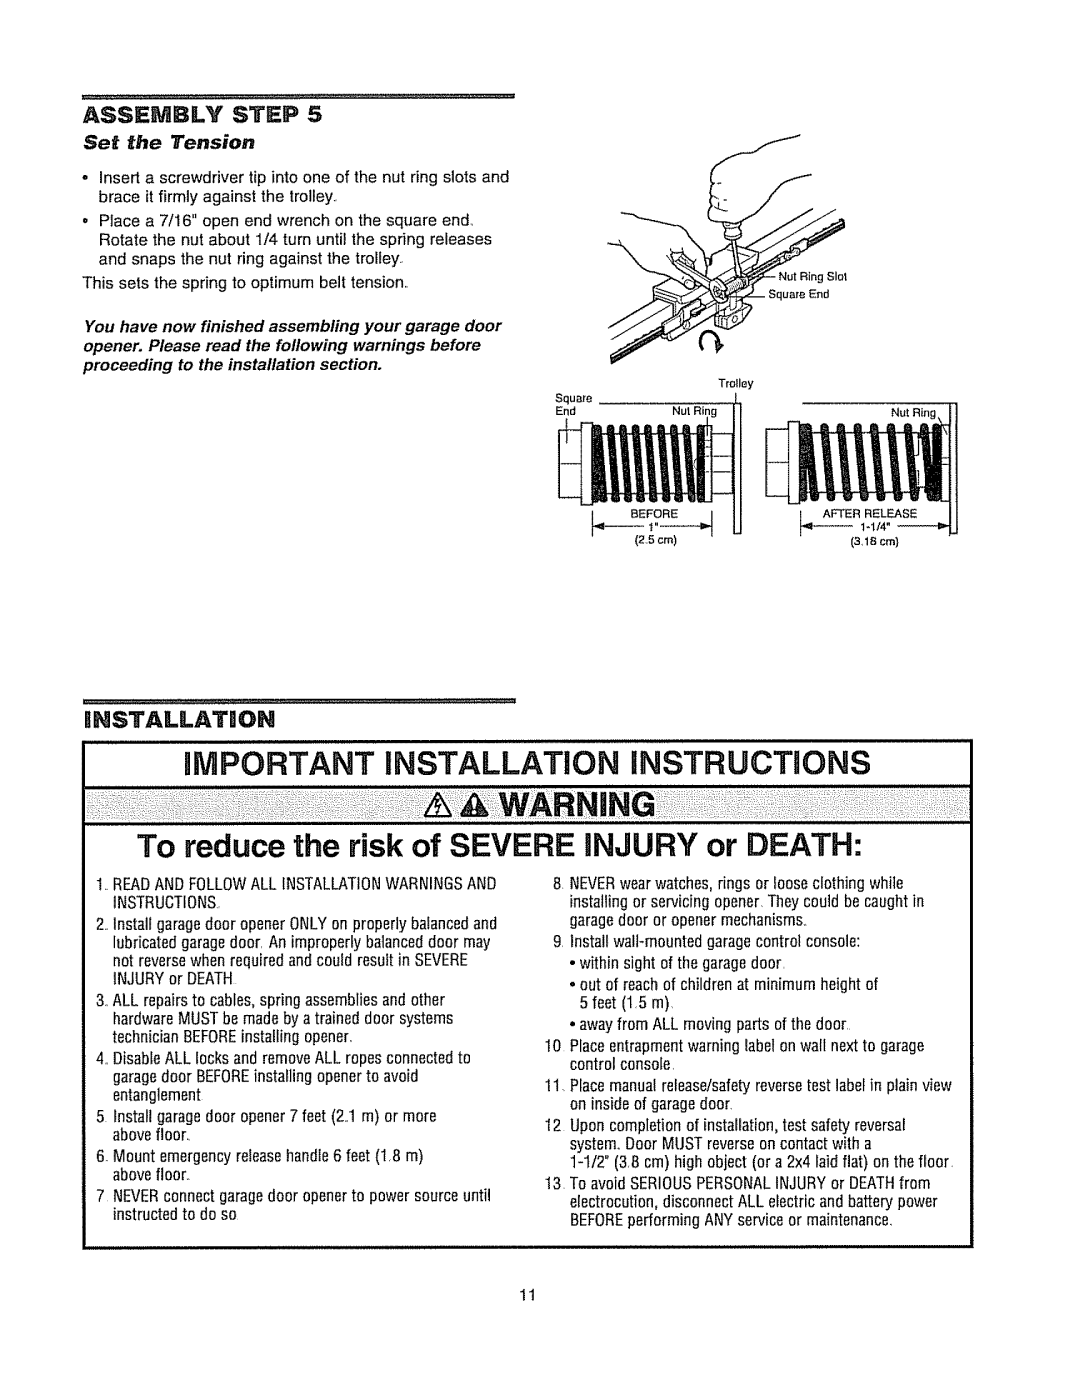
Installation is made easy with the included Quick-Install bracket system, which simplifies the setup process. The smooth operation is further complemented by the silent operation chain drive, ensuring minimal noise during usage, which is perfect for homes that are attached to the garage.
Furthermore, both garage door openers come with remote controls featuring a range of up to 1500 feet, enabling users to open their garage door from a significant distance. The keypad entry system offers an added layer of convenience and security, allowing for keyless access.
In summary, the Chamberlain WD962KD and WD962KLD garage door openers combine advanced technologies and user-friendly features to deliver a premium experience. With robust motors, smart technology, enhanced security options, and easy installation, these models are an excellent choice for homeowners looking to upgrade their garage door systems.

