CM2 | Installation Instructions |
ADJUSTMENTS
Display Travel Adjustment
The CM2 is designed to allow the adjustment of both "Extend" and "Retract" display travel limits. The CM2 is shipped set at maximum extension and retraction.
There is an upward travel limit adjustment screw and a downward travel limit adjustment screw located on the top right hand side of the mount. (See figure 25)
NOTE: 10 full turns of the "Extend" or "Retract" travel adjustment screws is equal to 1" of display travel.
1.Turning the "Extend" travel adjustment screw clockwise will increase the amount of display upward travel. Turning the "Extend" adjustment screw
2.Turning the "Retract" travel adjustment screw clockwise will decrease the amount of display downward travel. Turning the "Retract" adjustment screw
EXTEND |
1 |
RETRACT |
2 |
Figure 25
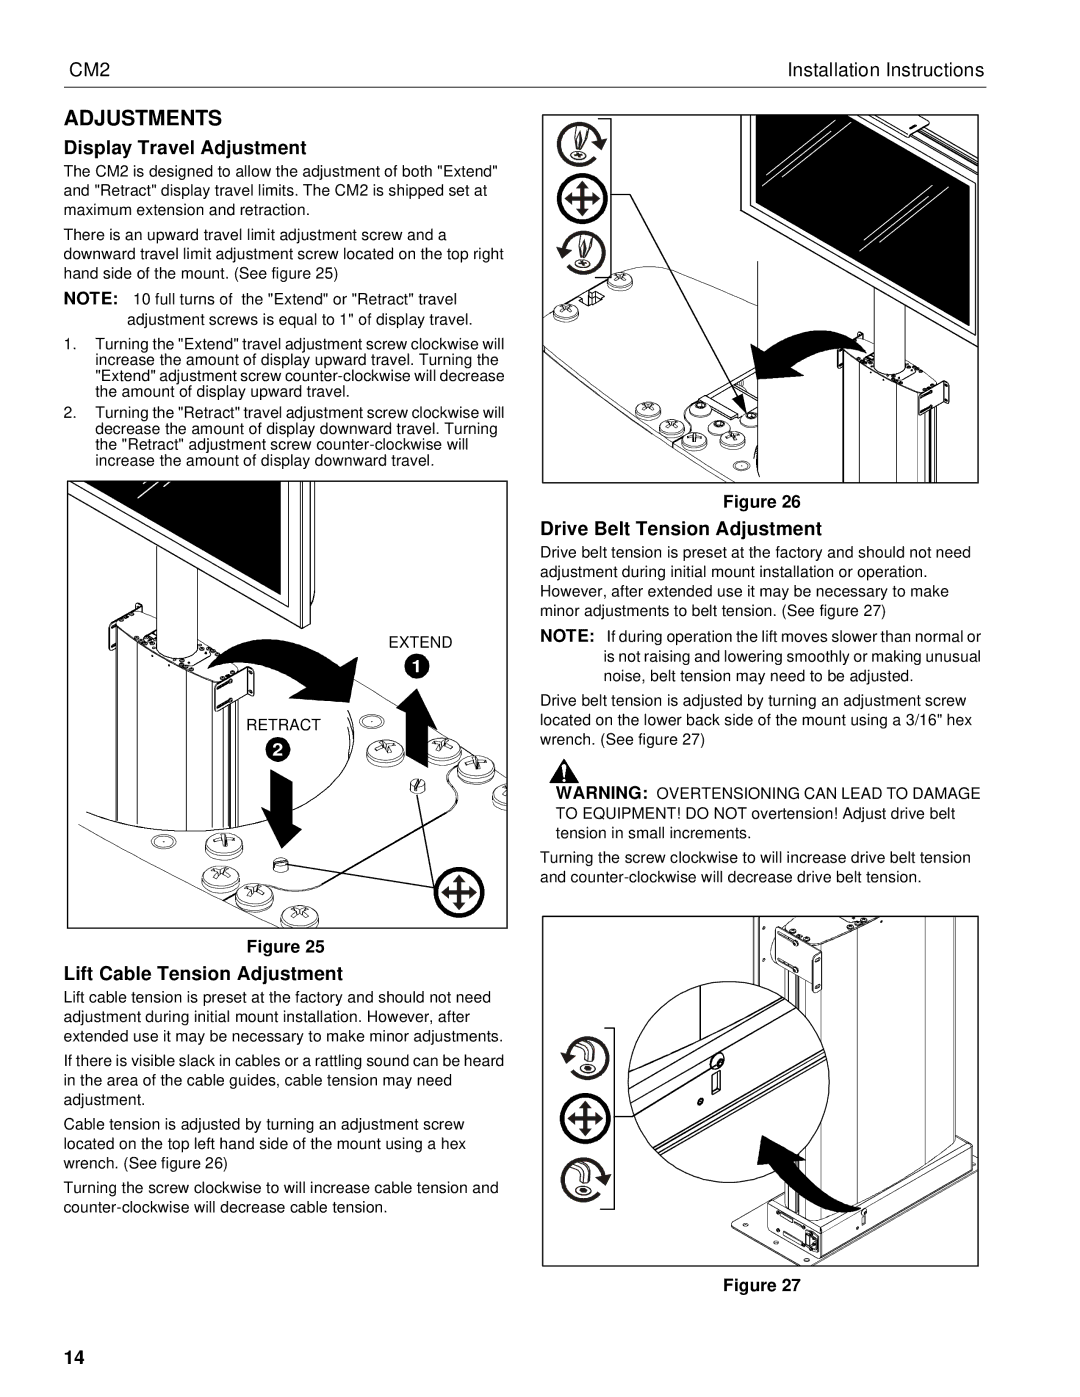
Lift Cable Tension Adjustment
Lift cable tension is preset at the factory and should not need adjustment during initial mount installation. However, after extended use it may be necessary to make minor adjustments.
If there is visible slack in cables or a rattling sound can be heard in the area of the cable guides, cable tension may need adjustment.
Cable tension is adjusted by turning an adjustment screw located on the top left hand side of the mount using a hex wrench. (See figure 26)
Turning the screw clockwise to will increase cable tension and
Figure 26
Drive Belt Tension Adjustment
Drive belt tension is preset at the factory and should not need adjustment during initial mount installation or operation. However, after extended use it may be necessary to make minor adjustments to belt tension. (See figure 27)
NOTE: If during operation the lift moves slower than normal or is not raising and lowering smoothly or making unusual noise, belt tension may need to be adjusted.
Drive belt tension is adjusted by turning an adjustment screw located on the lower back side of the mount using a 3/16" hex wrench. (See figure 27)
WARNING: OVERTENSIONING CAN LEAD TO DAMAGE TO EQUIPMENT! DO NOT overtension! Adjust drive belt tension in small increments.
Turning the screw clockwise to will increase drive belt tension and
Figure 27
14