Installation
Installation
Install the projector in a safe place. Before installation, read Safety Instructions thoroughly and check the installation place. Install the projector in a place with sufficient strength to support the projector's weight. Installation on an unstable stand, cart, or ceiling may cause serious injury or accidents.
Do not place the projector where is extremely hot and humid. Do not place the projector where is dusty and smoky. When installing the projector in dusty and smoky places or in a place for a long period of time, installation with Smoke Resist Box
Lens Installation
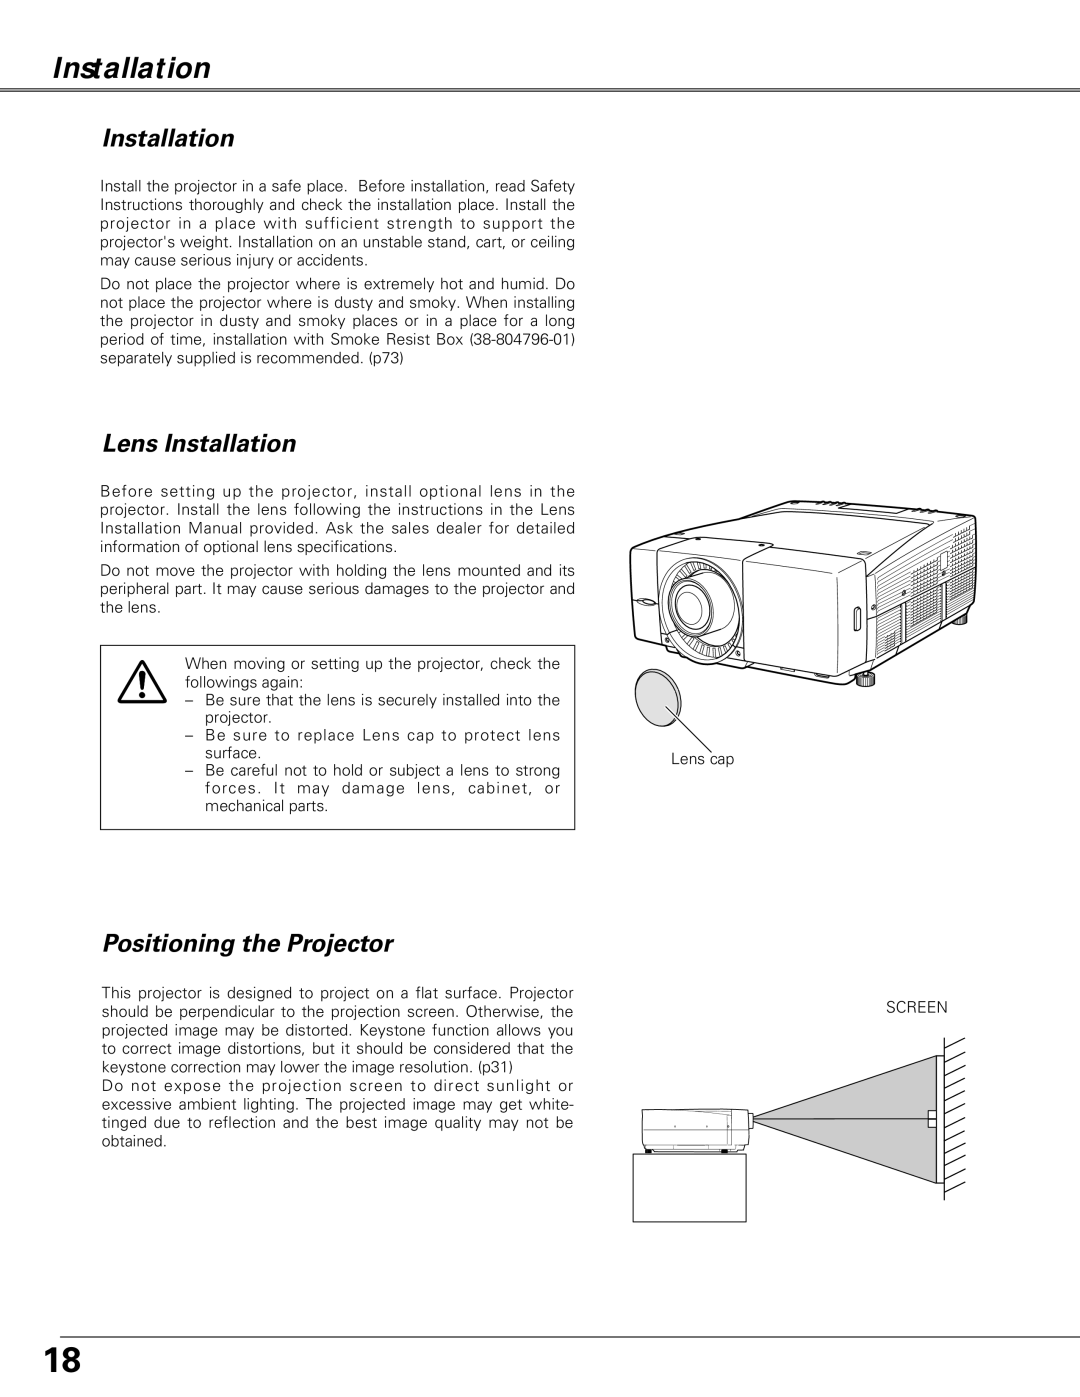
Before setting up the projector, install optional lens in the projector. Install the lens following the instructions in the Lens Installation Manual provided. Ask the sales dealer for detailed information of optional lens specifications.
Do not move the projector with holding the lens mounted and its peripheral part. It may cause serious damages to the projector and the lens.
When moving or setting up the projector, check the followings again:
– Be sure that the lens is securely installed into the projector.
–Be sure to replace Lens cap to protect lens
surface. | Lens cap |
–Be careful not to hold or subject a lens to strong forces. It may damage lens, cabinet, or mechanical parts.
Positioning the Projector
This projector is designed to project on a flat surface. Projector | SCREEN |
should be perpendicular to the projection screen. Otherwise, the | |
projected image may be distorted. Keystone function allows you |
|
to correct image distortions, but it should be considered that the |
|
keystone correction may lower the image resolution. (p31) |
|
Do not expose the projection screen to direct sunlight or |
|
excessive ambient lighting. The projected image may get white- |
|
tinged due to reflection and the best image quality may not be |
|
obtained. |
|
18
