Manuals
/
Christie Digital Systems
/
Computer Equipment
/
Projector
Christie Digital Systems
LX66A
user manual
Models:
LX66A
1
1
84
84
Download
84 pages
16.1 Kb
1
2
3
4
5
6
7
8
Troubleshooting
Specs
Install
Component Signal Selection
Factory default
Timer button
Indicators
Connecting AC Power Cord
Dimension
Maintenance
Page 1
Image 1
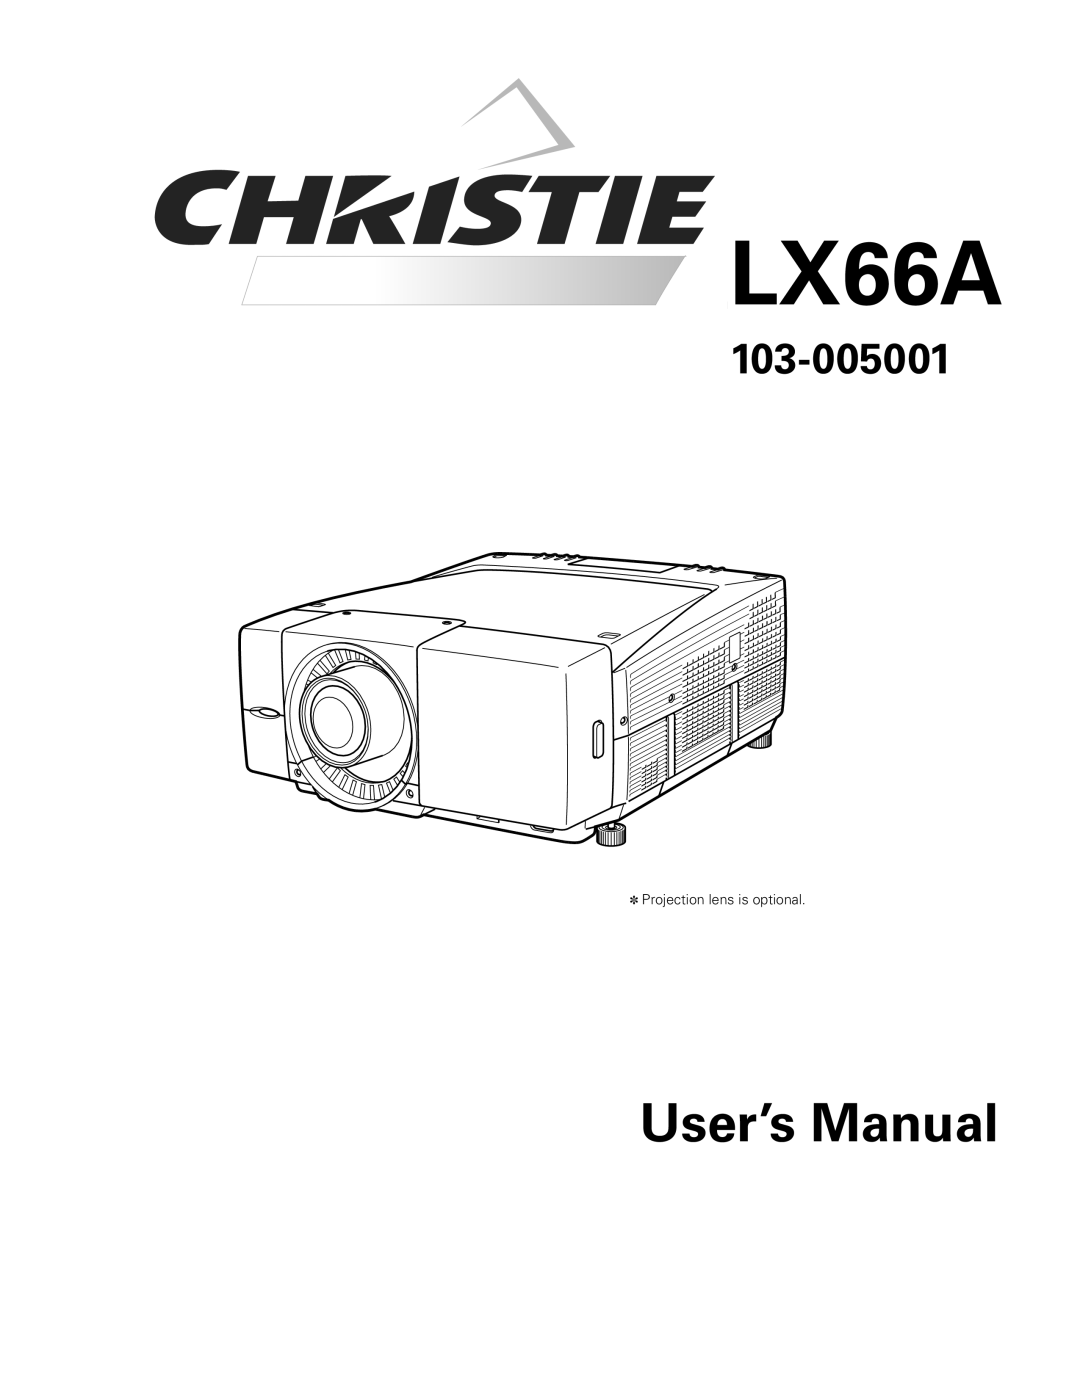
LX66A
103-005001
✽
Projection lens is optional.
User’s Manual
Page 1
Page 2
Page 1
Image 1
Page 1
Page 2
Contents
LX66A
Compatibility My Menu Selection
Features and Design
Table of Contents
Risk of Electric Shock Do not Open
To The Owner
Voor de klanten in Nederland
Safety Instructions
Positioning Precautions
Setup In Proper Directions
Air Circulation
Bottom Front Downward Upward Usual
USE Caution in Carrying or Transporting the Projector
Moving the Projector
Federal Communication Commission Notice
Compliance
Parts Name
Preparation
Front
Back
Indicators
Top Control
Input 2 terminals
Terminals
C Jack
USB Series B
USB
Serial Port OUT
About Control Pad
Remote Control
4REMOTE RESET/ON/ALL-OFF switch
Timer button
Freeze button
CH button
Remote Control Channel and ID Setup
Remote Control Transmitter
Wired Remote Control Transmitter
Remote Control Channel & Frequency
Remote Control Battery Installation
Remote Control ID
Installation
Installation
Lens Installation
Positioning the Projector
Level Adjustable Feet
Lens Shift Adjustment
Adjustable feet
For Continental Europe
Connecting AC Power Cord
For the U.S.A. and Canada
200 240 V AC
Interface Board Slots
Connection Terminals
Option Control No
Cables used for connection
Connecting to Computer Digital and Analog RGB
Connecting to Video Equipment Digital and Video
Connecting to Video Equipment Component and RGB Scart
Basic Operation
Wireless Remote Control Operation
Operating the Projector
Mouse Operation
Basic Operation and Reference Buttons
Top Control Remote Control
Pad
Turning On the Projector
What is PIN code?
Enter a PJ PIN code
Turning Off the Projector
Remote Control
Zoom and Focus Adjustment
Shutter Function
Top Control
Input Selection
Auto PC Adjustment
Information
Timer Function
Keystone Adjustment
Screen Selection
Picture Freeze Function
Zoom +
Zoom +/- Function
Zoom
Remote Control Operation
How to Operate On-Screen Menu
Top Control Operation
Mouse Operation
Control bar for Mouse Operation
Menu icon Guide
Mouse cursor
Item data
Menu icons What You Can Do with Each Menu
Menu Icons and Their Features
Input
Input
RGB Scart
When video input signal is connected to
When the input source is analog coming
When the input source is component
Move a pointer to Input 2 and press the Select button
System
System
PC System Selection
Auto
Component Signal Selection
Video or S-Video Signal Selection
AV System Menu Video or S-Video
AV System Menu Component
PC Adjustment
Computer Adjustment
Auto PC Adjust
Auto PC adj
Manual PC Adjust
Reset
Sync phase
Position
Mode
Image
Image Adjustment
For PC Input
For AV Input
Image Adjust
Color temp
Auto picture control
Red
Green
Noise reduction
Gamma
Progressive
Film
Screen Setting
Screen Setting
Screen
Keystone
Zoom
Ceiling
Rear
Setting
Setting
Language
Menu
Enter a Logo PIN code
Logo
Lamp
Background
Power management
Power management
Display
Input search
Lens memory
Analog out
Shutter
Security
Shutter Management
Key lock
USB lock
To Change PJ PIN Code
To Change the PJ PIN Code setting
Exits the Setting menu
Factory default
Special
Special
Fan control
Filter
RS-232C
Test pattern
USB memory
Information
Exits Warning log menu
All indicators except the Lamp indicator are blinking
Maintenance and Cleaning
Then check the matters below
Filter cover Air filter
Air Filter Replacement
Reset the Lamp time
Lamp Replacement
Lamp
Lamp Handling Precautions
Cleaning the Projector Cabinet
Cleaning the Projection Lens
Attaching the Cord Cover Strap
Main Indicators
Indicators and Projector Condition
Projector is OFF. The AC power cord is unplugged
May cause electric shock or a fire hazard
Air filter is clogged with dust or has been used overtime
Shutter Indicator
Lamp 1/2
Lamp Replace Indicators
Until cooling is completed
Appendix
Troubleshooting
Lens position moves when Input
Wireless Remote Control
Is switched
Some displays are not seen
Freq
Compatible Computer Specifications
1080i/50
1080i/60
Technical Specifications
Optional Parts
Accessories
Screen Screen
Menu Tree
Image Image ADJ
Special Lamp
Dimensions
USB Connector Series B
Terminal Configurations
PIN Code Lock No
PIN Code Number Memo
Logo PIN Code Lock No
Numerics
Index
Appendix
Appendix
Appendix
Part No -A 610 328 2459 1AA6P1P5105-- KH6K
Top
Page
Image
Contents
 LX66ALX66A