Cisco Catalyst Blade Switch 3030 Getting Started Guide
Installing the Switch Module in the Server Chassis
Note The initial configuration assumes that the switch module was never configured, that it is in the same state as when it was received, and that it is not configured with a default username and password.
Follow these steps to install the switch module into the server chassis:
Step 1 Obtain and make note of this information from your network administrator before you begin the switch module installation:
•Switch IP address
•Subnet mask (IP netmask)
•Default gateway (router)
•Enable secret password (encrypted)
•Enable password (not encrypted)
•Telnet password
•SNMP community strings (optional)
Step 2 Select a chassis I/O module bay in which to install the switch module. Follow the prerequisites listed in the “Dell Modular Server Chassis Architecture” section on page
Step 3 Remove the
Step 4 If you have not already done so, touch the
Step 5 Remove the switch module from its
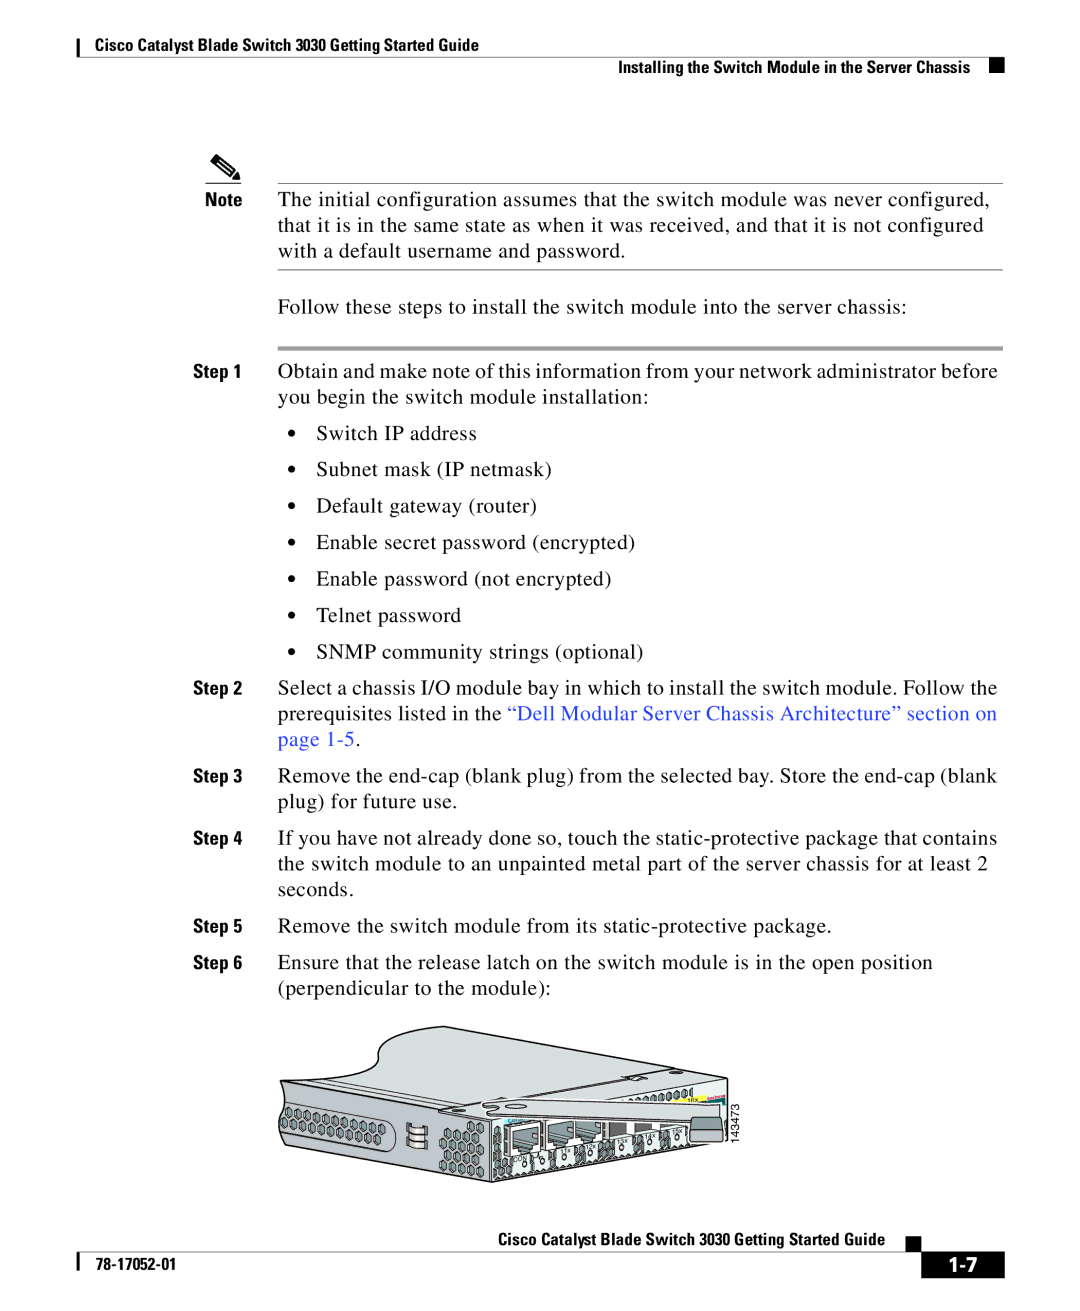
Step 6 Ensure that the release latch on the switch module is in the open position (perpendicular to the module):
12x ![]()
![]()
![]() 13x
13x
![]()
![]() 13x 12x 11x
13x 12x 11x ![]()
![]()
![]()
CON
![]()
![]()
![]()
![]() 16x 15x 14x
16x 15x 14x
16x 15x ![]()
![]() 14x
14x ![]()
![]()
![]()
143473
|
| Cisco Catalyst Blade Switch 3030 Getting Started Guide |
|
|
|
|
| ||
|
|
| ||
|
|
|