Replacing the Chassis
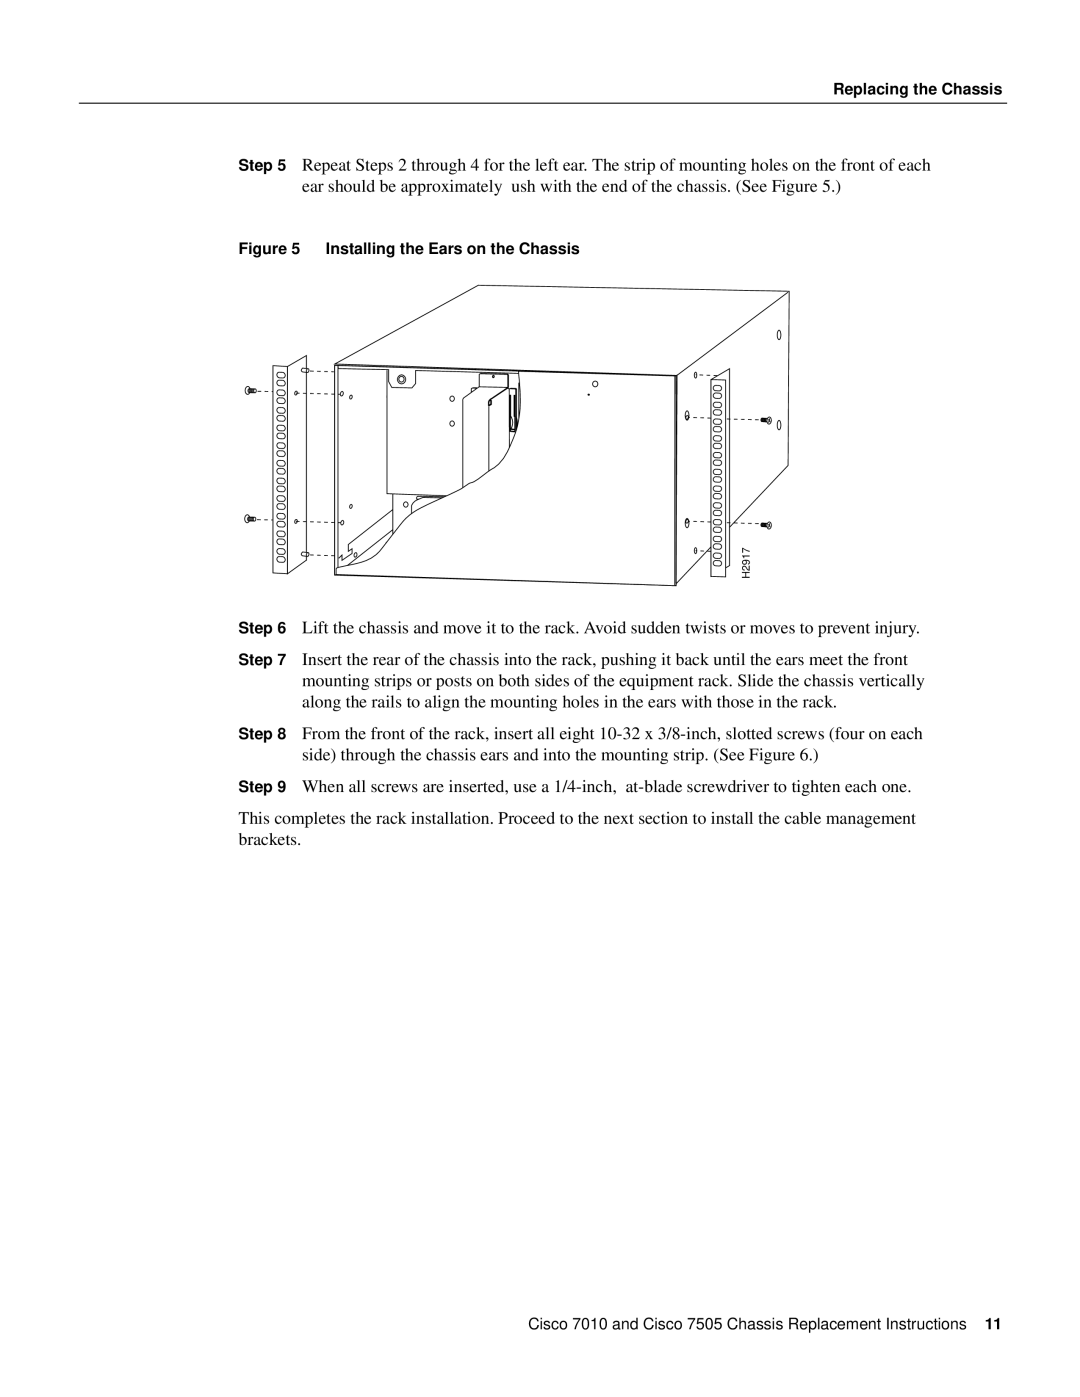
Step 5 Repeat Steps 2 through 4 for the left ear. The strip of mounting holes on the front of each ear should be approximately flush with the end of the chassis. (See Figure 5.)
Figure 5 Installing the Ears on the Chassis
H2917
Step 6 Lift the chassis and move it to the rack. Avoid sudden twists or moves to prevent injury.
Step 7 Insert the rear of the chassis into the rack, pushing it back until the ears meet the front mounting strips or posts on both sides of the equipment rack. Slide the chassis vertically along the rails to align the mounting holes in the ears with those in the rack.
Step 8 From the front of the rack, insert all eight
Step 9 When all screws are inserted, use a
This completes the rack installation. Proceed to the next section to install the cable management brackets.
Cisco 7010 and Cisco 7505 Chassis Replacement Instructions 11