Cisco IE 3010 Switch Getting Started Guide
Connecting to the Power Source
Prepare the power cable.
Warning This unit might have more than one power supply connection. All connections must be removed to
Warning This product relies on the building’s installation for
AC: 5 A, DC: 15 A. Statement 1005
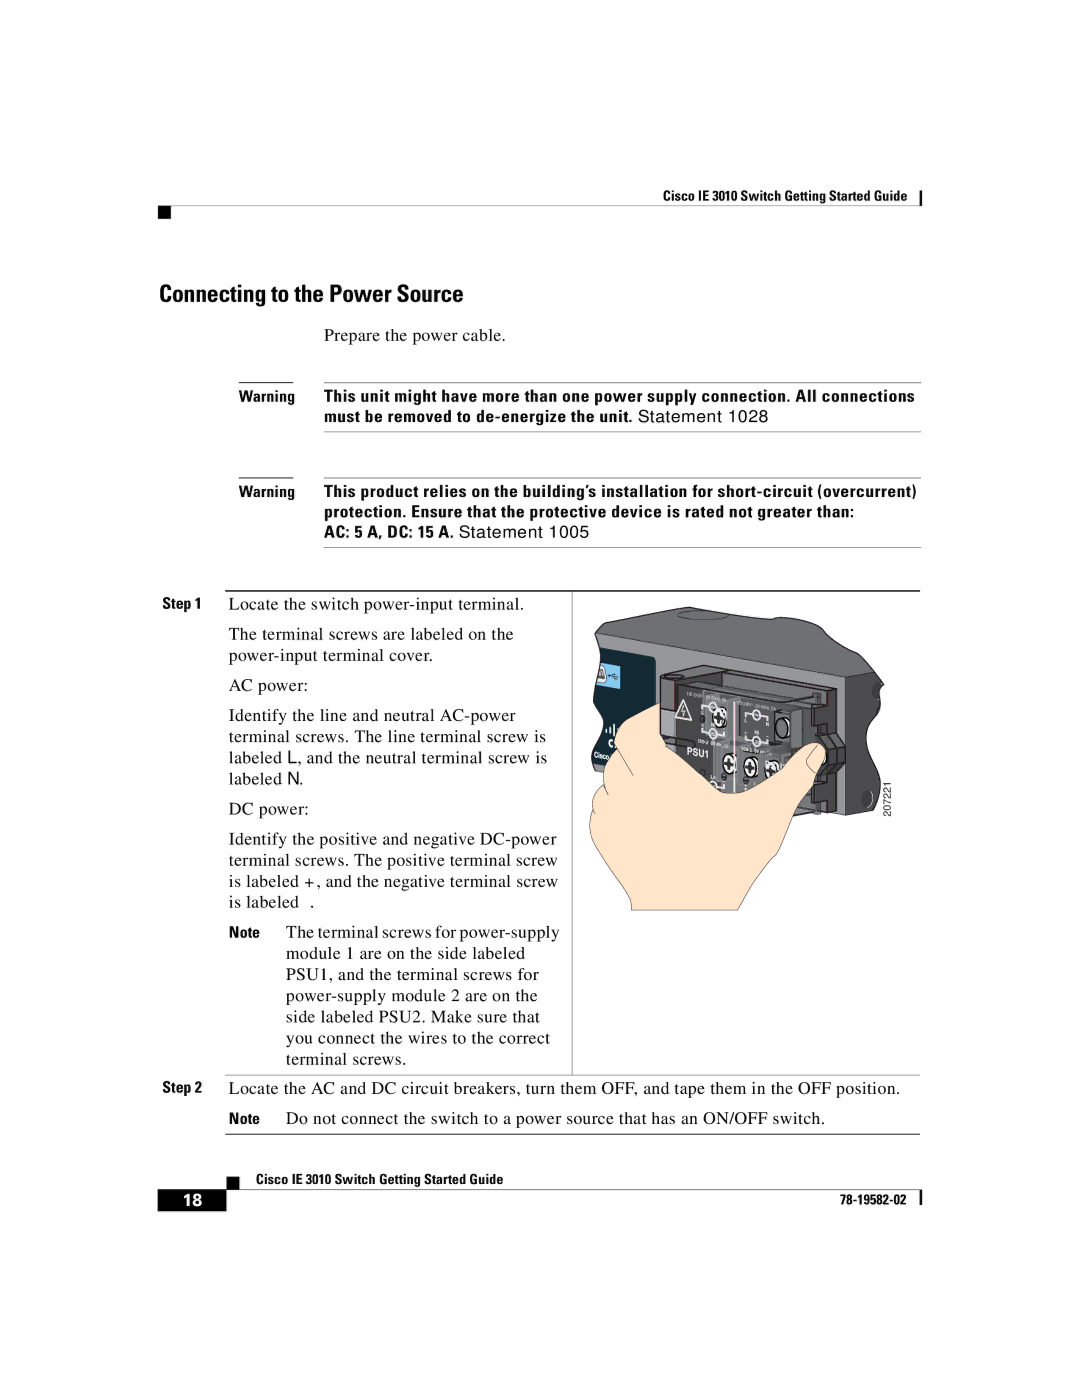
Step 1 Locate the switch
The terminal screws are labeled on the
AC power:
Identify the line and neutral
DC power:
Identify the positive and negative
Note The terminal screws for
100- |
|
|
|
240V~, 50- |
|
| |
| 60Hz, 2A | 100- |
|
|
| 240V~, 50- | |
|
|
| 60Hz, 2A |
| 5 |
|
|
| 2A | 5 |
|
|
| 2A | |
|
|
| |
| 10A |
|
|
|
|
| 10A |
![]() 207221
207221
Step 2 Locate the AC and DC circuit breakers, turn them OFF, and tape them in the OFF position.
Note Do not connect the switch to a power source that has an ON/OFF switch.
| Cisco IE 3010 Switch Getting Started Guide |
18 |
