PA-FE-FX, PA-FE-TX specifications
Cisco Systems PA-FE-TX and PA-FE-FX are essential components in the realm of network switching and connectivity. These Peripheral Adapter modules are designed for use in Cisco 7000 series routers, catering to the needs of high-performance networking and offering robust features.The PA-FE-TX module is equipped with fast Ethernet ports that provide high-speed network connectivity through twisted-pair cabling. This module supports 10/100 Mbps data rates, making it ideal for connecting end-user devices to the network while ensuring compatibility with existing infrastructure. Its auto-sensing capability facilitates smooth integration into varying network environments, allowing for seamless communication and data transfer.
On the other hand, the PA-FE-FX module is tailored for fiber optic connections, enabling high-speed data transmission over longer distances. This module supports multimode and single-mode fiber options, catering to diverse connectivity requirements. The PA-FE-FX is essential for organizations that require extended reach and minimal signal degradation, making it suitable for large campuses, data centers, and urban networking.
Both modules leverage Cisco's advanced technologies, including Quality of Service (QoS) capabilities and enhanced security features. These protocols ensure efficient bandwidth management and prioritize critical applications, improving overall network performance. Additionally, they support features such as VLAN (Virtual Local Area Network) tagging, enabling network segmentation and improved traffic management.
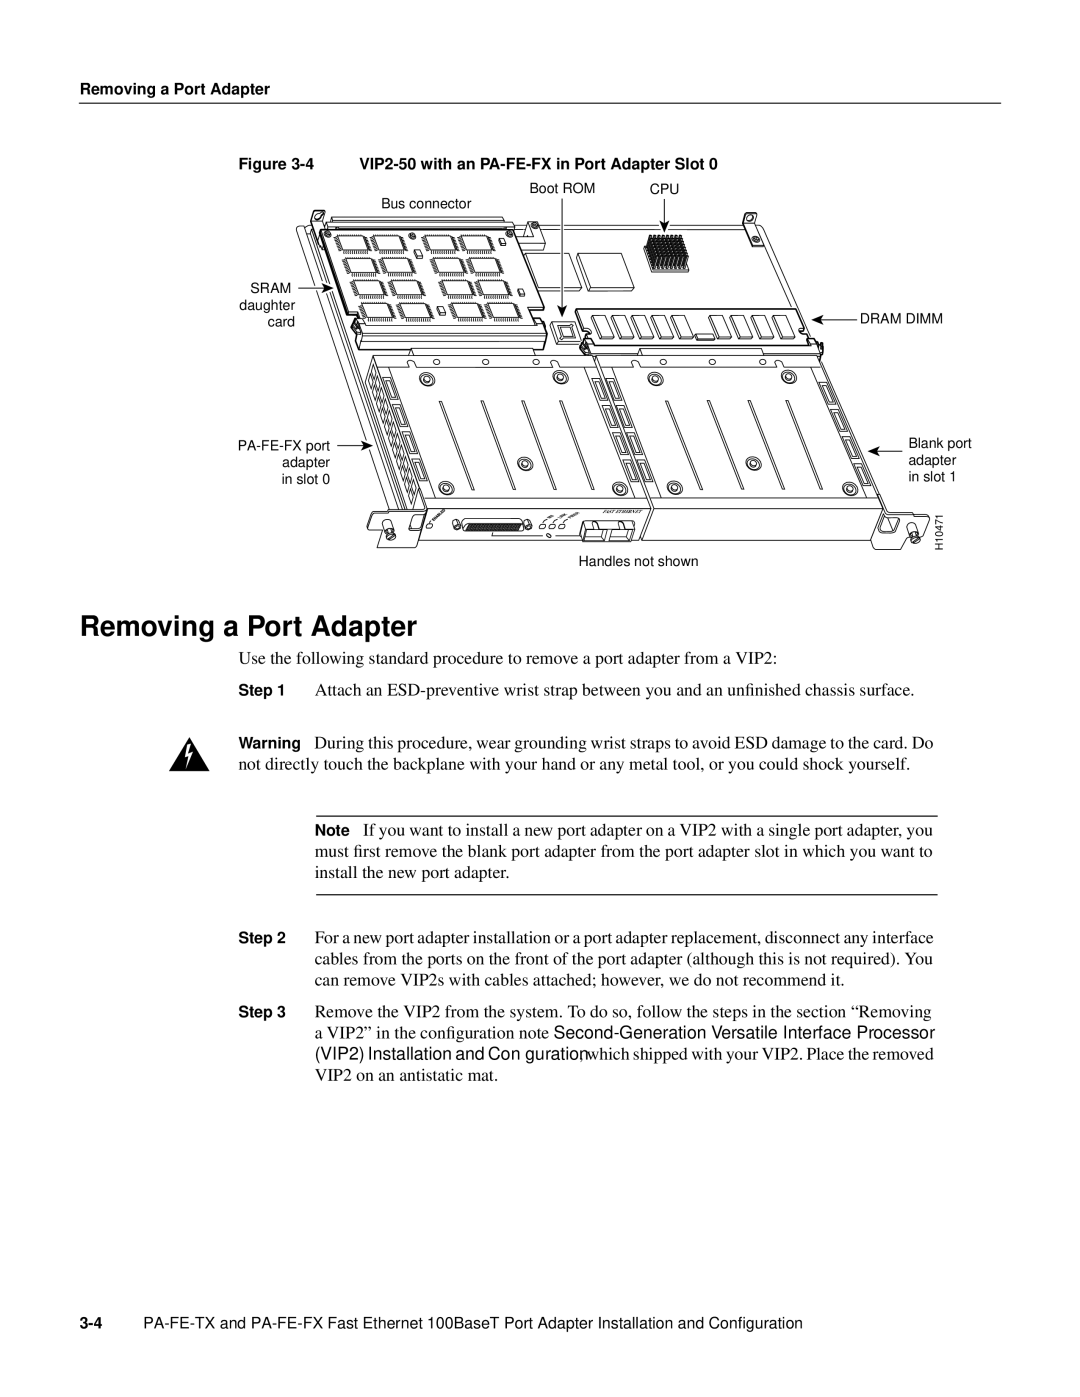
The physical design of these modules adheres to Cisco's standards, ensuring easy installation and hot-swappable capabilities. This means network administrators can replace or upgrade the modules without taking the entire system offline, providing greater flexibility and reducing downtime.
In summary, Cisco's PA-FE-TX and PA-FE-FX modules are integral components for organizations seeking to enhance their networking infrastructure. With their support for both copper and fiber optic connections, they provide versatile options for connecting devices, extending network reach, and improving data transfer speeds. Their compatibility with advanced networking technologies further emphasizes Cisco's commitment to delivering high-quality, reliable networking solutions for businesses of all sizes.

