RE1000 Range Extender
Top
Power Switch Only featured in the European versions of the RE1000.
Reset Press and hold this button for about eight seconds to reset the extender to its factory defaults. You can also restore the defaults from the Administration > Factory Defaults screen in the extender’s
Bottom
Ethernet (green) Using Ethernet cables (also called network cables), this Ethernet port connects Ethernet network devices to your wireless network.
The green light turns on when an Ethernet device is connected and active on this port.
Getting Started
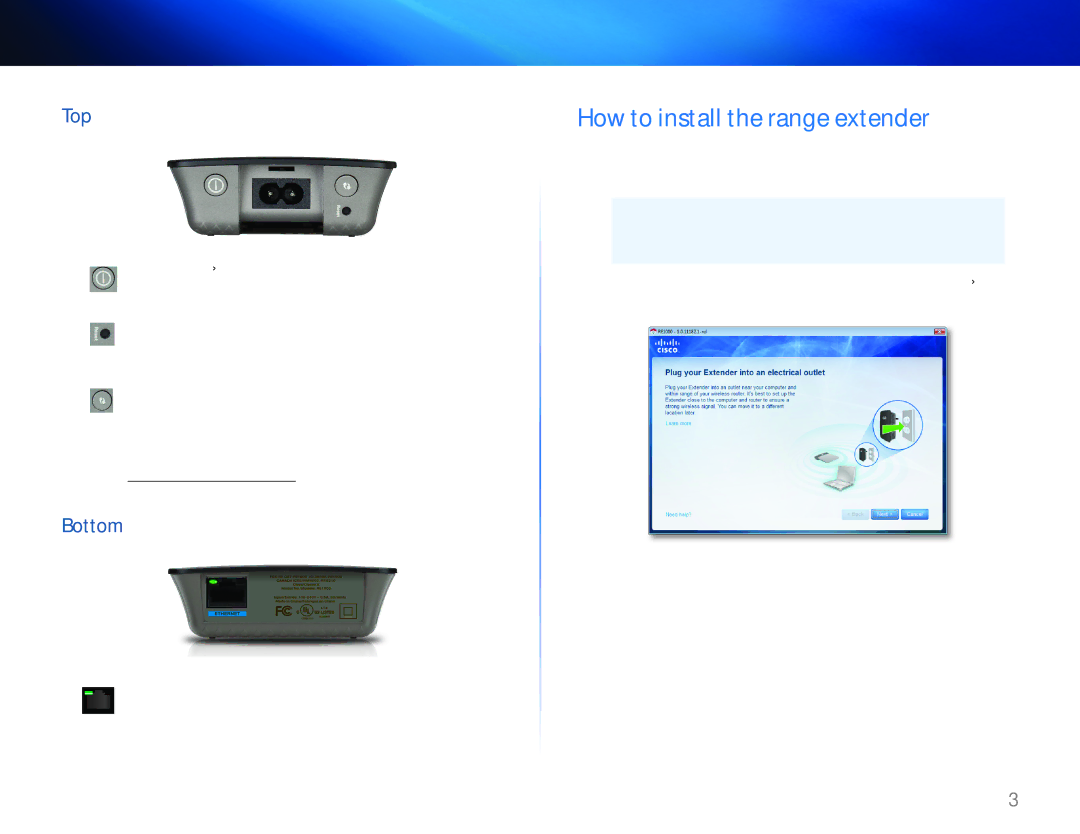
How to install the range extender
1.Insert the Setup CD into a computer that is connected to the network router. You will need to be near the router or access point and have access to a networked computer.
IMPORTANT
Set up the extender close to the computer and router to ensure a strong wireless signal. You can move it to a different location later.
2.When the Setup utility starts, read the license terms, then click Next. You are prompted to plug your extender into an electrical outlet.
3.Connect your extender to an AC power outlet. Your extender searches for wireless networks. The list of networks is displayed.
3